 by
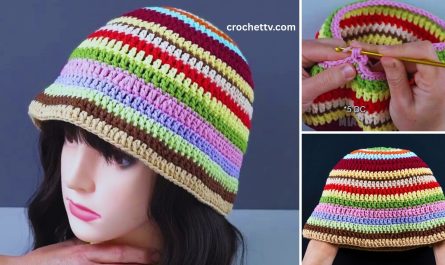
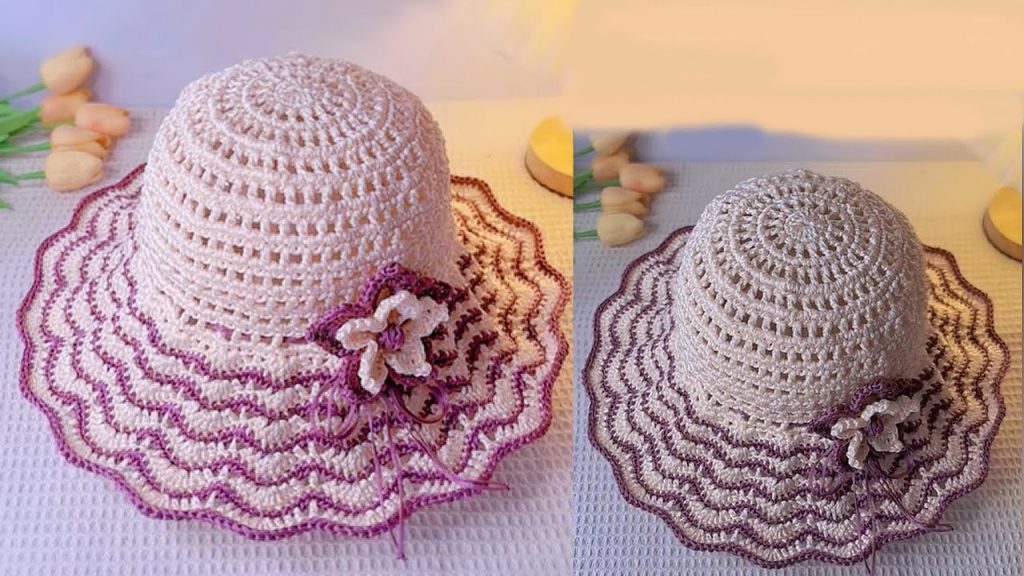
by Nothing says “summer chic” quite like a wide-brimmed sun hat. It’s the perfect accessory for a day at the beach, a stroll through a park, or a garden party. While store-bought hats are nice, a handmade crocheted hat offers a unique blend of style, personal flair, and the satisfaction of a project well done. This tutorial will guide you through creating a beautiful, sturdy, and stylish hat that will protect you from the sun and turn heads wherever you go.
Why Crochet Your Own Sun Hat?
- Custom Fit: You can easily adjust the size to fit your head perfectly, eliminating the frustration of ill-fitting hats.
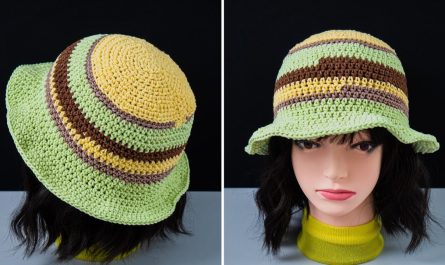
- Unique Style: Choose your own yarn color and texture to match your personal aesthetic. You can add decorative elements like flowers, ribbons, or beads.
- Sustainable and Rewarding: Creating your own accessories is a fantastic way to be more sustainable and feel a sense of accomplishment.
- Practicality: A crocheted hat can be made with materials that are both breathable and durable, making it ideal for hot weather.
Materials You Will Need
Choosing the right materials is key to a successful hat. For a sturdy, breathable hat, consider these options:
- Yarn:
- Raffia Yarn: This is a fantastic choice for a classic, stiff sun hat. It holds its shape beautifully but can be a bit tricky to work with at first.
- Cotton or Linen Yarn: These are excellent for a softer, more packable hat. Look for a worsted-weight or bulky-weight yarn for a quick project.
- Paper Yarn: Similar to raffia, this creates a crisp, light, and airy hat.
- Crochet Hook: A size H-8 (5.0 mm) or I-9 (5.5 mm) hook is a good starting point for worsted-weight yarn. The yarn label will recommend a specific size.
- Scissors: A small pair of sharp scissors for cutting yarn.
- Stitch Marker: Essential for keeping track of your rounds and the beginning of your work.
- Tape Measure: To measure the circumference of your head.
- Tapestry Needle (or Yarn Needle): For weaving in ends.
- Hat Stiffener (Optional): If you are using a soft yarn like cotton and want a very firm brim, you may want to apply a fabric stiffener or spray starch after the hat is complete.
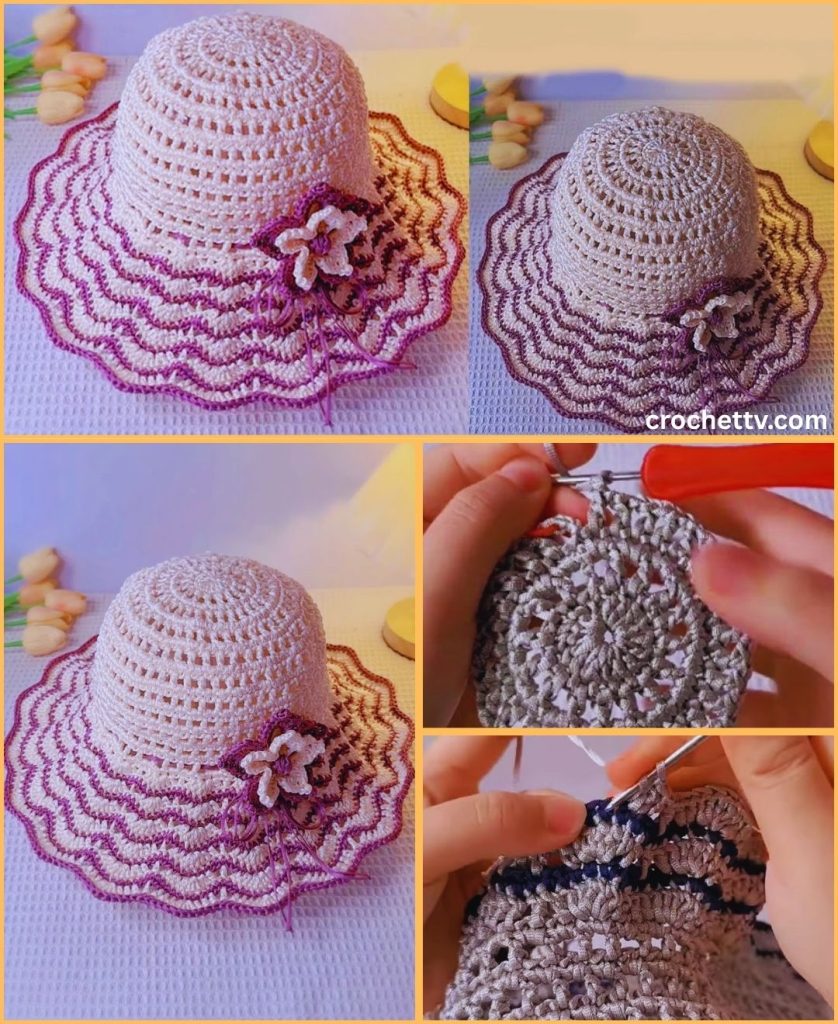
Step-by-Step Tutorial: The Hat Crown (Working in the Round)
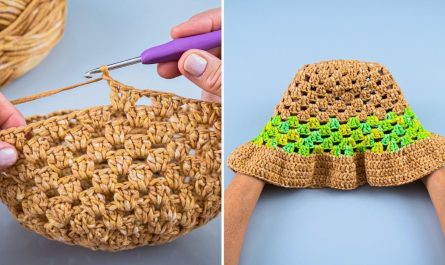
We will begin by creating the top of the hat, which is the flat, circular crown. We will be working in the round and increasing our stitches to create a flat circle. We’ll use the basic single crochet (sc) stitch for a dense, sturdy fabric.
Step 1: The Magic Ring
This is the best way to start a project that is worked in the round, as it creates a tight, neat center with no hole.
- Create a Loop: Hold the yarn tail in your hand and wrap the working yarn around your fingers to create a loop.
- Insert Hook: Insert your hook through the loop.
- Yarn Over and Pull Through: Yarn over and pull the yarn through the loop.
- Chain 1: Chain one stitch to secure the ring. This chain does not count as a stitch.
- Single Crochet into the Ring: Work 6 single crochet stitches into the magic ring.
- Pull Tight: Pull the yarn tail to close the ring tightly. You should now have a small circle of 6 single crochet stitches.
Step 2: Increasing for a Flat Circle
Now we’ll work to expand the circle. We will increase the number of stitches in each round to keep the circle flat.
- Round 1: Chain 1 (does not count as a stitch). Work 2 single crochet stitches into each of the 6 stitches from the previous round. You should have 12 stitches.
- Round 2: Chain 1. *Work 1 single crochet in the next stitch, then 2 single crochet in the next stitch.* Repeat from * to * all the way around. You should have 18 stitches.
- Round 3: Chain 1. *Work 1 single crochet in the next 2 stitches, then 2 single crochet in the next stitch.* Repeat from * to * all the way around. You should have 24 stitches.
The Increasing Pattern:
Continue this pattern, adding one more stitch between your increases in each subsequent round. The pattern will be:
- Round 4: sc in 3, 2sc in next (repeat).
- Round 5: sc in 4, 2sc in next (repeat).
- Round 6: sc in 5, 2sc in next (repeat).
Continue this process until your circle is roughly the size of the top of your head, about 4-6 inches in diameter.
Checking Your Progress: Lay the circle flat. If it is beginning to curl up, you are not increasing enough. If it is rippling or waving, you are increasing too much. The trick is to keep it flat.
Step 3: Measuring and Sizing the Crown
The hat crown should be the same diameter as the top of your head.
- Measure Your Head: Use your tape measure to find the circumference of your head.
- Calculate the Diameter: To find the correct diameter for your flat circle, use the formula:
Diameter = Circumference / 3.14 (Pi). - Continue Increasing: Keep working your increasing rounds until your flat circle reaches this calculated diameter. For an average adult, this is about 6-7 inches in diameter.
Step-by-Step Tutorial: The Hat Body (Working Evenly)
Once the crown is the correct size, we will stop increasing and begin working “even” to create the sides of the hat.
Step 4: The Hat Sides
- Round 1: Chain 1. Work 1 single crochet stitch in each stitch around the entire round. Do not increase.
- Repeat: Continue to work 1 single crochet in each stitch for every round. You will notice your work naturally beginning to curve downwards, forming the sides of the hat.
How to Check the Height:
Keep trying the hat on as you go. You want the sides of the hat to cover the crown of your head and sit comfortably just above your ears. For most people, this will be about 3-4 inches high.
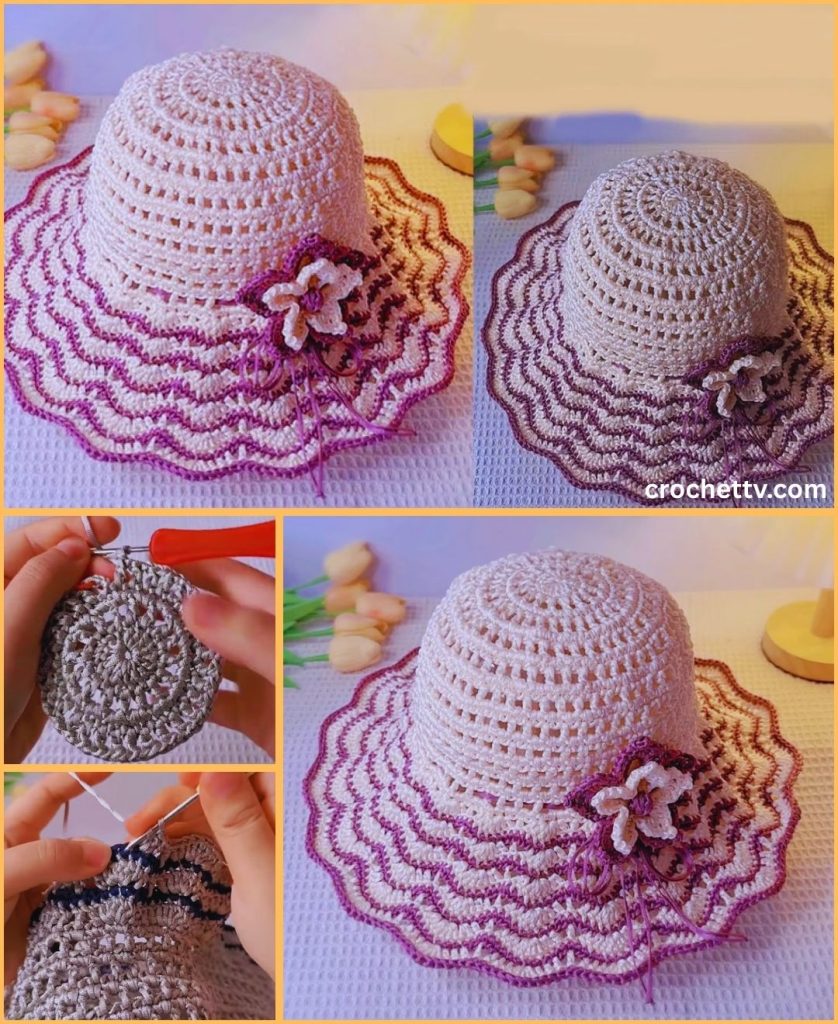
Step-by-Step Tutorial: The Wide Brim
This is the part that gives the hat its classic sun-hat shape. We will now resume increasing to make the hat flare outwards.
Step 5: Beginning the Brim
We will use the same increasing pattern we used for the crown, but we will make the increases more frequent. This will create a quick, flaring effect.
- Round 1 (Brim): Chain 1. *Work 1 single crochet in the next 2 stitches, then 2 single crochet in the next stitch.* Repeat from * to * all the way around. This is a very quick increase pattern that will make the brim flare out.
- Round 2 (Brim): Chain 1. *Work 1 single crochet in the next 3 stitches, then 2 single crochet in the next stitch.* Repeat from * to * all the way around.
- Round 3 (Brim): Chain 1. *Work 1 single crochet in the next 4 stitches, then 2 single crochet in the next stitch.* Repeat from * to * all the way around.
How to Check the Brim’s Shape:
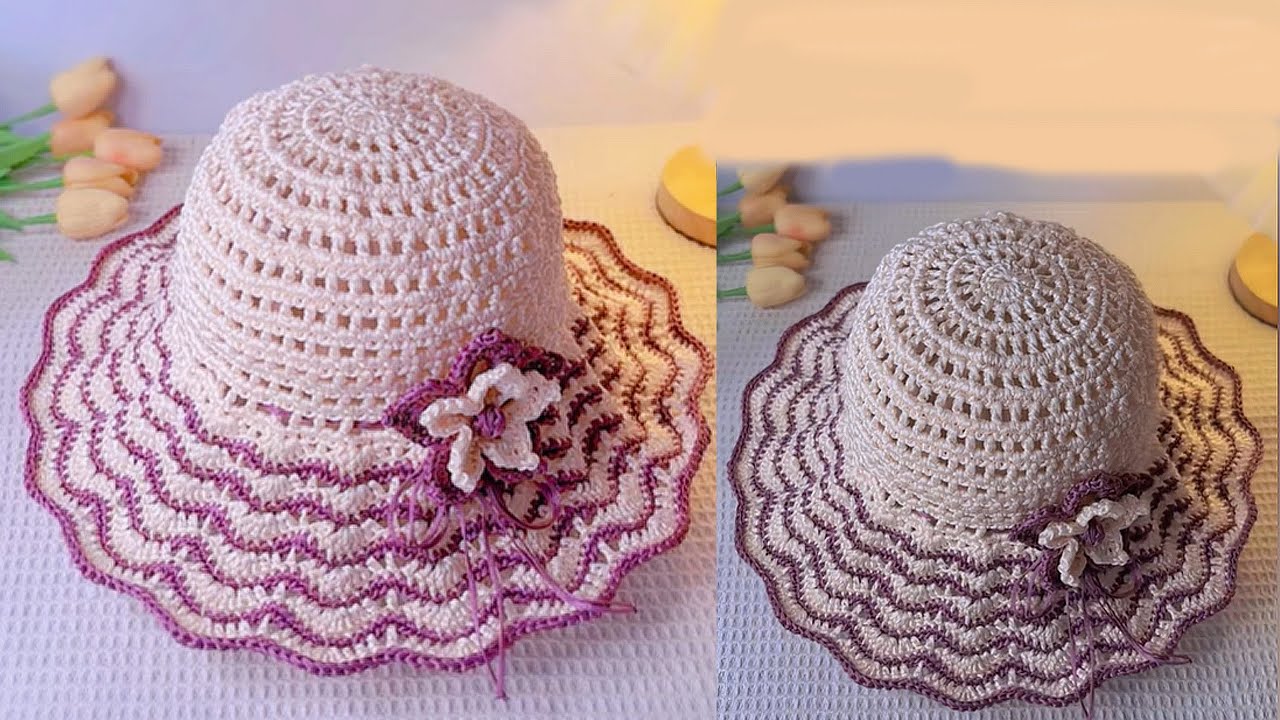
As you work the brim, lay it on a flat surface. It should be flaring out nicely. The number of rows and the increasing pattern can be adjusted to your preference. For a very wide, floppy brim, you can continue to increase in every round. For a firmer, more structured brim, you can alternate between a row of increases and a row of no increases.
Step 6: Finishing the Brim
- Desired Width: Continue working the brim until it is as wide as you like. A standard wide-brim hat has a brim that extends about 4-6 inches from the base of the crown.
- Final Round: For a clean finish, you can work one final round of slip stitches around the entire edge of the brim. This creates a neat, decorative border.
- Fasten Off: Cut the yarn, leaving a 6-inch tail. Pull the tail through the loop on your hook to secure the final stitch.
Finishing and Embellishments
- Weave in Ends: Use your tapestry needle to carefully weave in all loose ends on the inside of the hat.
- Blocking (Optional but Recommended): Blocking helps your hat hold its shape and gives it a professional look.
- For Stiff Hats (Raffia, Paper Yarn): You can use a steamer to gently shape the hat and then let it dry on a flat surface.
- For Softer Hats (Cotton): Dampen the hat slightly with water or a fabric stiffener spray. Shape it to your liking and let it dry completely. You can also place it on a bowl or a wig head to help it hold a good shape as it dries.
- Decorate: This is where you can truly make the hat your own!
- Ribbon: Tie a beautiful ribbon around the base of the crown.
- Crochet Flowers: Make some simple crochet flowers and stitch them onto the brim.
- Beads or Shells: Sew on small beads or shells for a unique, beachy vibe.
- Simple Band: Crochet a simple band of a contrasting color and stitch it around the base of the crown.
You now have a beautiful, handmade wide-brimmed sun hat that is ready for all your summer adventures! Enjoy the compliments and the satisfaction of wearing something you created yourself.