 by
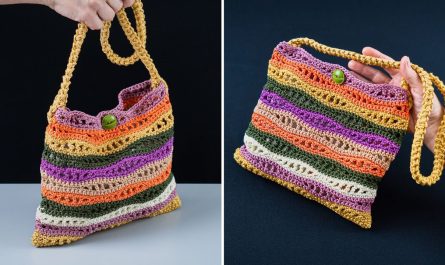
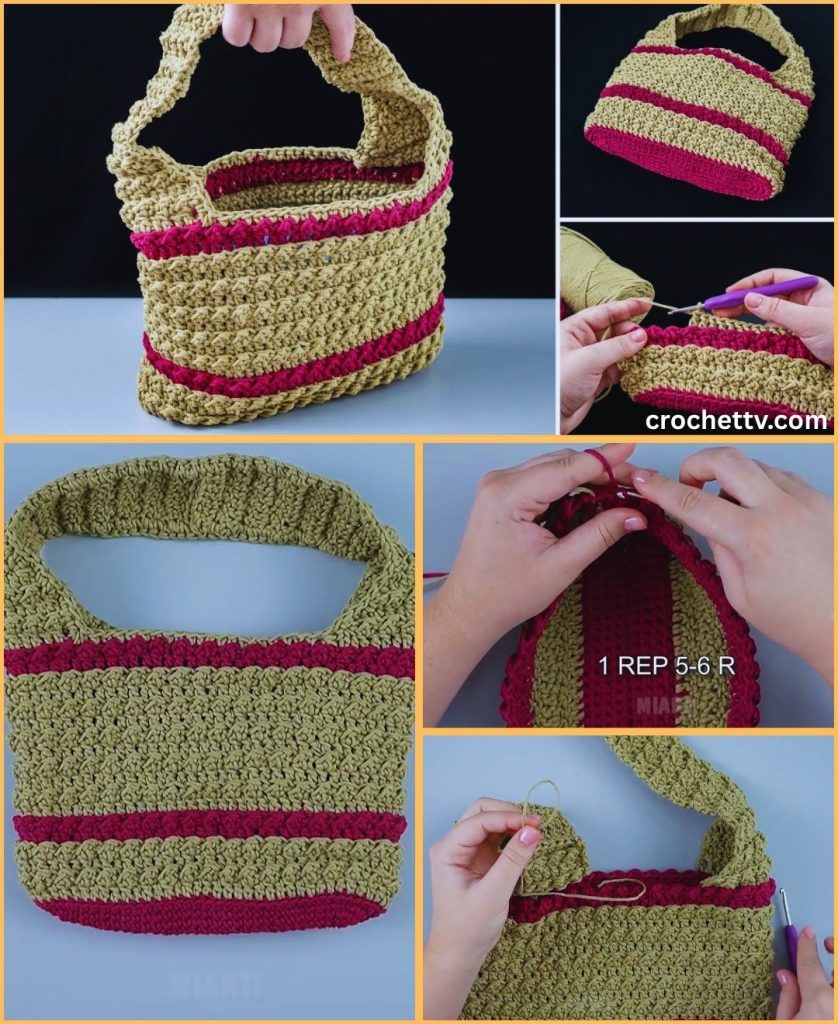
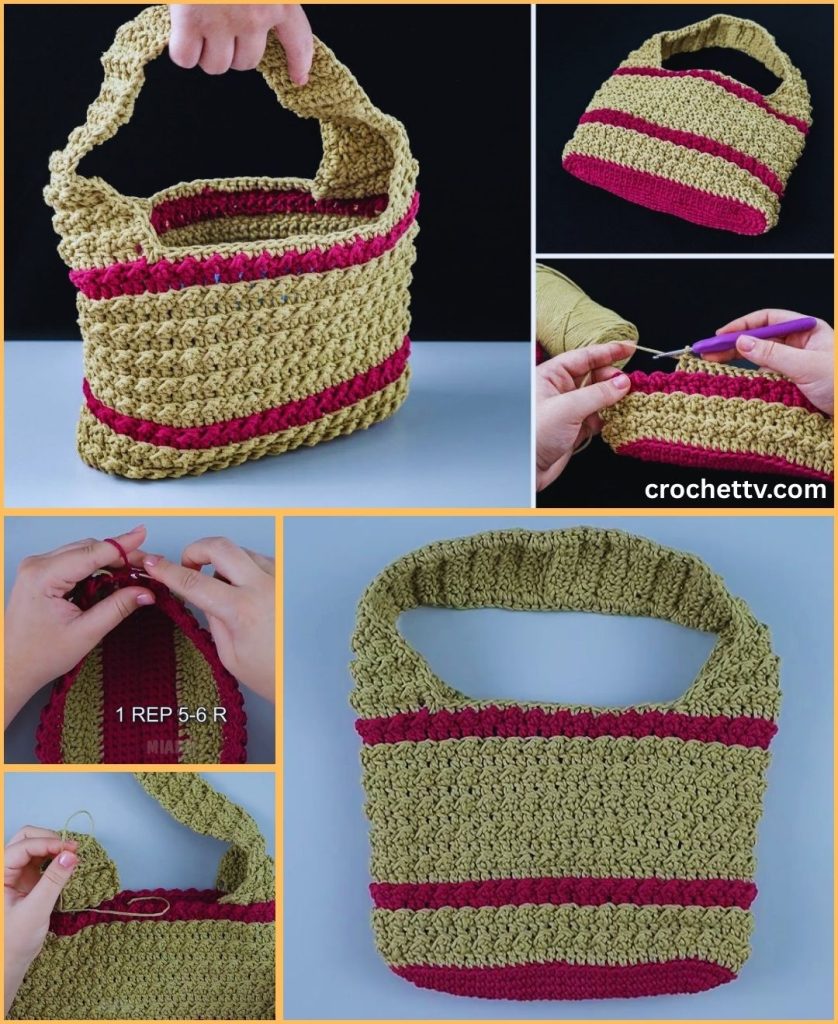
by Creating a beautiful and functional crochet bag with a simple stitch pattern is a fantastic and rewarding project. It’s a great way for beginners to build skills and for experienced crocheters to create something stylish in a short amount of time. This tutorial will walk you through a quick and easy method for a sturdy, attractive bag using a simple stitch that looks far more complex than it is: the single crochet stitch worked in the back loop only.
Why This Method is Fast and Simple
- One Simple Stitch: The entire bag is made using only a single crochet stitch. This eliminates the need to learn multiple complex stitches.
- No Fussy Increases or Decreases: After the base is created, the body of the bag is worked with no increases, which makes it a quick and meditative process.
- Creates a Beautiful Texture: Working the single crochet in the back loop only creates a beautiful, ribbed texture that adds visual interest and a professional finish without any extra effort.
- Minimal Seaming: The bag is worked in one continuous piece, meaning you’ll only have to sew on a handle or two at the end.
Materials You Will Need
- Yarn: A sturdy, durable yarn is best for a bag. Cotton, acrylic, or a cotton blend are excellent choices. A chunky or bulky weight yarn will make your bag work up even faster. For this tutorial, we will assume you are using a worsted-weight (medium) yarn.
- Crochet Hook: A hook size slightly smaller than what is recommended on the yarn label will create a tighter, more dense fabric for your bag, which is ideal for holding its shape. For worsted weight yarn, a size H-8 (5.0 mm) or G-6 (4.0 mm) is a good starting point.
- Scissors: For cutting yarn.
- Tapestry Needle: For weaving in ends and seaming.
- Stitch Marker: Essential for keeping track of your rounds.
Part 1: The Foundation and Base of the Bag
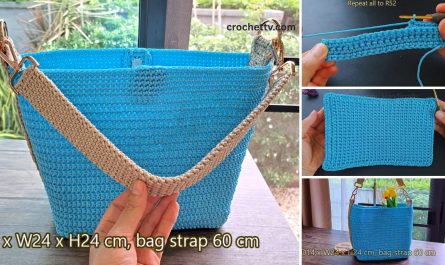
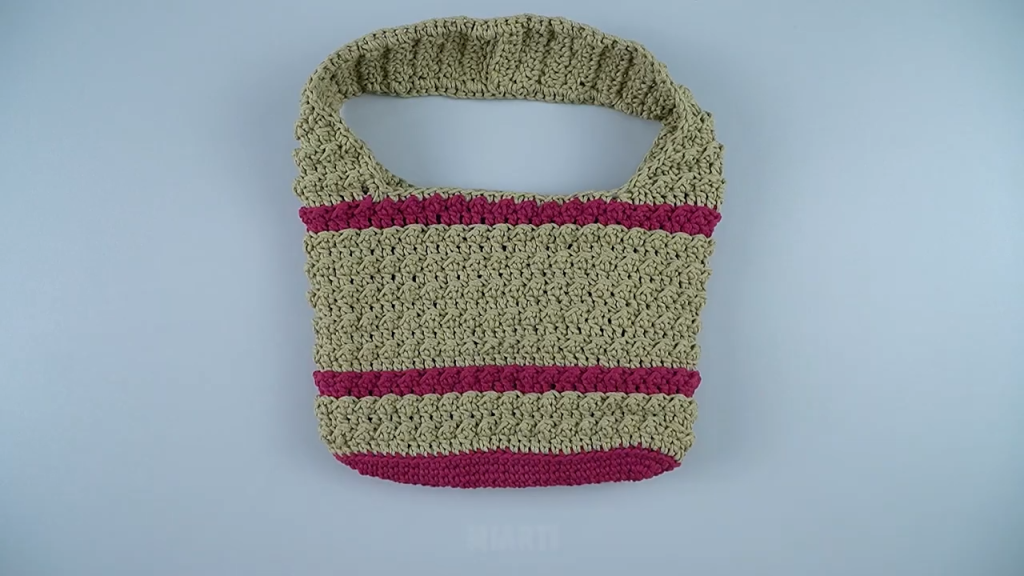
The base of your bag will be a sturdy, flat oval. This method creates a strong foundation that will prevent your bag from sagging.
Step 1: The Foundation Chain
- Determine the Length: Decide how long you want the bottom of your bag to be. A good starting length for a small tote is about 20-25 stitches.
- Chain: Make a slip knot and chain the desired number of stitches. For this example, let’s chain 21. This will be the length of your bag’s base.
Step 2: Working the First Round (Creating the Oval)
- Single Crochet (sc) Down the Chain: Single crochet into the second chain from the hook. Continue to single crochet in each chain across the row until you reach the last chain.
- Turn the Corner: In that very last chain, work three single crochet stitches. This will create a nice, rounded corner.
- Work Up the Other Side: Now, you will be working down the opposite side of your foundation chain. Single crochet into the bottom of each chain stitch across the row. You should now be at the other end of the chain.
- Turn the Last Corner: In the very last stitch (the same one you worked your very first single crochet into), work two single crochet stitches.
- Join: Join with a slip stitch (sl st) to the first single crochet you made. You have now completed your first oval round. Your work should look like a small, flat oval.
Step 3: Continuing the Base
- You can make your base wider by adding one or two more rounds of increases.
- Round 2: Chain 1 (does not count as a stitch). Work 2 sc in the first stitch. *1 sc in the next stitch.* Repeat this pattern until you reach the end of the flat side. Work 2 sc in the next three corner stitches. Continue the pattern of *1 sc, 2 sc* down the second flat side. Work 2 sc in the last two corner stitches. Join with a slip stitch.
- For a simple, quick bag, a single oval round is often sufficient. If you want a wider base, repeat the process of increasing in the corner stitches as needed, but for a fast project, keep it simple.
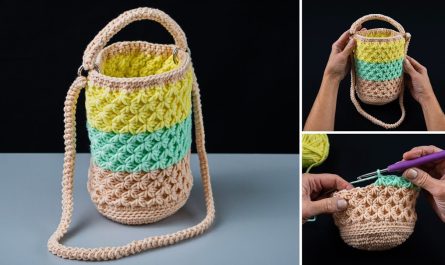
Part 2: The Body of the Bag (The Simple Stitch Pattern)
This is where the magic happens and the bag body quickly takes shape. We will now work “in the round” with no increases.
Step 4: Creating the Beautiful Ribbed Texture
- Round 1: Chain 1 (does not count as a stitch). This is the most important step for the bag’s structure. Work your first single crochet stitch into the back loop only of the same stitch you joined into.
- Continue: Continue to work a single crochet stitch in the back loop only for every stitch around the entire oval.
- Join and Repeat: At the end of the round, join with a slip stitch to the first single crochet. You will immediately notice your work starting to curve upwards, forming the sides of your bag.
- Repeat, Repeat, Repeat: Continue to repeat this process for every subsequent round: Chain 1, and then single crochet in the back loop only of every stitch around.
How to Check Your Progress:
As you work, you will see a subtle horizontal ridge forming on the outside of your bag at the start of each round. This is the “front loop” of the stitches you skipped, creating the beautiful texture. Keep working these back-loop-only rounds until your bag reaches the desired height. This is a very quick stitch, so you’ll see your bag grow rapidly!
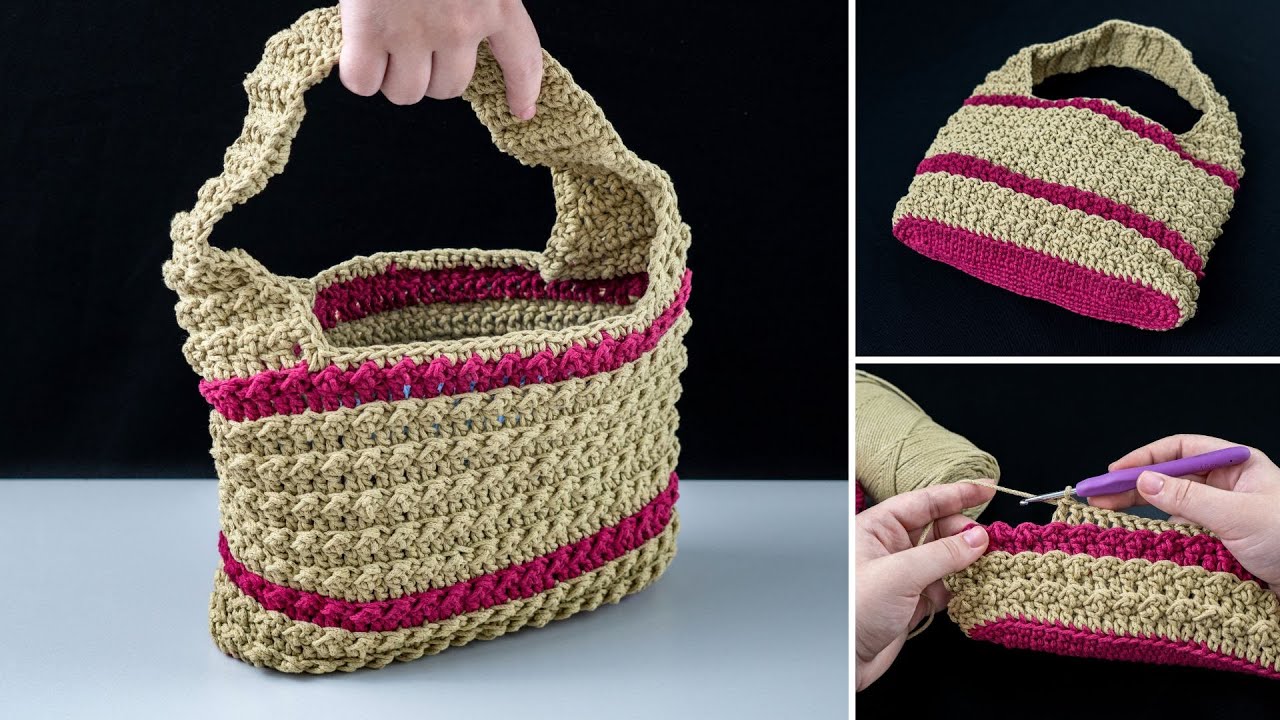
Part 3: The Handles
For a beautiful and quick finish, a simple handle is the way to go. You have a few options depending on your preference.
Option 1: The Simple Chain Handle
This is the fastest method and perfect for a lightweight bag.
- Round of Sc (optional): Once your bag is the desired height, work one final round of single crochet stitches (this time, in both loops, not just the back loop) to create a neat top edge.
- Create the First Handle: On the next round, single crochet across the front of the bag until you are a few inches in from the side. Chain a long chain of stitches (40-50 chains is a good length for a shoulder bag). Skip the number of stitches on the bag that you want for your handle opening (e.g., skip 10 stitches). Single crochet in the next stitch.
- Create the Second Handle: Single crochet across the back of the bag until you are at a similar spot on the other side. Chain the same number of stitches as before. Skip the same number of stitches and single crochet in the next stitch.
- Finish the Round: Single crochet until you reach the beginning of the round. Join with a slip stitch.
- Final Round (optional): For a sturdier handle, work one more round of single crochet stitches. When you get to the chained handle, single crochet over each chain stitch to create a thick, strong handle.
- Fasten Off: Cut the yarn and weave in the ends.
Option 2: The Sturdy Separate Handle
This method is great for a bag that will carry a bit more weight.
- Work the Handle: Create two separate handle pieces. Chain about 30-40 stitches. Single crochet in the second chain from the hook and across. Chain 1 and turn. Single crochet across. Repeat this for 2-3 more rows until you have a thick, flat strap.
- Fasten Off: Fasten off, leaving a long tail on each end of both straps.
- Attach to Bag: Use your tapestry needle to sew the ends of the straps securely to the inside of the bag. A good placement is to sew them a few inches from the side seams.
Finishing Touches and Customization
- Lining: For a truly professional finish and added durability, you can sew a simple fabric lining for your bag.
- Decorative Elements: Add a simple ribbon tie, a crochet flower, or a few beads for a touch of personalization.
- Tassels or Pom-poms: Attach some colorful tassels or a single large pom-pom to the sides of the bag for a fun, bohemian look.
- Different Stitches: Once you’ve mastered this pattern, you can try other simple stitches for the body, such as the moss stitch (alternating sc and ch 1) or the half double crochet stitch.
You’ve just created a beautiful, durable, and stylish crochet bag using a simple stitch pattern. Enjoy the satisfaction of a handmade accessory that you can use and show off for years to come!