 by
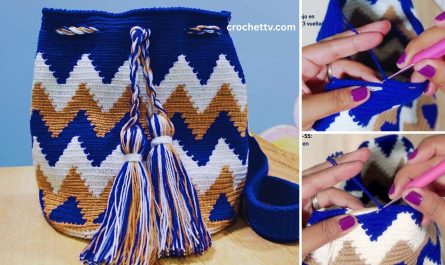
by Have you ever found yourself fumbling for your phone in your bag, or wishing you had a stylish and simple way to carry it? A crocheted mobile phone bag is the perfect solution! It’s not only a practical accessory but also a fantastic project for crocheters of all skill levels, from absolute beginners to seasoned pros. This tutorial will guide you through creating a chic, custom-fit pouch for your phone, complete with a strap for easy carrying.
Why Crochet a Mobile Phone Bag?
- Custom Fit: You can easily adjust the size to perfectly fit your specific phone model, whether it’s a large smartphone or a smaller flip phone.
- Creative Expression: This project is a canvas for your creativity. You can experiment with different yarn colors, stitch patterns, and embellishments to make it uniquely yours.
- Practicality: It keeps your phone safe from scratches and provides a lightweight, hands-free way to carry it when you’re on the go.
- Quick and Rewarding: Because it’s a small project, it works up quickly, making it a great choice for instant gratification and using up leftover yarn scraps.
- Great Gift Idea: A handmade phone bag makes a thoughtful and personal gift for friends and family.
Materials You Will Need
Before you begin, gather all your supplies. Having everything ready will make the process much smoother.
- Yarn: Choose a durable yarn. Cotton, acrylic, or a cotton blend are excellent choices. They hold their shape well and are easy to work with. A medium-weight (worsted weight) yarn is ideal for a sturdy bag.
- Crochet Hook: The size of your hook will depend on your yarn. A size H-8 (5.0 mm) or I-9 (5.5 mm) hook is typically a good match for worsted weight yarn. Check the yarn label for the recommended hook size.
- Scissors: A small pair of sharp scissors for cutting yarn.
- Tapestry Needle (or Yarn Needle): This is essential for weaving in your ends and seaming the bag.
- Stitch Marker (optional but recommended): This helps you keep track of the beginning of your rounds, especially if you are working in a spiral.
- Your Mobile Phone: You will need your phone for measuring and ensuring the perfect fit.
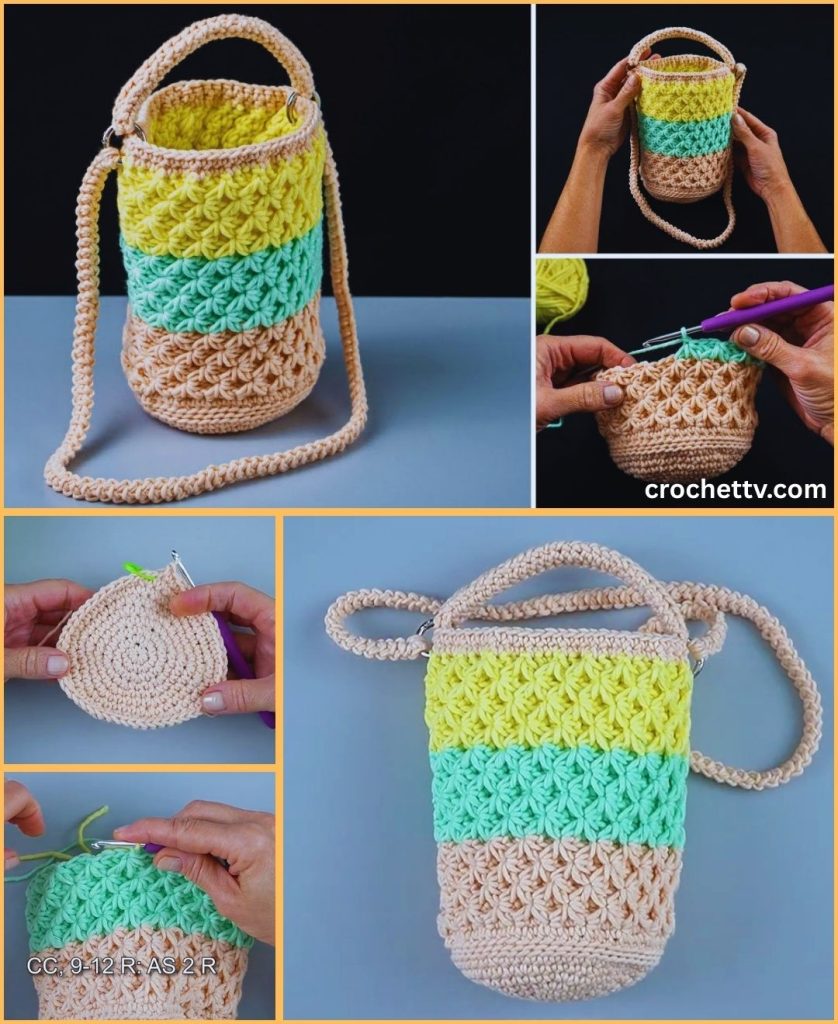
Step-by-Step Tutorial: The Basic Pouch
This tutorial uses the single crochet stitch, which is one of the most fundamental and versatile stitches in crochet. It creates a dense, sturdy fabric perfect for a phone bag.
Step 1: The Foundation Chain (Measuring and Starting)
This is the most crucial step for ensuring your pouch fits your phone.
- Measure Your Phone: Place your phone on a flat surface. Take your yarn and lay it across the width of your phone. Your starting chain needs to be slightly wider than your phone.
- Make a Slip Knot: Create a slip knot and place it on your crochet hook.
- Chain: Begin crocheting a chain of stitches. Periodically, stop and lay your chain down to measure it against your phone’s width. The chain should be about 1/2 inch (1-2 cm) wider than your phone. This extra width will provide a little ease and account for the thickness of the phone once the pouch is closed.
- Count Your Stitches: Make a note of the exact number of chains you have. This will be your base number for all subsequent rows. For this example, let’s say you chained 12 stitches.
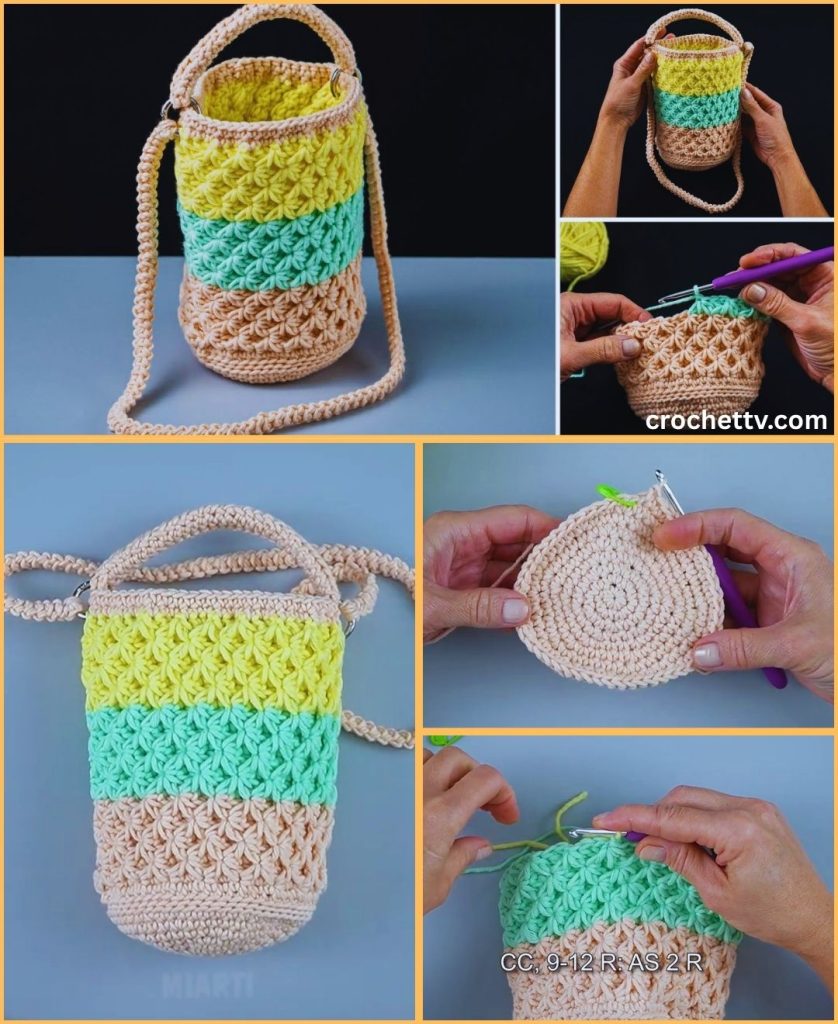
Step 2: Creating the Base of the Pouch (Working in the Round)
Instead of working back and forth in rows, we’ll create an oval base by crocheting around our foundation chain. This eliminates the need for a seam at the bottom.
- Row 1: Single crochet (sc) into the second chain from your hook.
- Continue: Single crochet in each chain across the row until you reach the last chain.
- Turn the Corner: In that very last chain, work three single crochet stitches. This will create a nice, rounded corner.
- Work Down the Other Side: Now, you’ll be working down the opposite side of your foundation chain. Single crochet into each stitch across. You will be working into the back loops of the initial chain stitches.
- Turn the Last Corner: When you reach the end, make two single crochet stitches in the very last stitch (the same one you worked your first sc into).
- Join: Join with a slip stitch (sl st) to the first single crochet you made. You have now completed your first oval round. Your work should now look like a flat, oval shape.

Step 3: Building the Sides of the Pouch
Now we will build up the sides of the pouch to create the pocket for your phone.
- Chain 1: To begin the next round, chain one. This chain does not count as a stitch.
- Single Crochet: Single crochet into the same stitch where you joined.
- Continue: Single crochet in each stitch around the entire oval.
- Join: At the end of the round, join with a slip stitch to the first single crochet of the round.
- Repeat: Repeat these two steps (chain 1, single crochet in each stitch, join with a slip stitch) for every subsequent round.
How to Check the Height:
Periodically, place your phone inside the pouch as you work. Continue crocheting rounds until the pouch is just slightly taller than your phone. This will ensure your phone sits securely inside with a little room at the top. For a typical smartphone, this is usually between 15 and 25 rounds, depending on your yarn and tension.
Step 4: Finishing the Pouch
- Once you have reached the desired height, cut your yarn, leaving a tail about 6 inches long.
- Pull the yarn tail through the loop on your hook to secure the last stitch. This is called “fastening off.”
- Use your tapestry needle to weave in all loose ends on the inside of the pouch. This hides them and prevents your work from unraveling.
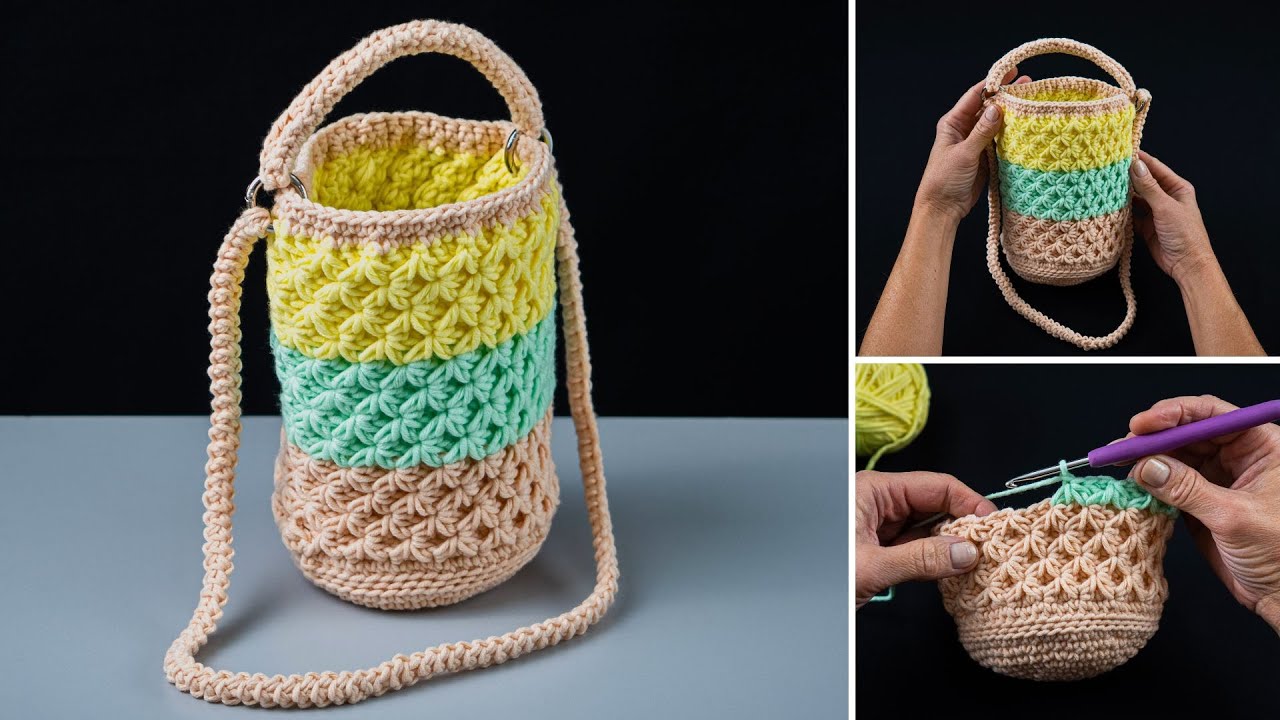
Step-by-Step Tutorial: Adding a Strap
A strap turns your pouch into a functional phone bag. You have a few options for the strap.
Option 1: The Simple Chain Strap
This is the fastest and easiest method.
- Attach Yarn: Reattach your yarn to the side of the bag, about a third of the way down from the top.
- Chain: Chain a long chain of stitches. The length is up to you—a 40-50 inch chain is a good length for a cross-body strap.
- Slip Stitch: When you have reached your desired length, slip stitch the end of the chain to the other side of the pouch at the same height.
- Fasten Off: Cut the yarn and weave in the ends.
Option 2: The Sturdier Single Crochet Strap
This method creates a thicker, more durable strap.
- Chain: Chain your desired strap length (e.g., 100-150 chains for a crossbody strap).
- Single Crochet: Single crochet in the second chain from the hook and in each chain across.
- Row 2: Chain 1 and turn. Single crochet in each stitch across.
- Repeat: Repeat row 2 for 1-2 more rows until your strap is the desired width.
- Attach to Bag: Fasten off, leaving a long tail. Use your tapestry needle to sew the ends of the strap securely to the sides of the bag.
Option 3: The I-Cord Strap (Advanced)
This method creates a very strong, round, and professional-looking strap. It requires some practice but is well worth the effort.
Adding a Flap and Closure (Optional)
For extra security, you can add a simple flap and button closure.
The Flap:
- Attach Yarn: Reattach your yarn to the back center of the pouch.
- Chain 1: Chain 1 and single crochet in the next 5-8 stitches (this will be the width of your flap).
- Rows: Chain 1 and turn. Single crochet in each stitch across. Repeat for several rows until the flap is long enough to fold over the top of the phone.
- Create a Buttonhole: In the final row of the flap, single crochet, then chain 2, skip two stitches, and single crochet again. This creates a loop for your button.
- Fasten Off: Fasten off and weave in ends.
The Closure:
- Sew on a Button: Sew a button onto the front of the pouch, directly below the flap, so it aligns with your buttonhole.
- Alternative: You can also use a magnetic snap or a piece of Velcro for a simple closure.
Customization and Finishing Touches
- Stitch Pattern: Instead of single crochet, try using half double crochet (hdc) or double crochet (dc) for a different look. Just remember to adjust your hook size and the number of starting chains accordingly.
- Color Blocking: Use different colors of yarn for the body and the strap, or create stripes for a fun design.
- Lining: For extra protection, you can sew a fabric lining inside the pouch.
- Embellishments: Add a small appliqué, an embroidered design, or some beads to make your bag truly unique.
Now you have a handmade, custom-fit phone bag that is both beautiful and functional. Enjoy showing off your new creation and the satisfaction of having made it yourself!