 by
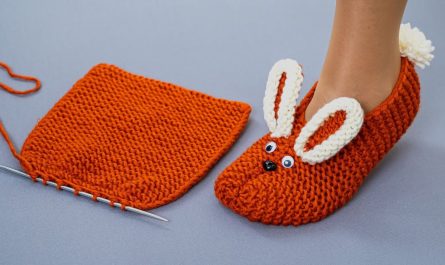
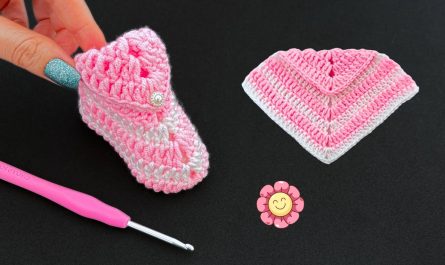
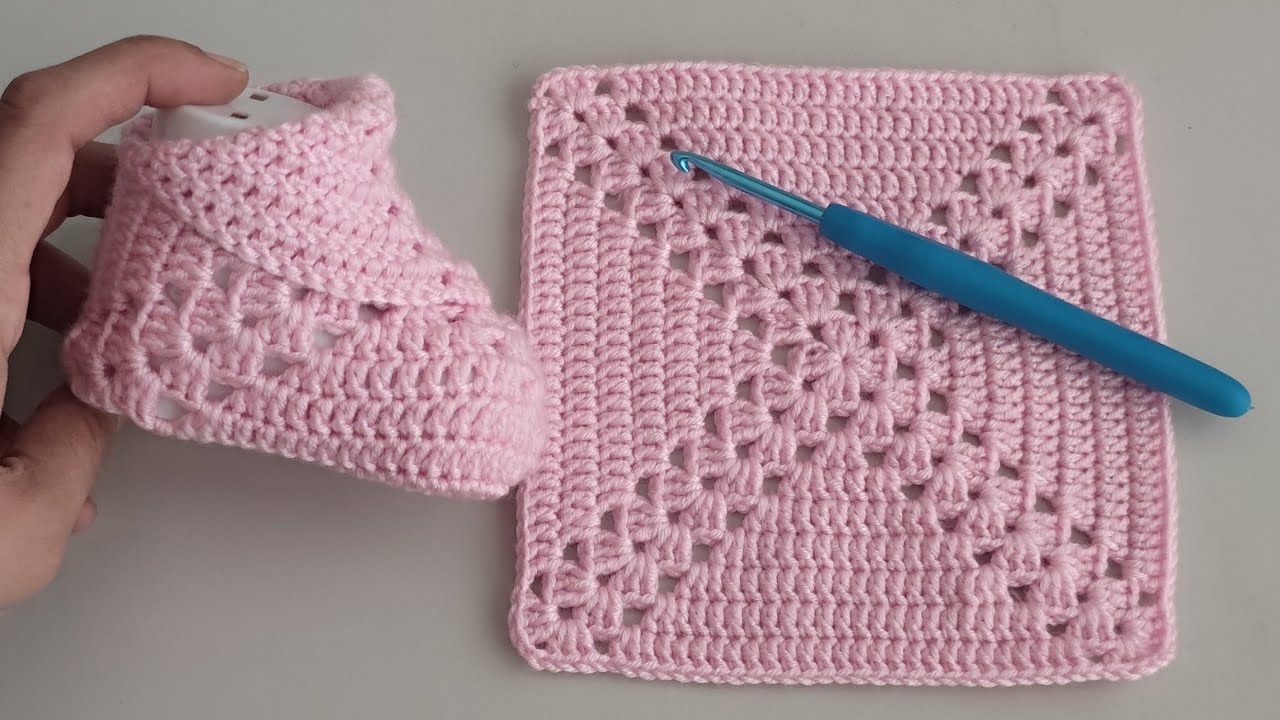
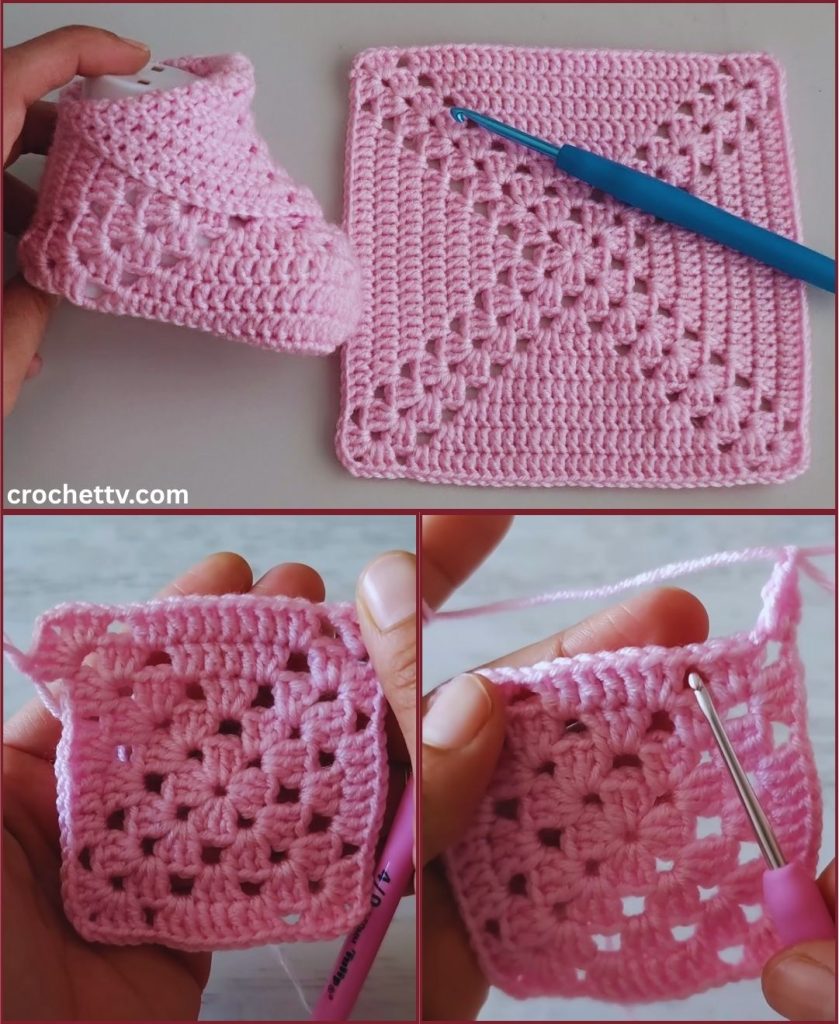
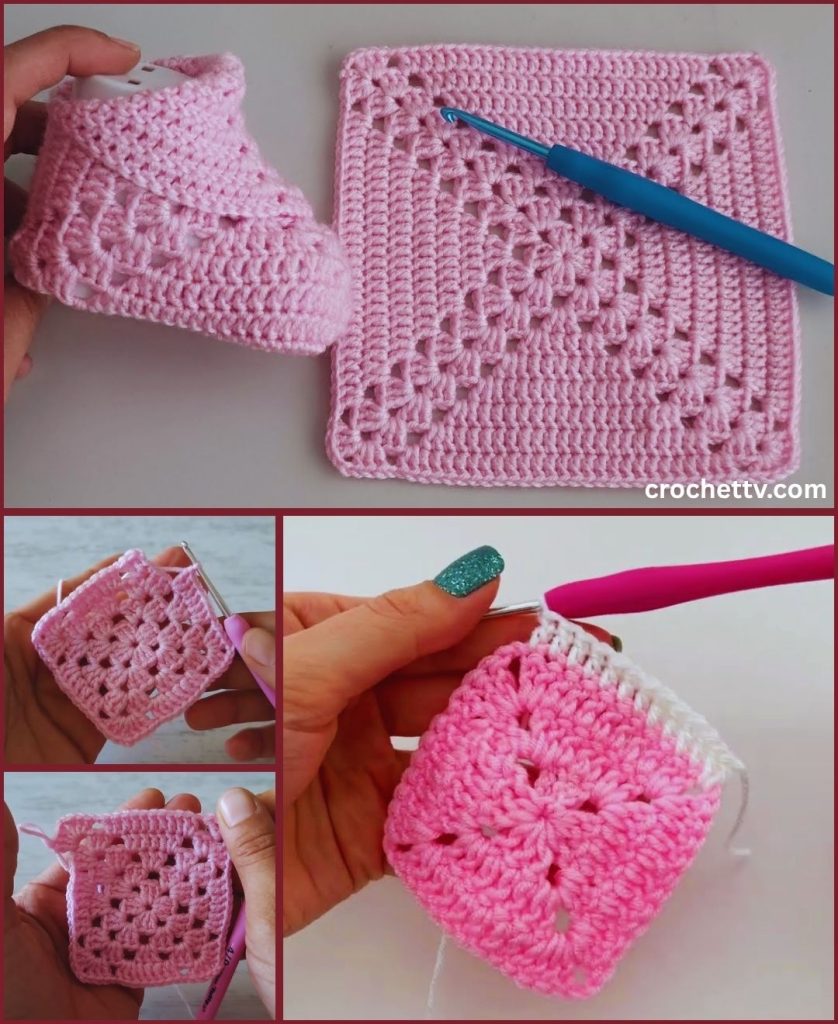
by Crocheting baby shoes is a rewarding project, and making them from simple square motifs is a surprisingly easy method perfect for beginners. The “square stitch” (often referring to the simple single crochet or half double crochet stitch worked in flat rows or a tight grid) creates a dense, sturdy fabric ideal for tiny feet. This tutorial will guide you through creating two flat pieces that fold and stitch together to form an adorable pair of booties.
Materials You’ll Need
- Yarn: Approximately 50 grams of soft, washable DK (8-ply) or worsted weight (aran/10-ply) yarn. Acrylic or baby yarn is recommended for its softness and ease of care.
- Choose one Main Color (MC) for the body of the shoe.
- Choose a small amount of an Accent Color (AC) for the trim and tie (optional).
- Crochet Hook: A hook size appropriate for your yarn, typically a 4.0mm (G/6) hook.
- Scissors
- Yarn Needle (Tapestry Needle): Essential for seaming the shoe together.
- Measuring Tape: To check the size as you go.
Key Crochet Stitches and Techniques
- Chain (ch): The foundation of the project.
- Single Crochet (sc): The main stitch for the “square stitch” effect. It creates a dense, sturdy fabric.
- Slip Stitch (sl st): Used to join stitches.
- Crocheting in Rows: Working back and forth to create flat pieces.
- Seaming: Stitching the flat pieces together to form the 3D shape of the shoe.
Part 1: Crocheting the Main Shoe Piece
This piece is a simple rectangle that forms the sole, toe, and heel of the shoe. You’ll need to make two identical rectangles, one for each shoe.
Sizing Guide (Approximate):
- Newborn (3.5 inches / 9 cm): Chain 27. Work 15 rows.
- 0-6 Months (4 inches / 10 cm): Chain 31. Work 17 rows.
- Adjust the chain length for the sole length and the row count for the shoe height.
- Foundation Chain (MC): Chain 31 (for 0-6 months size).
- Row 1: Single crochet (sc) in the second chain from the hook and in each chain across. (30 sc).
- Row 2: Ch 1 (does not count as a stitch) and turn. Sc in each stitch across. (30 sc).
- Rows 3–17: Repeat Row 2 until you have 17 rows total.
You should now have a solid, sturdy rectangle. Do not fasten off after the last row; we will work the finishing border.
Part 2: Creating the Shoe Shape and Trim
Now we’ll work a simple border around the entire rectangle to finish the edges and prepare for seaming.
- Border Round (MC):
- Along the Top Edge: Ch 1. Sc evenly across the top edge (the last row you just worked). Place 3 sc in the corner stitch.
- Along the Side Edge: Sc evenly down the side edge, placing 1 sc in the side of each row. Place 3 sc in the next corner.
- Along the Bottom Edge (Foundation Chain): Sc evenly across the bottom foundation chain edge. Place 3 sc in the final corner.
- Along the Remaining Side Edge: Sc evenly up the last side edge. Sl st to the first sc of the border round to join.
- Adding an Accent Edge (Optional – AC):
- Join Accent Color (AC) with a slip stitch at the center back of the rectangle.
- Ch 1. Work one round of single crochet (sc) in each stitch around the entire border. Sl st to join.
- Fasten off, leaving a 10-inch tail for seaming.
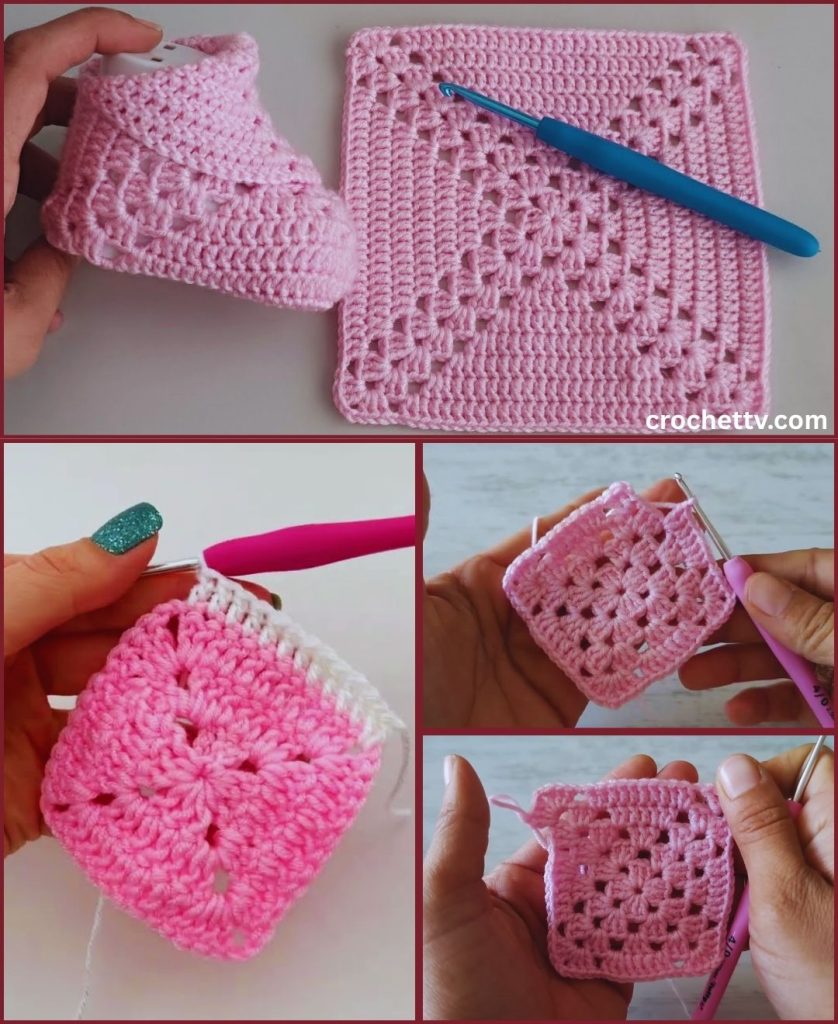
Part 3: Assembling the Baby Shoe
The magic happens when you fold the flat rectangle into the shoe shape.
- Fold the Shoe: Lay the rectangle flat with the right side facing up (the side you want visible).
- Fold A: Fold the rectangle in half lengthwise. The two longest edges should align perfectly. Pin the edges together.
- Fold B: Now, fold the piece so the two narrow ends (the side with the seam and the foundation chain) meet. You should now have four layers stacked and aligned.
- Seaming the Sole and Heel: Thread your yarn needle with the long tail from the Accent Color (or Main Color).
- Sole: Starting from the center fold (which will become the sole of the foot), use a whipstitch or mattress stitch to sew through all four layers, seaming the bottom edge shut. Sew until you’ve closed about half of the length (this forms the sole). Secure the yarn and weave in the end.
- Seaming the Toe:
- Fold the remaining open side into a flat, rounded toe shape. The original four layers should still be aligned.
- Using a new length of yarn and your yarn needle, start sewing from the end of the sole seam up toward the edge of the shoe opening.
- Gathering: Once you reach the top center of the toe, thread the needle back and forth along the stitches of the top layer and pull gently to gather the stitches and close the toe opening slightly.
- Stitch the remaining edges closed to form a neat, rounded toe. Secure the yarn and weave in the end.
Part 4: The Finishing Touches
- Turn Right Side Out: Turn the entire shoe right side out. Gently push the seams and shape the toe.
- Add a Drawstring/Tie (Optional):
- Using the Accent Color (AC), chain 80-100 chains for a tie. Fasten off.
- Using the yarn needle, weave the chain through the stitches around the top opening of the shoe (about 1/2 inch below the trim).
- Pull the drawstring to cinch the shoe shut slightly. Tie a bow!
- Make the Second Shoe: Repeat the entire process (Parts 1-4) to create the matching shoe.
Congratulations! You have successfully created a pair of adorable, sturdy baby shoes using a simple square motif.