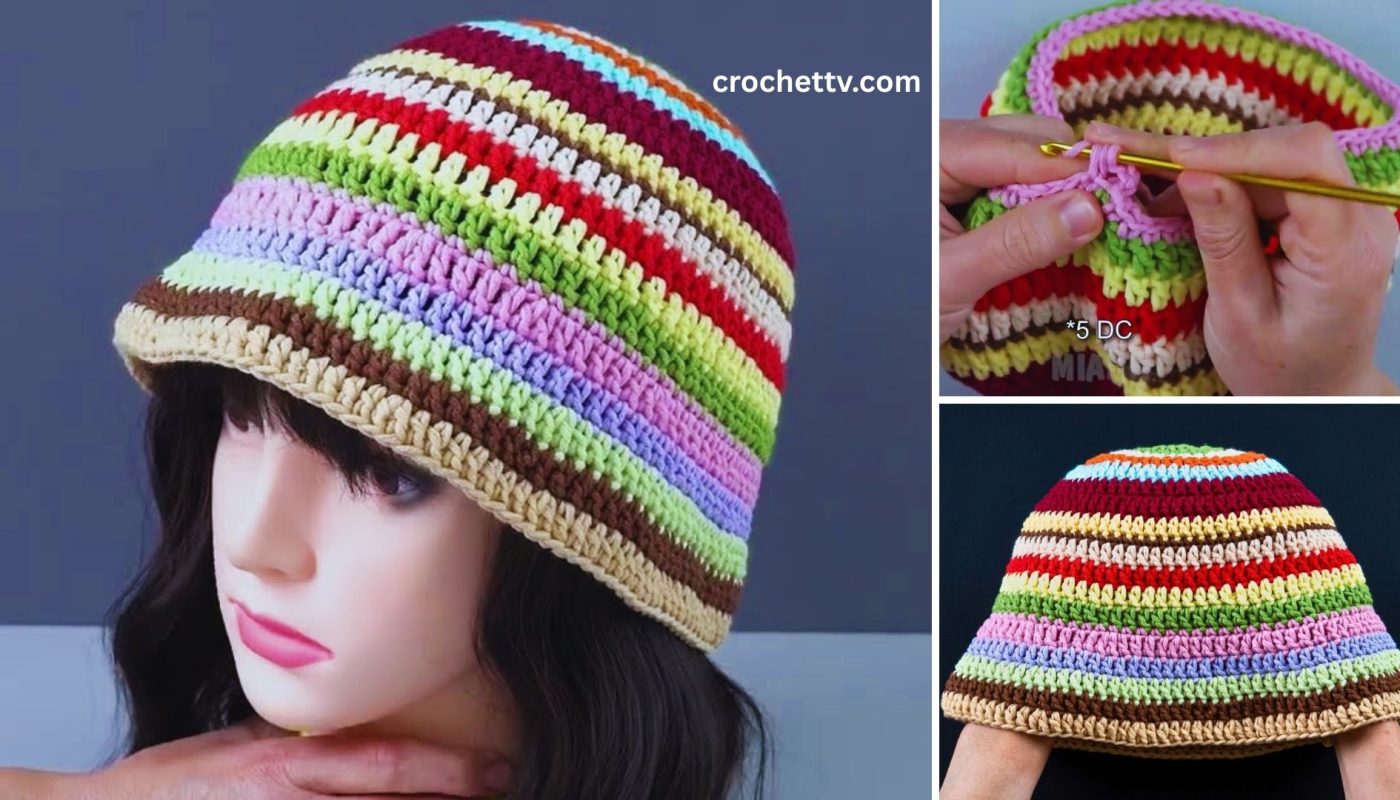
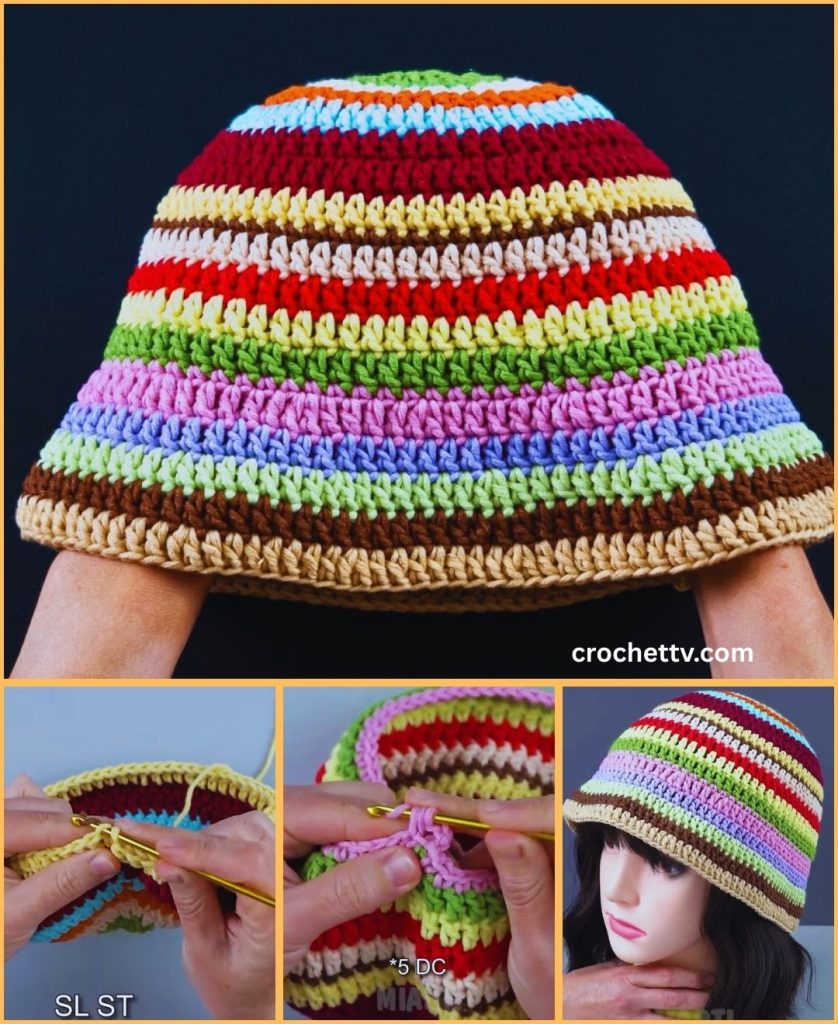
Absolutely! Here’s a long-form, detailed, step-by-step guide on how to make an easy multicolor crochet bucket hat using scrap yarn. This is a fun, beginner-friendly project that’s perfect for using up leftover yarn while creating something fashionable and functional.
🎨 How to Make an Easy Multicolor Crochet Bucket Hat from Scrap Yarn | Step-by-Step Pattern (Full Guide)
If you’ve been crocheting for a while, chances are you have a growing stash of colorful yarn scraps. Instead of letting them go to waste, why not turn them into a vibrant and trendy multicolor bucket hat?
This easy project is perfect for beginners and a great way to practice crocheting in the round. Each stripe or section of color adds charm and personality, making every hat truly one of a kind.
🧶 What is a Crochet Bucket Hat?
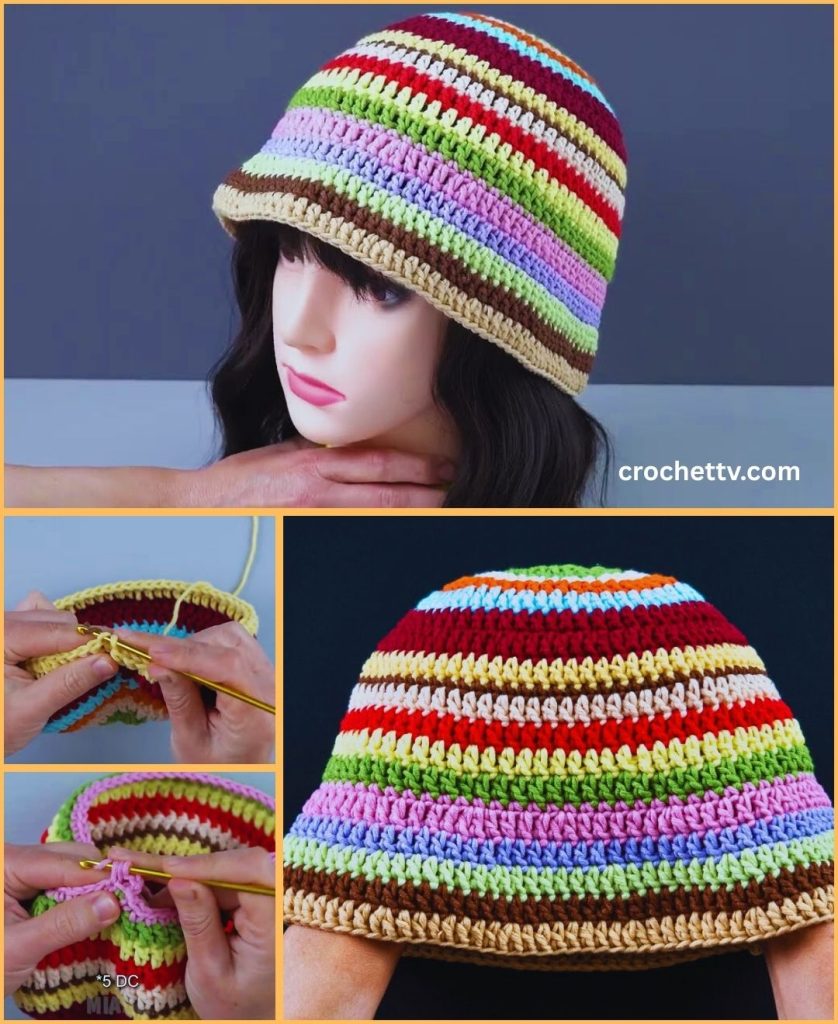
A crochet bucket hat is a soft, round hat with a flat crown and a gently flared brim that protects you from the sun while making a style statement. They’re lightweight, breathable, and especially perfect for spring and summer.
✨ Why Use Scrap Yarn?
Using scrap yarn:
- Reduces waste 🌍
- Adds playful color combinations 🎨
- Makes each project unique 🧵
- Helps you experiment with textures and fibers 🧶
This is a zero-waste project and a fun challenge for crocheters who love colorful accessories.
🧵 Materials You’ll Need
- Scrap yarn: Any combination of DK, light worsted, or medium weight yarns ✅ Cotton is ideal for a breathable summer hat. Acrylic works too.
- Crochet hook: 4.0 mm – 5.0 mm (adjust for your yarn weight and tension)
- Yarn needle: for weaving in ends
- Scissors
- Stitch marker: optional but helpful for rounds
- Measuring tape
🧠 Note: Try to use yarns of similar weight for even stitches.
🧵 Gauge & Fit
- Gauge (approximate): 14-16 sc = 4 inches
- Hat Size (adult medium):
- Crown diameter: ~6.5–7 inches
- Hat height: ~7.5–8 inches
- Brim: ~2–3 inches
Adjust for a child/teen by reducing number of crown rounds or height.
🎯 Hat Structure Overview
The bucket hat is made in three sections:
- Crown (Top Circle)
- Body (Straight sides)
- Brim (Flared edge)
🌈 Color Planning Tips
- Use random color changes or create a planned gradient.
- You can switch colors:
- Every row
- Every 2–3 rows
- Randomly, depending on scrap size
Use the “magic knot” or invisible color joins to connect small yarn pieces, or simply change colors at the beginning of a new round.
🧵 STITCHES USED (US Terms)
- ch – chain
- sc – single crochet
- hdc – half double crochet (optional)
- sl st – slip stitch
- inc – increase (2 sc in same stitch)
This hat is mostly made in single crochet, making it beginner-friendly and firm enough to hold its shape.
🪡 Step-by-Step Pattern: Easy Scrap Yarn Bucket Hat
🔸 PART 1: Crown (Top Circle)
We’ll start by crocheting a flat circle in continuous rounds.
Round 1:
- Make a magic ring, ch 1, and work 6 sc into the ring.
- Pull tight, place a stitch marker in the first sc. (6 sts)
Round 2:
- 2 sc in each st around (12 sts)
Round 3:
- 1 sc in next st, 2 sc in next – repeat around (18 sts)
Round 4:
- 1 sc in next 2 sts, 2 sc in next – repeat (24 sts)
Round 5:
- 1 sc in next 3 sts, 2 sc in next – repeat (30 sts)
Continue increasing this way until your flat circle is about 6.5–7 inches in diameter for an adult-sized hat:
| Round | Pattern | Total Stitches |
|---|---|---|
| 6 | sc x4, inc | 36 |
| 7 | sc x5, inc | 42 |
| 8 | sc x6, inc | 48 |
| 9 | sc x7, inc | 54 |
| 10 | sc x8, inc | 60 |
| 11 | sc x9, inc | 66 |
| 12 | sc x10, inc | 72 |
🧶 Switch colors every 1–2 rounds or whenever your scrap runs out!
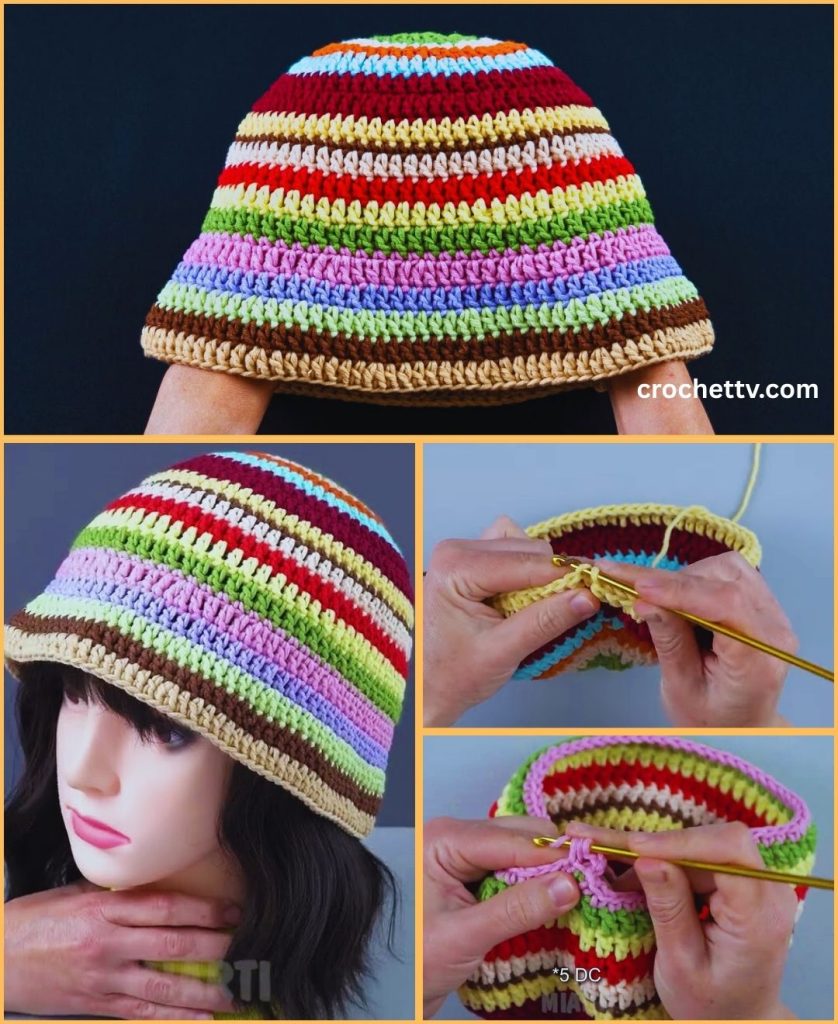
🔸 PART 2: Hat Body (Straight Sides)
Now that the crown is wide enough, we stop increasing and build up the sides.
Rounds 13–22 (or until desired height):
- 1 sc in each st around (72 sts)
Repeat until the height from the center to the edge measures about 7.5–8 inches (including crown).
🧵 Add more rows for a taller hat or fewer for a snug fit.
🧠 Optional variation: Use hdc for some rows for slight texture.
🔸 PART 3: Brim (Flared Out)
We begin increasing again to create the brim. You can customize the width!
Round 23:
- 1 sc in next 5 sts, 2 sc in next – repeat (84 sts)
Round 24:
- 1 sc in next 6 sts, 2 sc in next – repeat (96 sts)
Round 25:
- 1 sc in next 7 sts, 2 sc in next – repeat (108 sts)
Continue this pattern if you want a wider brim, up to 4–5 rows.
Optional final round:
- Work 1 round of slip stitch or reverse sc (crab stitch) for a sturdy, decorative edge.
✂️ Finishing
- Fasten off your yarn.
- Use a yarn needle to weave in all ends securely.
- Shape the hat by gently blocking it with steam and letting it dry over a bowl or balloon to hold the crown shape.
🧼 Care Instructions
- Hand wash or gentle machine wash in cold water.
- Reshape and lay flat to dry.
- Avoid high heat (especially for acrylic yarns).
🎁 Style & Customization Ideas
- 🧵 Add a patch, button, or embroidery
- 🌸 Crochet a flower or smiley face to sew on
- ✂️ Sew on a fabric lining (for structure and comfort)
- 🎨 Go for color themes (pastel, rainbow, ombré)
- 👒 Use stiffer yarn or fabric stiffener for a firmer brim
🔁 Pattern Adjustments
| Want to… | Try this: |
|---|---|
| Make it for a child | Stop increasing at ~5.5″ crown, reduce body rows |
| Make it for a man | Increase crown to 7.5″, extend body height |
| Make it slouchy | Add 3–5 more body rows |
| Add sun protection | Extend the brim with extra increase rows |
📸 Share Your Hat!
Once you’re done, show off your funky, colorful creation! Share on social media or crochet communities using hashtags like:
- #ScrapYarnHat
- #CrochetBucketHat
- #CrochetFromStash
- #YarnScrapsProject
- #DIYBucketHat
🧵 Final Thoughts
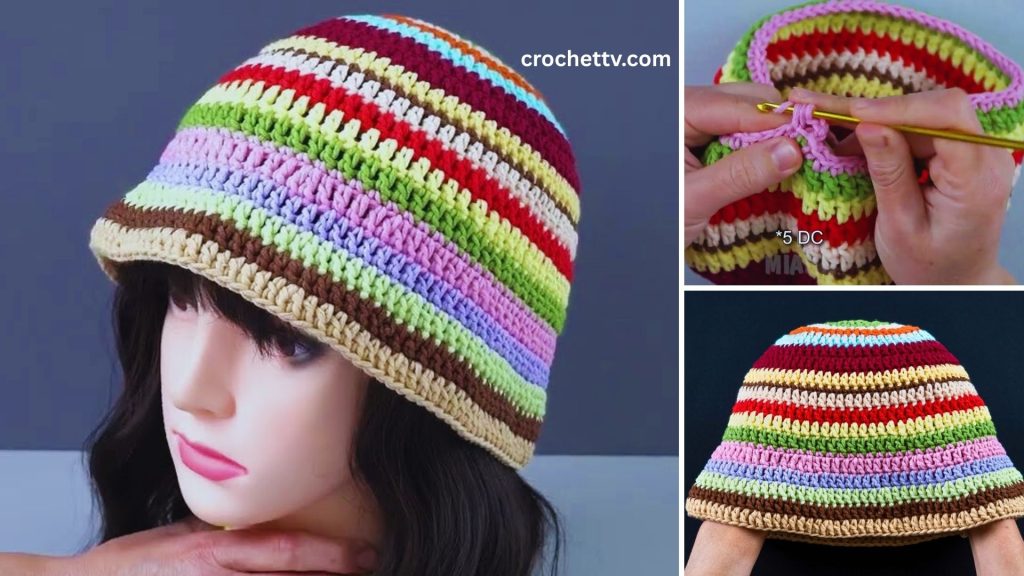
Making a multicolor crochet bucket hat with scrap yarn is not just eco-friendly — it’s creative, addictive, and a great way to practice crocheting in the round. You’ll love watching your yarn scraps transform into a wearable work of art.
No two hats are the same, and that’s what makes them so special. Whether you’re gifting it, selling it, or wearing it proudly yourself, your handmade hat will be full of personality and color.
Blocking (Optional but Recommended): For a professional finish, you can gently block your hat. Simply mist the hat with water, shape the brim, and let it air dry. This will help open up the stitches and give the hat a nice, finished drape.
Congratulations! You have successfully crocheted a stylish and unique multicolor bucket hat while using up your scrap yarn. Enjoy your new handmade accessory!

