 by
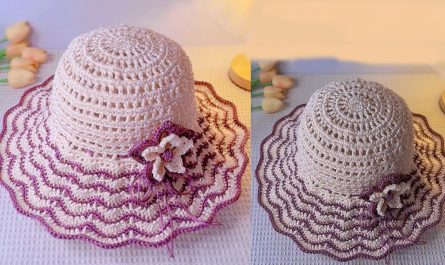
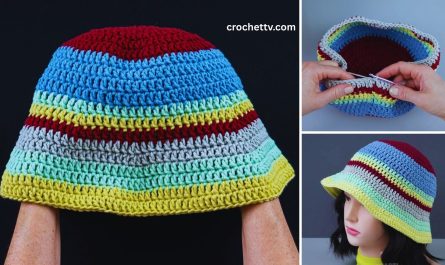
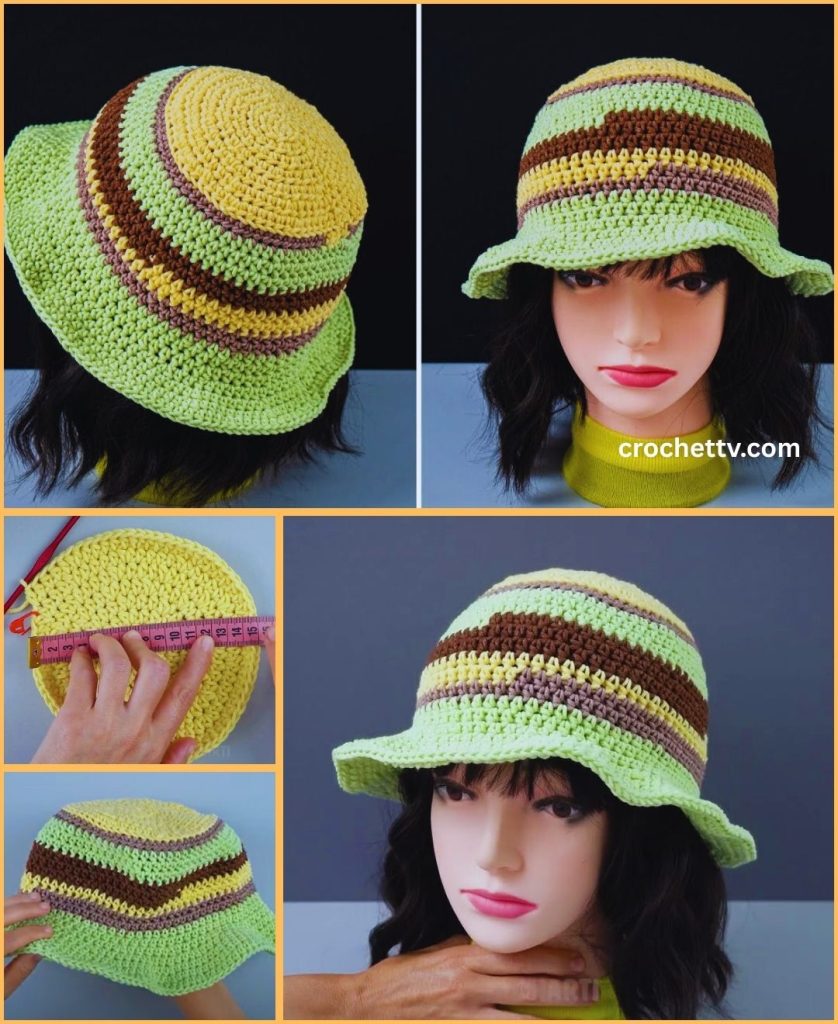
by Crocheting a bucket hat is a fun and practical project, and adding stripes is an easy way to make it more vibrant and unique. This tutorial will guide you step-by-step through creating a stylish striped bucket hat, from the flat top to the final brim. You’ll learn how to seamlessly change colors and work in the round to create a classic, modern accessory.
Skill Level: Confident Beginner
This pattern is a great challenge if you’re comfortable with:
- Magic Ring (MR): For a neat, closed center.
- Chain (ch): The fundamental stitch.
- Slip Stitch (sl st): For joining rounds neatly.
- Single Crochet (sc): The main stitch for this pattern.
- Working in the Round: Crocheting in a continuous circle.
- Changing Colors: Seamlessly switching between different yarns.
- Weaving in Ends: The crucial final step for a polished finish.
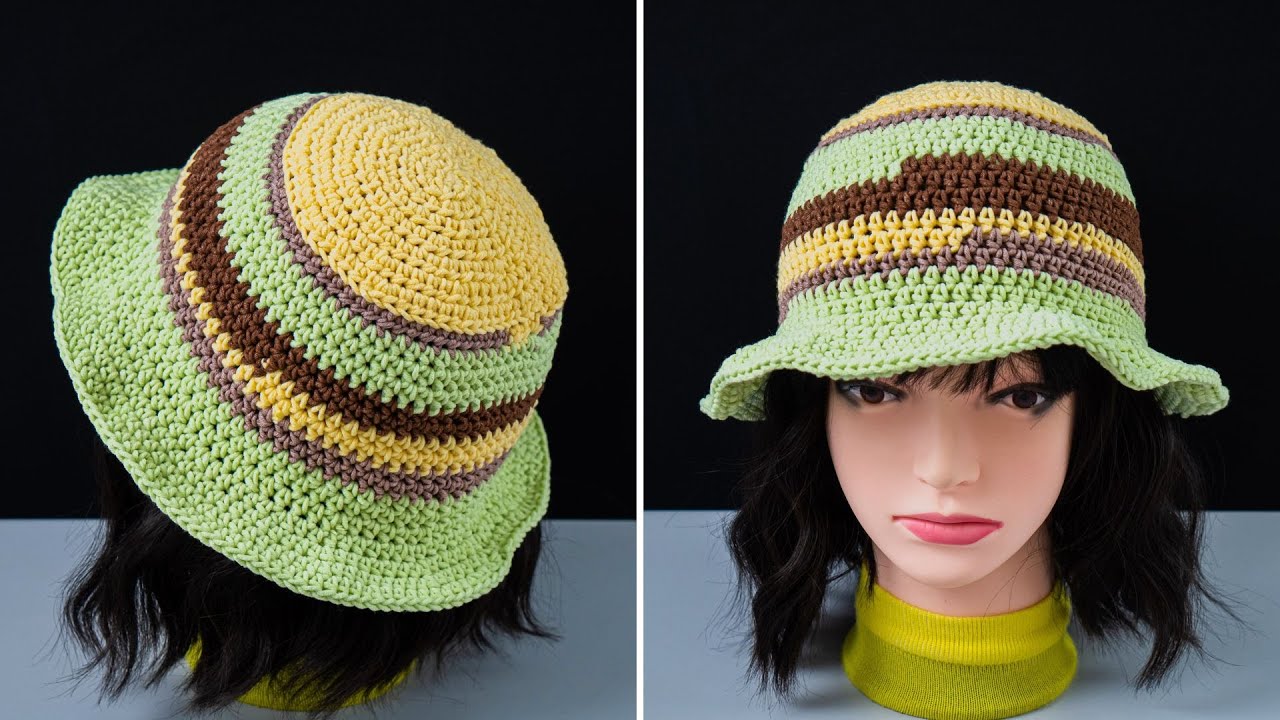
Finished Hat Dimensions (Approximate):
Using the recommended yarn and hook, your finished hat will fit an average adult head. You can adjust the size by changing the number of increase rounds in the top.
- Hat Circumference: 22-23 inches (56-58 cm)
- Hat Height: 6-7 inches (15-18 cm)
- Brim Width: 2-3 inches (5-7.5 cm)
Materials You’ll Need:
- Yarn: Approximately 150-200 yards (135-180 meters) of Worsted Weight (Medium #4) Cotton or Cotton Blend Yarn. Cotton is highly recommended for a summer hat as it’s breathable and holds its shape well. Choose at least two colors for your stripes.
- Crochet Hook: Size H/5.0mm.
- Yarn Needle (Tapestry Needle): For weaving in ends.
- Scissors: Any sharp pair for cutting your yarn.
- Stitch Marker: Essential for marking the beginning of each round when working in a spiral.
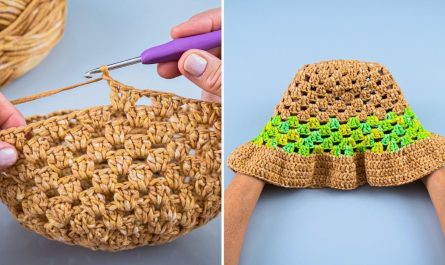
Part 1: The Top of the Hat
We’ll start by making a flat circle that will form the crown of the bucket hat. The number of rounds you do here determines the circumference of your hat.
- Round 1 (Color A):
- Create a Magic Ring (MR).
- Work 8 single crochet (sc) stitches into the Magic Ring.
- Pull the Magic Ring tail tightly to close the hole.
- Join with a slip stitch (sl st) to the first sc to close the round. (8 sc)
- Round 2 (Color B):
- Change to Color B on the last slip stitch of the previous round.
- Chain 1 (ch 1) (does not count as a stitch).
- Work 2 sc into each stitch around. (16 sc)
- Join with a sl st to the first sc.
- Round 3 (Color A):
- Change to Color A on the last slip stitch.
- Chain 1 (ch 1).
- *Work 1 sc into the first stitch. Work 2 sc into the next stitch.*
- Repeat from * to * around the round. (24 sc)
- Join with a sl st to the first sc.
- Continue Increasing:
- Round 4 (Color B): Work 1 sc into the next 2 stitches, then 2 sc into the next stitch. (32 sc)
- Round 5 (Color A): Work 1 sc into the next 3 stitches, then 2 sc into the next stitch. (40 sc)
- Round 6 (Color B): Work 1 sc into the next 4 stitches, then 2 sc into the next stitch. (48 sc)
- Round 7 (Color A): Work 1 sc into the next 5 stitches, then 2 sc into the next stitch. (56 sc)
- Round 8 (Color B): Work 1 sc into the next 6 stitches, then 2 sc into the next stitch. (64 sc)
- Round 9 (Color A): Work 1 sc into the next 7 stitches, then 2 sc into the next stitch. (72 sc)
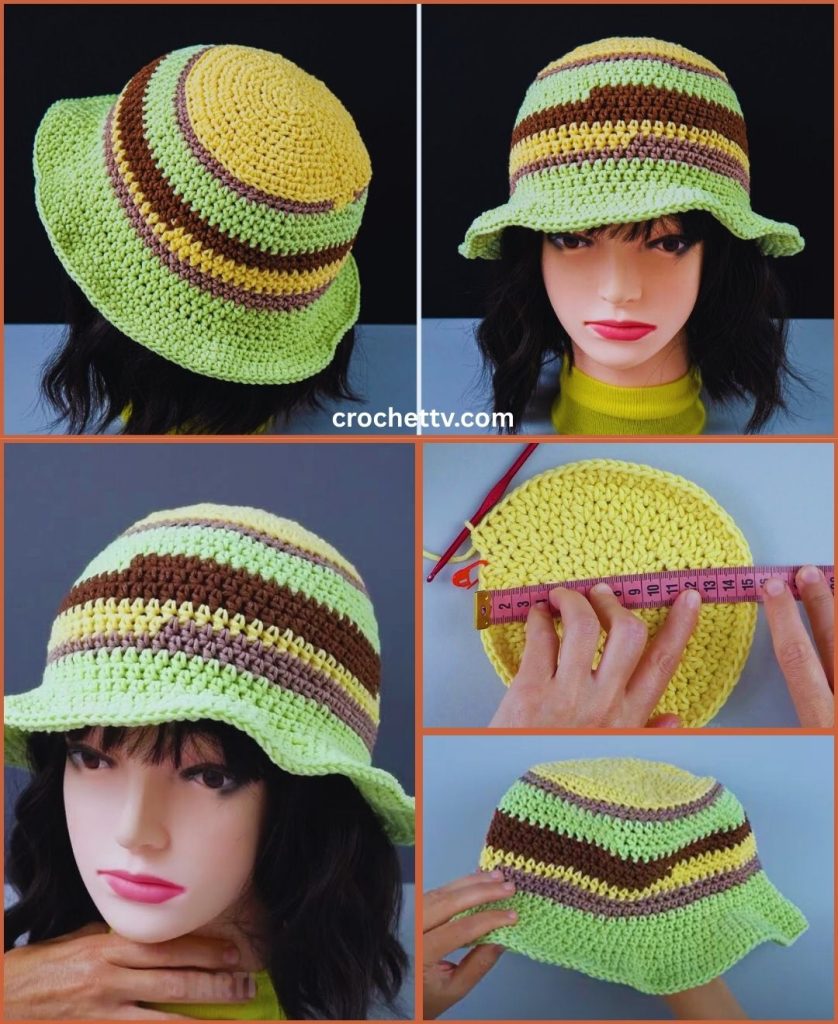
- Continue this pattern of increasing until your flat circle measures about 6-7 inches (15-18 cm) in diameter. This will give you the right circumference for an adult head.
Part 2: The Sides of the Hat
Now we’ll stop increasing and work the sides of the hat, which will create a vertical wall. The number of rounds you work here determines the height of your hat.
- Round 10 and Beyond:
- Continue your color changes for each new round.
- Chain 1 (ch 1).
- Work 1 sc into each stitch around.
- Join with a sl st to the first sc.
- Repeat this round until the sides of your hat reach about 3-4 inches (7.5-10 cm) in height.
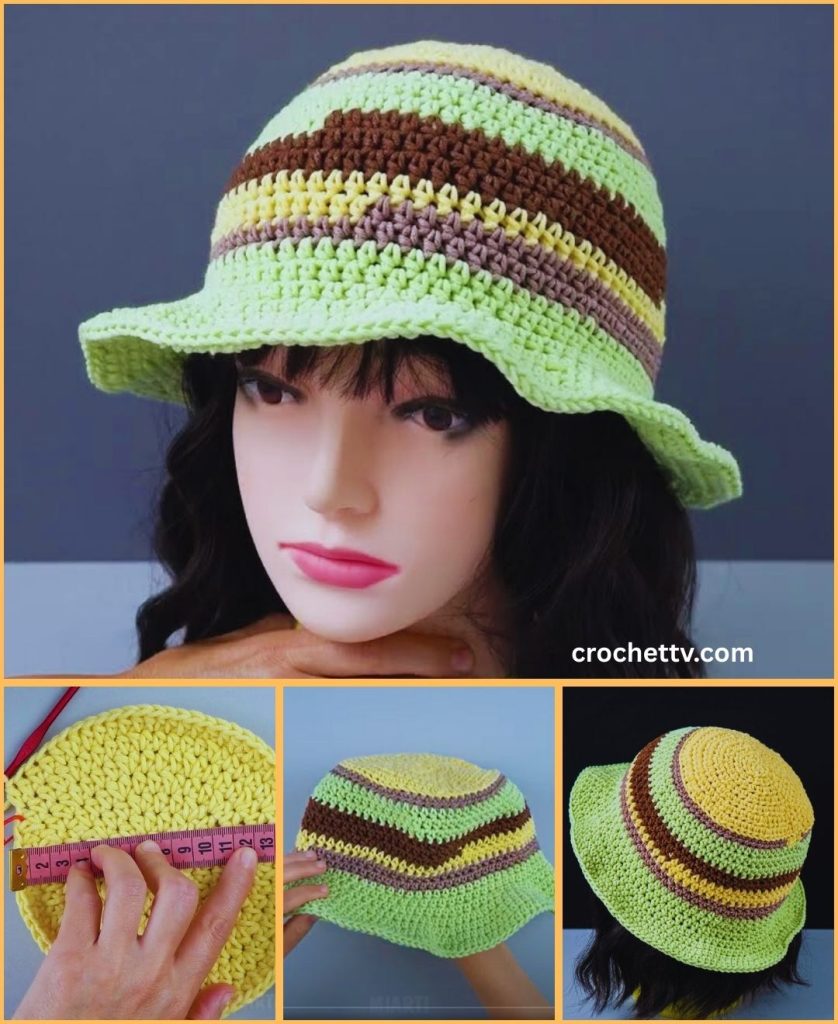
Part 3: The Brim
The brim is the final element that gives the hat its classic bucket hat shape. We’ll work the brim with increases to make it flare outward.
- Brim Round 1:
- Chain 1 (ch 1).
- *Work 2 sc into the first stitch. Work 1 sc into the next 5 stitches.*
- Repeat from * to * around the round.
- Join with a sl st to the first sc.
- Brim Round 2:
- Chain 1 (ch 1).
- Work 1 sc into each stitch around.
- Join with a sl st to the first sc.
- Brim Round 3:
- Chain 1 (ch 1).
- *Work 2 sc into the first stitch. Work 1 sc into the next 6 stitches.*
- Repeat from * to * around the round.
- Join with a sl st to the first sc.
- Brim Round 4 (Final):
- Chain 1 (ch 1).
- Work 1 sc into each stitch around.
- Join with a sl st to the first sc.
Final Finishing Touches
- Fasten Off:
- Chain 1 and cut your yarn, leaving a tail of about 6 inches (15 cm).
- Pull the tail through the loop on your hook to secure the stitch.
- Weave in All Ends:
- Use your yarn needle to meticulously weave in all the yarn tails. This is the most crucial step for a professional and durable finish. Weave the tails along existing stitches on the inside of the hat, changing direction to lock them in place.
Congratulations! You’ve successfully crocheted a unique and stylish striped bucket hat. What color combination will you try next?