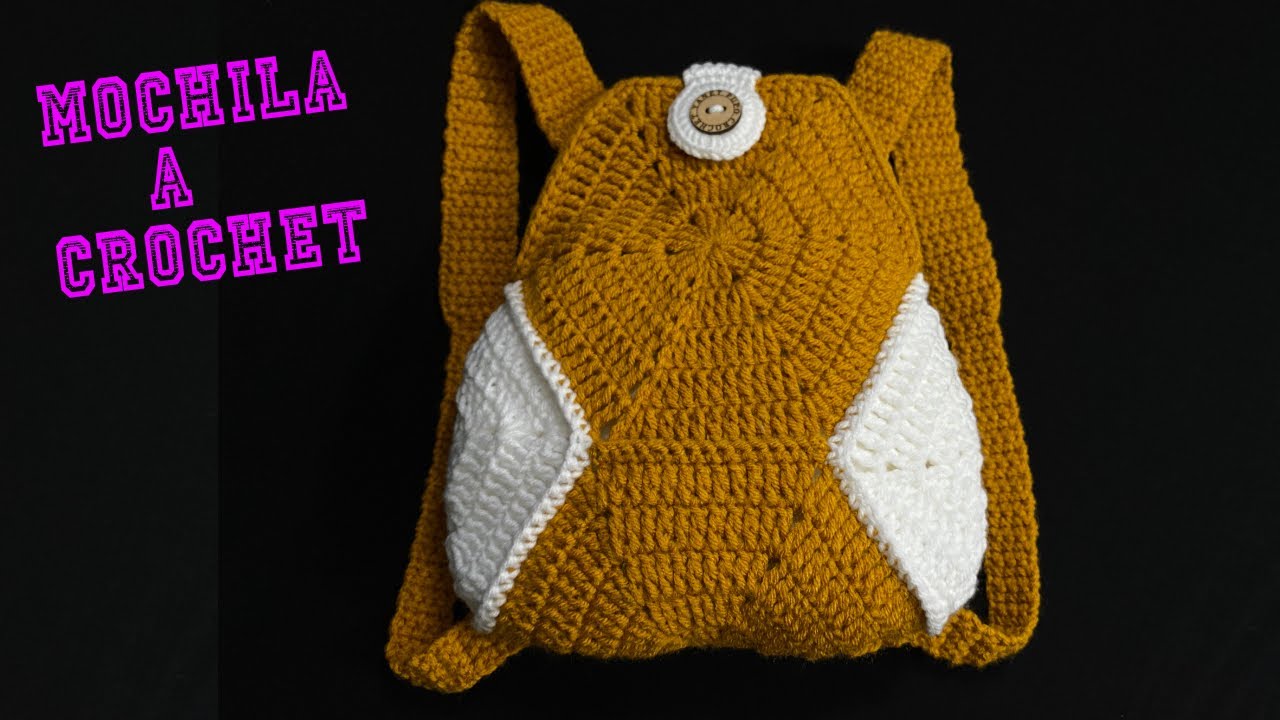
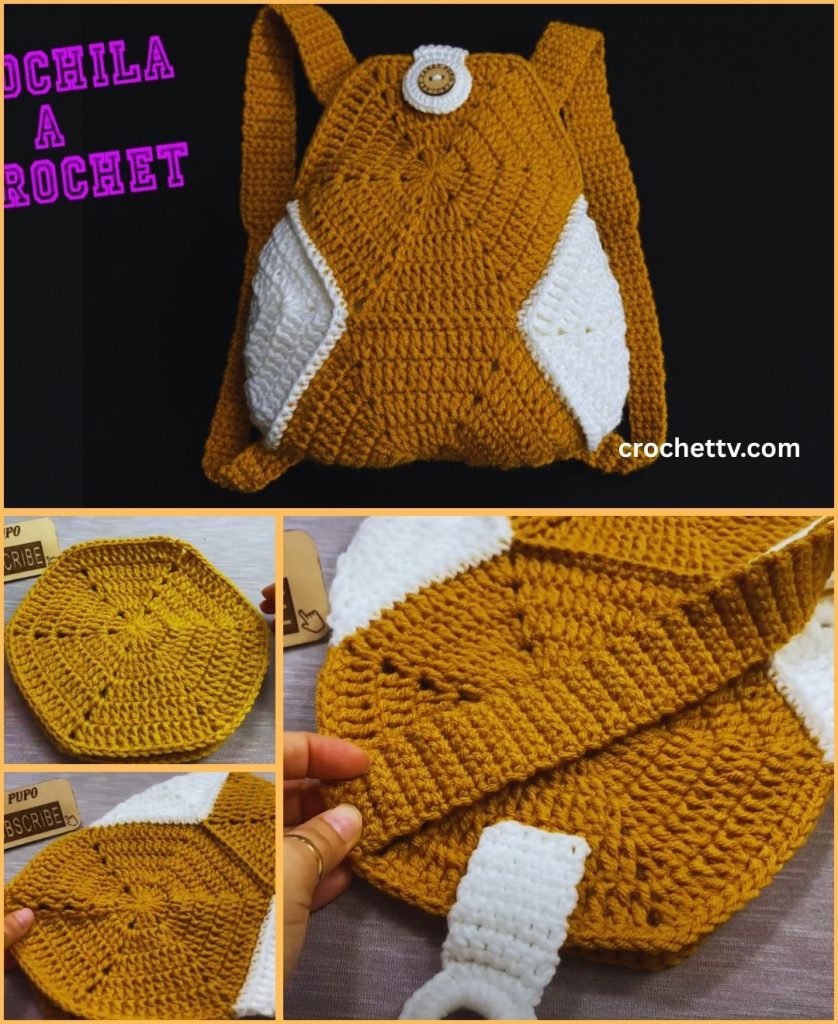
A handmade crochet backpack is a fantastic project that combines the classic charm of granny squares with the practicality of a functional bag. This detailed, step-by-step article will guide you through the process of creating a unique backpack, from crocheting the individual granny squares to assembling and adding the finishing touches.
Materials You’ll Need
- Yarn: Worsted weight (aran/10-ply) or DK (8-ply) yarn is a great choice for this project. Cotton, acrylic, or a blend of both will create a durable and sturdy bag.
- Main Color: For the body of the bag and straps.
- Various Colors: For the granny squares. This is where you can get creative with your color palette!
- Crochet Hook: A hook size appropriate for your yarn. A 4.0mm (G/6) or 5.0mm (H/8) is a good starting point. Check your yarn label for the recommended hook size.
- Scissors
- Yarn Needle (Tapestry Needle): Essential for weaving in ends and seaming the squares together.
- Stitch Markers: Very helpful for keeping track of your rounds and seams.
- Optional:
- Fabric for Lining: To prevent items from stretching the crochet and to keep small objects from falling out.
- Drawstring or Bag Closures: Leather cord, a crocheted chain, or magnetic clasps.
- D-rings or Bag Hardware: For adjustable straps.
Part 1: Crocheting the Granny Squares
The number of squares you need will depend on the size of your backpack. A common layout uses a minimum of 14-15 squares:
- Front Panel: 4-9 squares (e.g., a 2×2 or 3×3 grid).
- Back Panel: 4-9 squares (matching the front).
- Side Panels: 1-2 squares per side, or a continuous strip of crochet.
- Base: 1-2 squares.
- Flap (Optional): 1 square.
For a medium-sized backpack, you might aim for a total of 14 squares (a 3×2 grid for the front and back, and 1×1 for each side and the base).
Basic Granny Square Pattern:
- Foundation: Start with a magic ring or by chaining 4 and slip stitching to the first chain to form a ring.
- Round 1: Ch 3 (counts as a dc), 2 dc into the ring. Ch 2, 3 dc into the ring. Repeat from * to * two more times. Ch 2, sl st to the top of the initial Ch 3 to join. (You will have four 3-dc clusters separated by four ch-2 spaces).
- Round 2: Sl st into the next two dc and then into the ch-2 space. Ch 3 (counts as a dc), (2 dc, ch 2, 3 dc) into the same ch-2 space. Ch 1, (3 dc, ch 2, 3 dc) into the next ch-2 space. Repeat from * to * two more times. Ch 1, sl st to the top of the initial Ch 3 to join.
- Round 3 and beyond: Sl st into the next two dc and into the corner ch-2 space. Ch 3, (2 dc, ch 2, 3 dc) into the same corner space. Ch 1, 3 dc into the next ch-1 space. Ch 1, (3 dc, ch 2, 3 dc) into the next corner space. Repeat from * to * around. End the round with a ch 1 and sl st to the top of the initial Ch 3.
Tips for Your Squares:
- Consistency is Key: Make sure all your squares are the same size. Blocking your squares before assembly will help them lie flat and make seaming much easier.
- Color Changes: To change colors, work the last stitch of a round up to the final yarn over. Yarn over with the new color and pull through all loops on the hook. This creates a clean transition.

Part 2: Assembling the Backpack
This is where your individual squares come together to form the structure of the bag. Laying out your squares in a specific pattern before you start is crucial.
Seaming Techniques: You have a few options for joining your squares. Choose the one you find easiest and that gives you the look you want.
- Slip Stitch Join: With the wrong sides facing each other, insert your hook through the back loop of one square and the front loop of the corresponding stitch on the other square. Slip stitch all the way across.
- Single Crochet Join: Similar to the slip stitch, but you work a single crochet through the corresponding stitches of both squares. This creates a more visible, raised seam.
- Whipstitch: Use a yarn needle to sew the squares together. This creates a flat, almost invisible seam.
- Join-as-you-go: This is an advanced technique where you connect the squares as you crochet the final round of each new square.
Assembly Steps (Example Layout):
- Create the Main Panels: Join your squares for the front and back panels. For a 3×2 grid, you’ll have two rectangular panels.
- Attach the Base: Join the base square(s) to the bottom of the front panel. Then, join the back panel to the other side of the base. This forms a long strip.
- Form the Sides: Fold your long strip so the front and back panels meet. Join the side seams to create the basic box shape of the backpack.
- Add Side Panels: If your layout includes separate side panels, join them to the open sides of the bag.
Part 3: Building the Top and Straps
Once the main body of the backpack is assembled, you will work in the round to create the top opening and a drawstring channel.
- Joining Yarn: Join your main color yarn to any corner stitch at the top of the bag.
- Rounds for Height: Work several rounds of a simple stitch like single crochet (sc) or half double crochet (hdc) to create a collar for the backpack opening. This will give it more height and shape.
- Drawstring Channel:
- Work a round of
(ch 1, sk 1 st, dc in next st)or(ch 1, sk 1 st, sc in next st). This creates the holes for your drawstring. - Work another 1-2 rounds of single crochet to finish the top edge.
- Work a round of
Crocheting the Straps:
- Determine Placement: Find the best spots to attach the straps on the back of the bag. They should be centered and spaced comfortably apart.
- Start the Strap: Join yarn to one of the chosen spots. Ch 1, and sc in the first few stitches to create a sturdy base.
- Work the Strap: Continue to single crochet or half double crochet in rows until the strap is the desired length. For a more cushioned strap, you can work a wider strip.
- Attach the Strap: Use a slip stitch or a whipstitch to securely sew the end of the strap to the bottom of the bag. Be sure to reinforce this section with extra stitches as it will bear weight.
- Repeat: Make a second, identical strap for the other side.
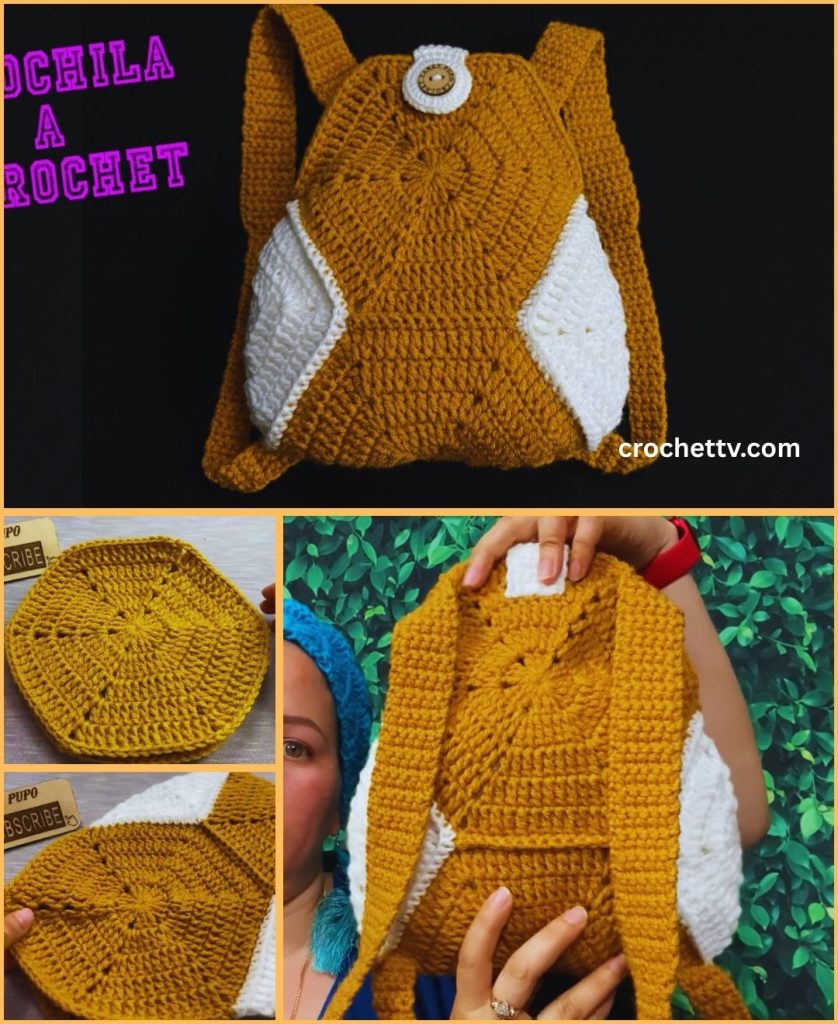
Part 4: The Finishing Touches
This is where you make the backpack truly yours.
- The Drawstring:
- Simple Chain: Ch a long length (175-200 chains) and weave it in and out of the drawstring channel you created.
- I-Cord: For a thicker, more durable drawstring, crochet an i-cord.
- Tassels or Pom Poms: Add tassels or pom poms to the ends of your drawstring for a fun, bohemian look.
- The Flap (Optional):
- Crochet an additional granny square or a panel in a matching stitch.
- Join it to the back panel of the bag, just below the top opening.
- Add a button, toggle, or a magnetic snap for a secure closure.
- Lining the Bag (Recommended):
- Cut a piece of fabric to fit the inside of your backpack.
- Sew the sides and bottom to create a bag shape.
- Pin the fabric lining to the top opening of your crocheted bag.
- Use a needle and thread to hand-sew the lining securely in place with a whipstitch.
Final Tips for Your Project:
- Weave in All Ends: Take the time to weave in all your loose yarn tails before seaming. This is a tedious but essential step for a clean finish.
- Reinforce Everything: For a backpack that will be used frequently, reinforce all stress points—where the straps attach and where the flap and closures are—with extra stitching.
- Customize! This is your chance to get creative. Play with different granny square patterns, try different yarns, add embroidery, or mix and match colors. The possibilities are endless.
Enjoy your beautiful, handmade granny square backpack!
Video Tutorial
https://www.youtube.com/watch?v=kHx40Gm9yWI&list=PLgpxY5JsCKjB_QqxnoHg5I6xdPV-SRt19&index=1

