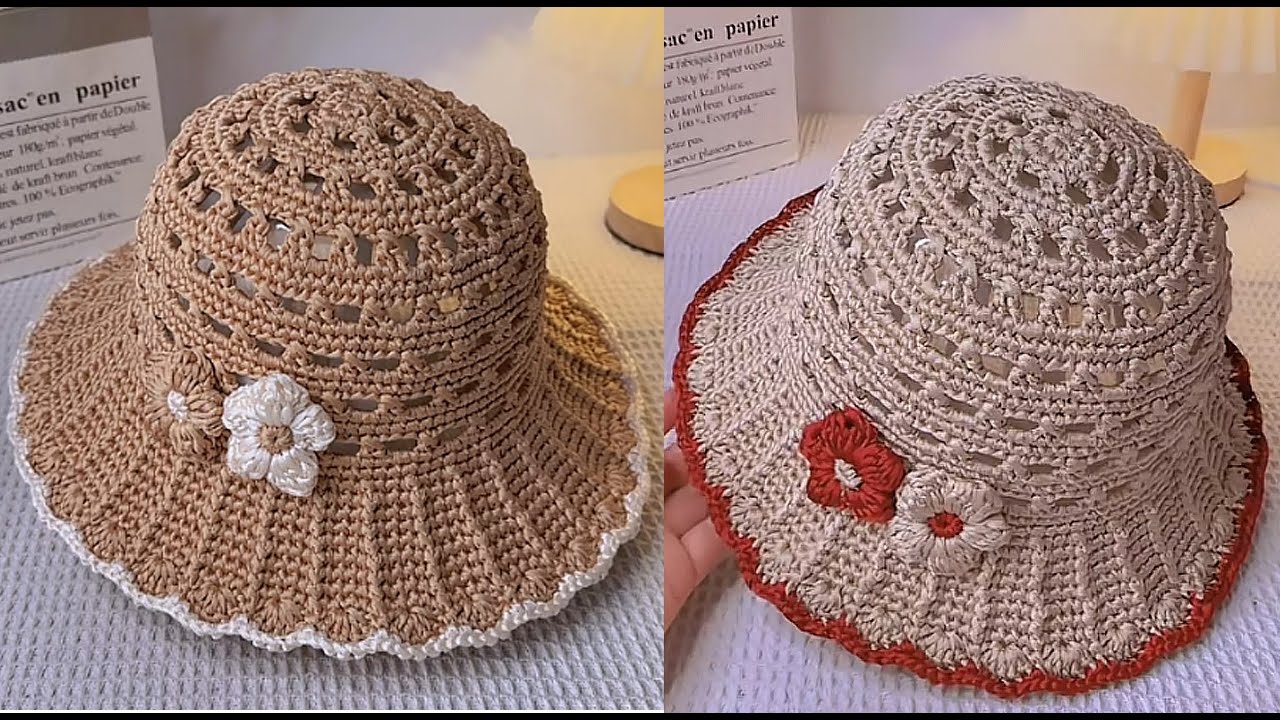
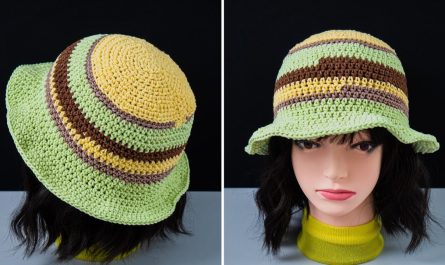
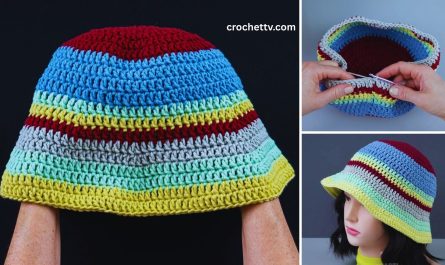
Making a Hollow Summer Crochet Hat with Puff Flowers is a delightful project that combines a classic, breathable design with a touch of whimsical floral charm. This detailed tutorial will guide you through each step, from selecting your materials to finishing off your beautiful, stylish hat. This pattern is perfect for beginners, as it primarily uses basic crochet stitches with a simple technique for the puff flowers.
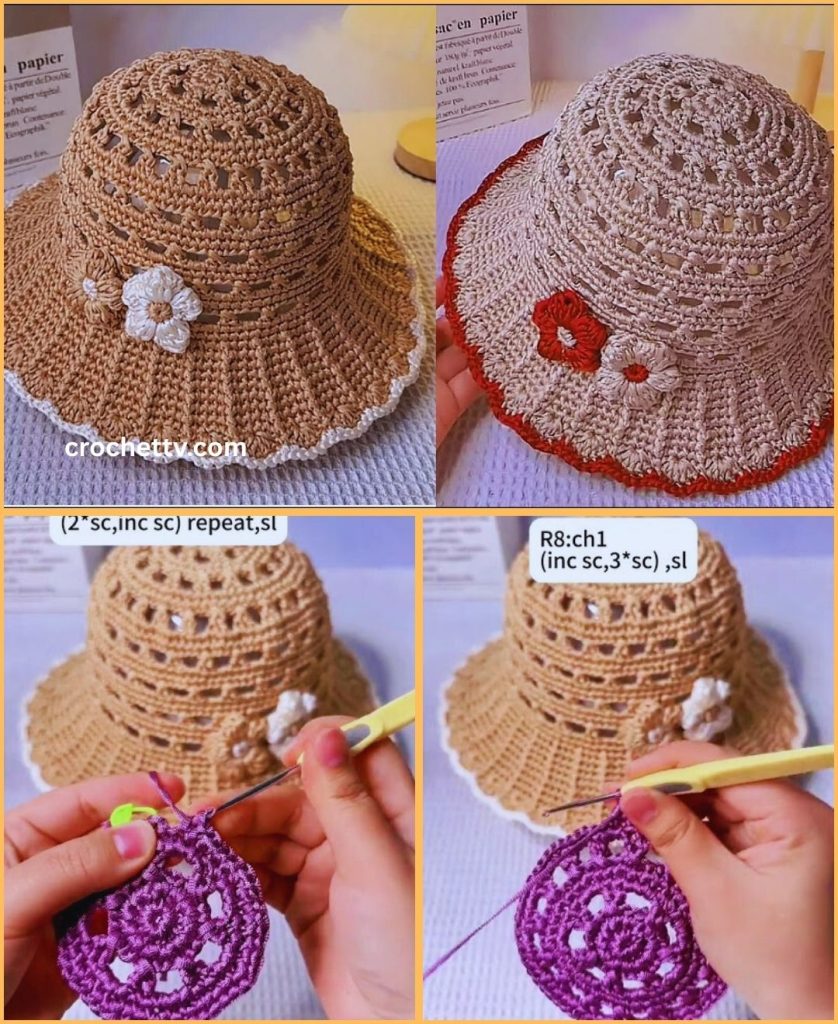
Materials You’ll Need
- Yarn: Approximately 100-150 grams of lightweight (DK/8-ply) or worsted weight (aran/10-ply) cotton or cotton-blend yarn. Cotton is highly recommended for summer hats because it’s breathable, absorbent, and holds its shape well.
- Main Color: A light or neutral color for the body of the hat.
- Accent Colors: Small amounts of yarn in a few different colors for the puff flowers.
- Crochet Hook: A hook size appropriate for your chosen yarn. A 4.0mm (G/6) or 5.0mm (H/8) hook is typically a good choice for DK or worsted weight yarn, respectively. Check the yarn label for the recommended hook size.
- Scissors
- Yarn Needle (Tapestry Needle): For weaving in ends.
- Stitch Marker: Highly recommended for keeping track of the beginning of your rounds.
Key Crochet Stitches and Techniques
- Magic Ring (or Chain 2 and work in the second chain from the hook): This is the foundation for starting your hat in the round without a hole.
- Chain (ch): The most basic crochet stitch.
- Slip Stitch (sl st): Used to join rounds and finish off.
- Single Crochet (sc): A very common and sturdy stitch.
- Half Double Crochet (hdc): A stitch taller than a single crochet but shorter than a double crochet.
- Double Crochet (dc): A basic and versatile stitch.
- The Puff Stitch (for the flowers): This is the star of the show. We will use a simple version of the puff stitch for our flowers.
Part 1: The Hollow Crown of the Hat
The hollow design of this hat comes from working a basic pattern in the round that creates a breathable, airy fabric. We will work in continuous rounds for the most seamless look.
Round 1: The Foundation Using your main color yarn, create a magic ring.
- Ch 2 (counts as first hdc).
- Work 10 hdc into the magic ring.
- Sl st to the top of the ch 2 to join. (11 stitches total)
Round 2: The First Increase
- Ch 2.
- Work 2 hdc into each stitch around.
- Sl st to the top of the ch 2 to join. (22 stitches total)
Round 3: The Second Increase
- Ch 2.
- 1 hdc in the next stitch, 2 hdc in the next stitch. Repeat from * to * around.
- Sl st to the top of the ch 2 to join. (33 stitches total)
Round 4: The Third Increase
- Ch 2.
- 1 hdc in the next 2 stitches, 2 hdc in the next stitch. Repeat from * to * around.
- Sl st to the top of the ch 2 to join. (44 stitches total)
Continuing the Increases Continue this pattern of increasing by one stitch between your increase stitches for each round until the crown of the hat measures about 6-7 inches in diameter. A general rule of thumb is to increase the stitch count by 11 stitches in each round.
- Round 5: hdc in next 3 stitches, 2 hdc in next stitch. Repeat around. (55 stitches)
- Round 6: hdc in next 4 stitches, 2 hdc in next stitch. Repeat around. (66 stitches)
- Round 7: hdc in next 5 stitches, 2 hdc in next stitch. Repeat around. (77 stitches)
- Round 8: hdc in next 6 stitches, 2 hdc in next stitch. Repeat around. (88 stitches)
Stop increasing when the crown fits the top of the head comfortably. You can try it on as you go.
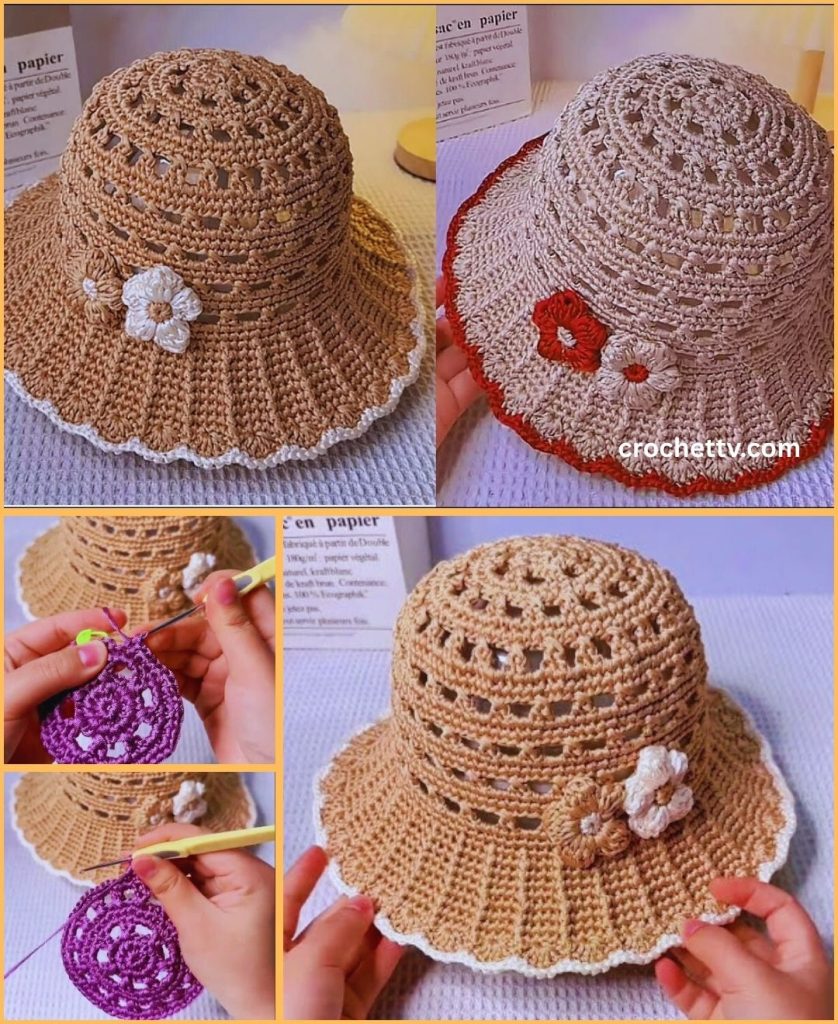
Part 2: The Body of the Hat
Once the crown is the correct size, you will stop increasing and work straight rounds to create the body of the hat.
- Rounds 9-20 (or until desired length):
- Ch 2.
- Work 1 hdc in each stitch around.
- Sl st to the top of the ch 2 to join.
The length of the body will determine how slouchy the hat is. For a standard fit, continue until the hat reaches just above your ears.
Part 3: The Puff Flowers
This is the fun part! You’ll create a handful of small puff flowers to attach to the hat. The number of flowers is up to you, but an odd number (3, 5, or 7) often looks best.
Puff Flower Instructions:
- Start: With an accent color yarn, create a magic ring.
- Petal 1:
- Ch 2.
- Yarn over, insert hook into the magic ring, yarn over, pull up a loop. (3 loops on hook). Repeat this process 2 more times (total of 3 yarn-over-and-pull-up-a-loop movements). You will have 7 loops on your hook.
- Yarn over and pull through all 7 loops on the hook.
- Ch 1 to secure the petal.
- Repeat for remaining petals:
- Yarn over, insert hook into the magic ring, yarn over, pull up a loop. Repeat 2 more times. (7 loops on hook).
- Yarn over and pull through all 7 loops.
- Ch 1 to secure.
- Repeat this process 3 more times to create a total of 5 petals.
- Finish: Sl st into the center of the magic ring to close the flower. Pull the yarn tail tight to close the ring completely.
- Leave a long tail: Cut the yarn, leaving a long tail (about 6-8 inches) for sewing the flower onto the hat.
- Repeat: Make as many flowers as you like in different colors.
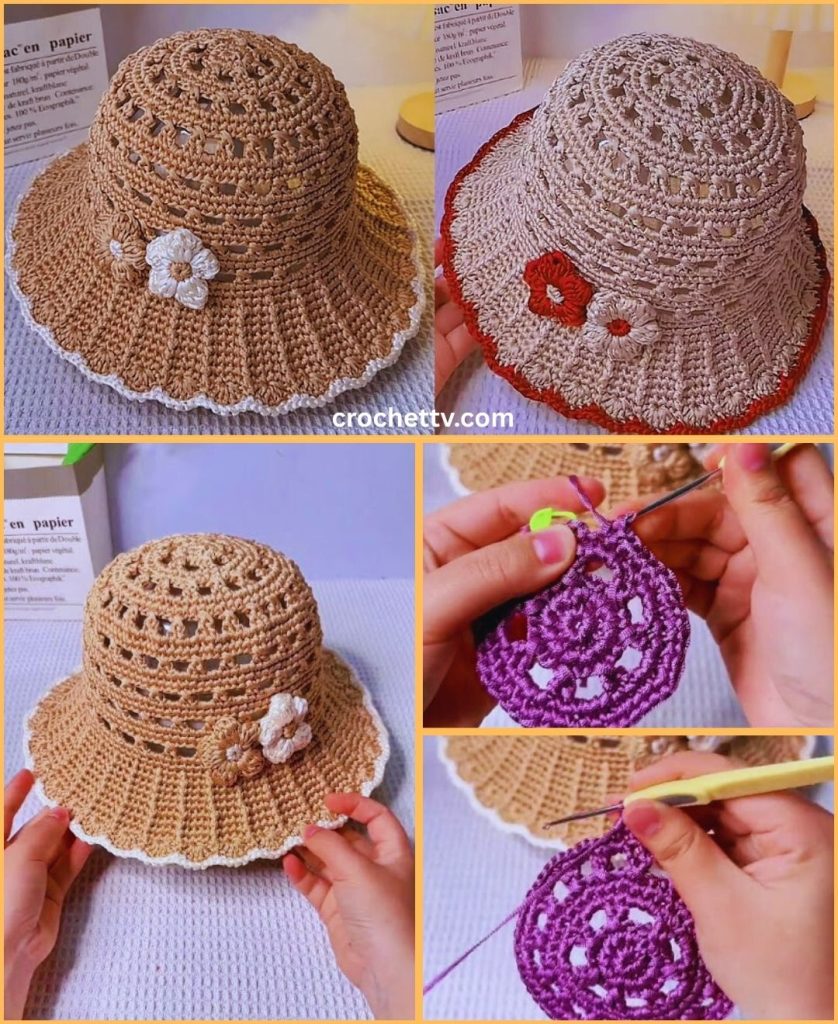
Part 4: Assembling and Finishing
Now it’s time to bring all the pieces together.
- Weave in Ends: Using your yarn needle, carefully weave in all the loose ends from the main hat body. This ensures a clean, professional finish.
- Attach the Flowers:
- Thread the long tail of one of your puff flowers onto the yarn needle.
- Position the flower on the hat where you would like it to be. A cluster of flowers on one side is a popular and stylish choice.
- Using the yarn needle, stitch the flower securely to the hat fabric. Sew through the base of the flower and the hdc stitches of the hat.
- Once the flower is secure, weave in the yarn tail on the inside of the hat to hide it.
- Repeat: Attach all your flowers in the same manner, arranging them in a way that you find aesthetically pleasing.
- Final Touches: You can add a simple edging to the brim of the hat if you desire, such as a round of single crochet stitches. This will give it a clean, finished edge.
Tips for Success
- Gauge: While not critical for this project, checking your gauge can help ensure the hat is the size you want. A good starting point is 4-5 hdc stitches per inch.
- Continuous Rounds: If you find the starting chain and slip stitch method difficult, you can work the entire hat in continuous rounds. Simply place a stitch marker at the beginning of each round and move it up. This creates a slightly slanted seam but can be easier for some beginners.
- Blocking: For a professional finish, you can gently block your hat. Simply wet the hat, shape it on a bowl or hat form, and let it air dry. This will help open up the stitches and give the hat a nice drape.
Congratulations! You have successfully created a beautiful and stylish Hollow Summer Crochet Hat with Puff Flowers. This easy and customizable project is perfect for sunny days and makes a wonderful handmade gift.

