 by
by A crochet baby blanket made from square motifs is a classic and heartfelt gift. It’s a project that’s easy for beginners to tackle, as it involves repeating a simple pattern and then joining the pieces together. This tutorial will walk you through creating a blanket that is beautiful, soft, and perfect for a new arrival.
Skill Level: Confident Beginner
This project is ideal if you’re comfortable with:
- Chain (ch): The fundamental stitch.
- Slip Stitch (sl st): For joining stitches.
- Double Crochet (dc): The main stitch for the squares.
- Joining Motifs: Connecting your finished squares.
- Weaving in Ends: The crucial final step.
Finished Baby Blanket Dimensions (Approximate)
Using the recommended yarn and a standard granny square size, your finished blanket will be approximately 30 x 30 inches (76 x 76 cm), a great size for a stroller or tummy time.
Materials You’ll Need:
- Yarn: Approximately 800-1000 yards (730-915 meters) of Worsted Weight (Medium #4) yarn. A soft, machine-washable yarn like acrylic or a cotton blend is highly recommended for a baby blanket.
- Crochet Hook: Size H/5.0mm.
- Yarn Needle (Tapestry Needle): Essential for weaving in ends and joining the squares.
- Scissors: To cut your yarn.
- Stitch Markers (Optional): To help you keep track of stitches or corners.
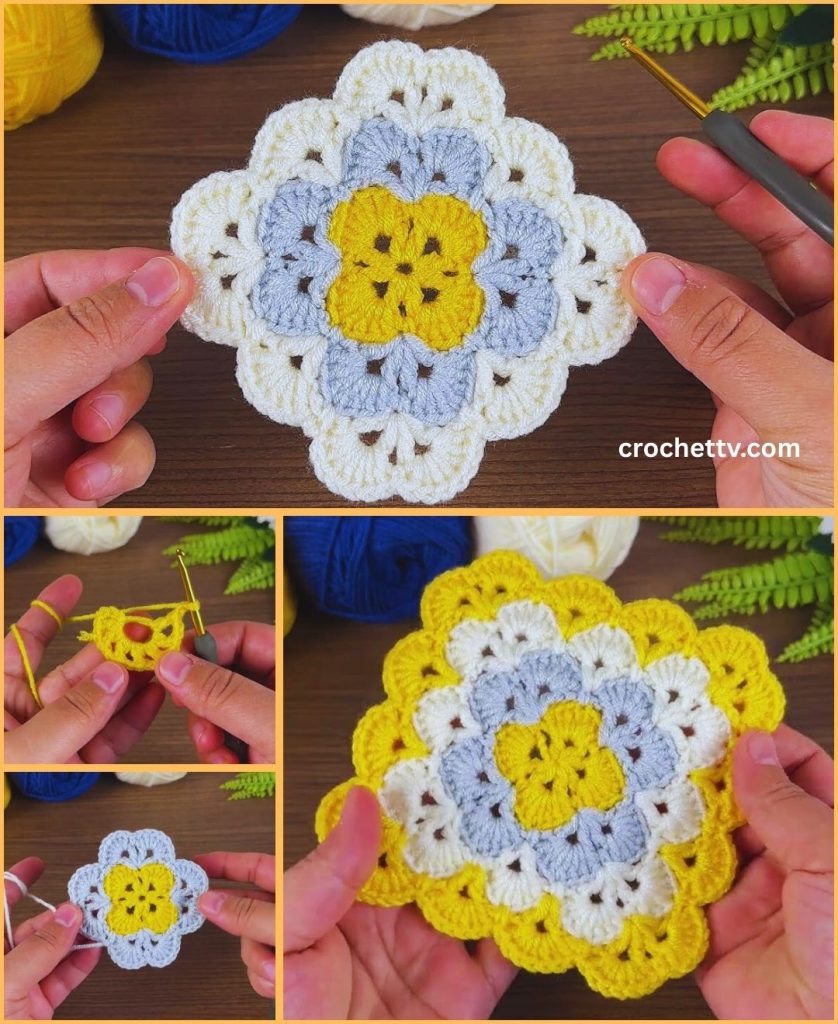
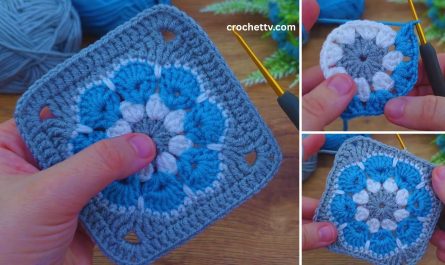
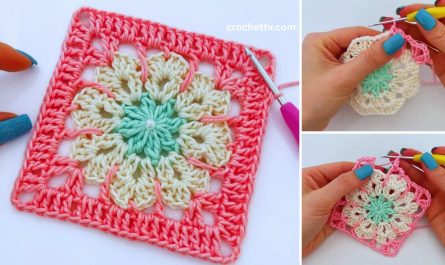
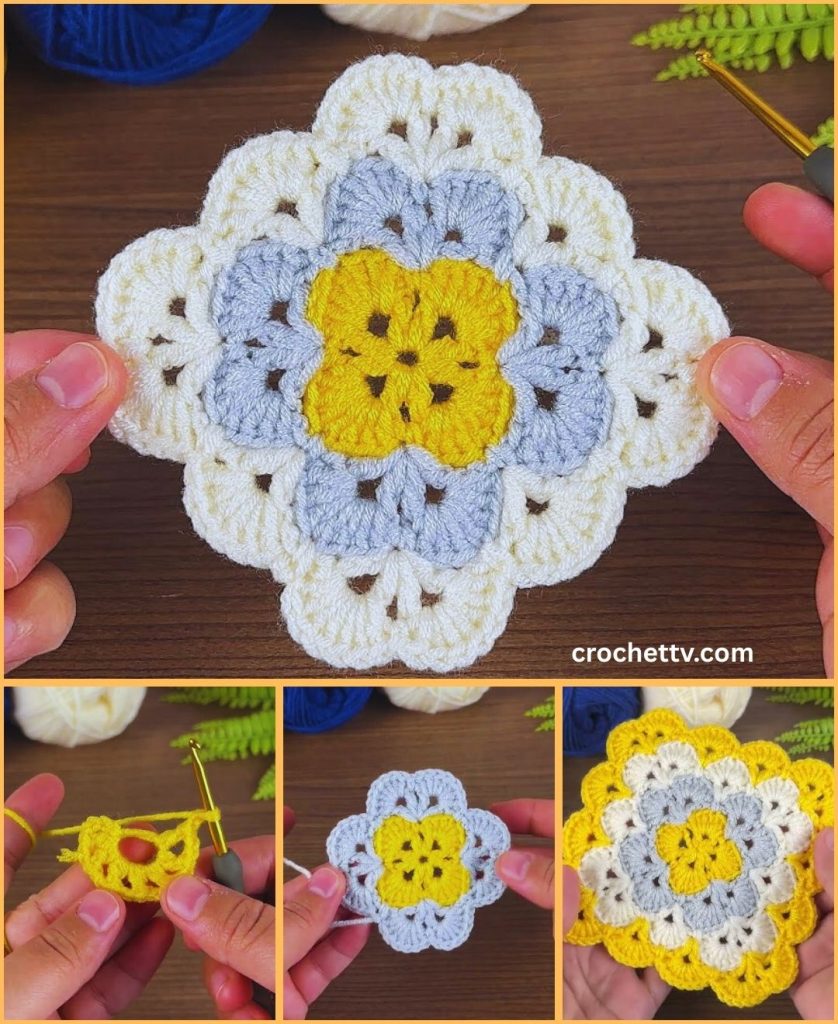
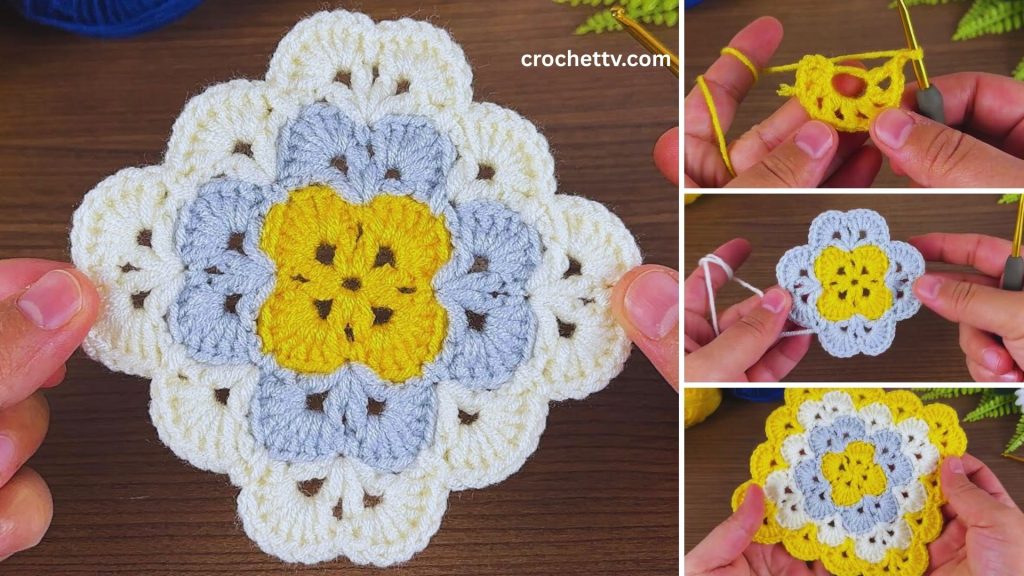
Part 1: Making the Granny Square Motifs
For a 30×30-inch blanket, you will need to make a total of 36 identical squares and arrange them in a 6×6 grid. Each square will be about 5 inches (12.5 cm) on each side.
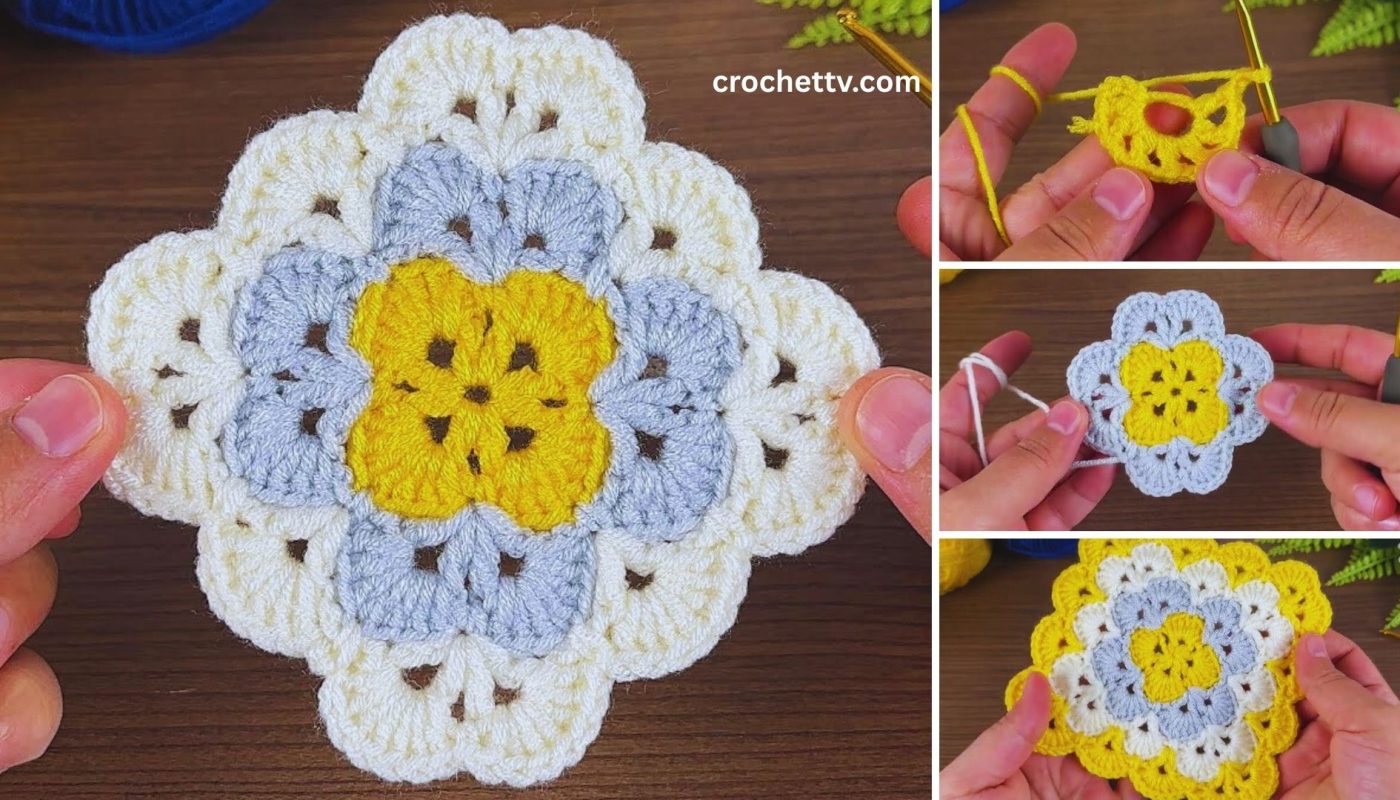
For each square, follow these steps:
- Round 1 (Magic Ring or Chain Start):
- Magic Ring: Create a Magic Ring. Chain 3 (counts as first dc), work 2 dc, ch 2, *
3 dc,ch 2*, repeat from * to * two more times. Pull the ring tight. Join with a sl st to the top of the beginning ch 3. - Chain Start: Chain 4, join with a sl st to form a ring. Ch 3, work 2 dc, ch 2, *
3 dc,ch 2*, repeat from * to * two more times. Join with a sl st to the top of the beginning ch 3.
- Magic Ring: Create a Magic Ring. Chain 3 (counts as first dc), work 2 dc, ch 2, *
- Round 2:
- Slip stitch into the next two stitches and into the next chain-2 corner space.
- Chain 3 (counts as first dc), work 2 dc, ch 2, 3 dc into the same corner space.
- Chain 1 (this creates a side space).
- *In the next corner space, work (3 dc, ch 2, 3 dc). Chain 1.*
- Repeat from * to * two more times.
- Join with a sl st to the top of the beginning ch 3.
- Round 3 and beyond:
- Slip stitch into the next two stitches and into the next corner space.
- Chain 3, work 2 dc, ch 2, 3 dc into the same corner space.
- Chain 1.
- Work 3 dc into the next side space.
- Chain 1.
- Continue this pattern: 3 dc into each side space and (3 dc, ch 2, 3 dc) into each corner space.
- Join with a sl st to the top of the beginning ch 3.
- Repeat Round 3 until your squares measure about 5 inches (12.5 cm) per side. Fasten off and weave in all tails.
Part 2: Assembling the Blanket
Once you have all 36 squares, it’s time to join them together. The easiest and neatest method for beginners is the whip stitch.
- Arrange the Squares:
- Lay out your squares on a large, flat surface in a 6×6 grid. This is a great time to experiment with color placement and a checkerboard pattern.
- Join the Columns:
- Thread your yarn needle with your joining color.
- Lay two squares side by side with the wrong sides facing.
- Begin a whip stitch by inserting your needle into the corner stitch of both squares and sewing through both loops of each corresponding stitch.
- Continue sewing down the side until you reach the next corner.
- Repeat this process to join all the squares in each column. You’ll end up with six long strips of squares.
- Join the Rows:
- Once all your vertical seams are sewn, repeat the process to join the horizontal seams. This will connect all your strips together.
Part 3: Adding the Border
A simple border gives your blanket a finished, polished look and adds durability.
- First Border Round:
- With your chosen border color, join your yarn with a sl st to any stitch on the edge of the blanket.
- Chain 1. Work 1 sc into each stitch around the entire blanket.
- When you reach a corner, work 3 sc into the corner space.
- When you reach a seam where two squares are joined, work a
scinto the corner space of the first square, then ascinto the corner space of the next square. - Join with a sl st to the first sc.
- Second Border Round (Optional):
- Chain 3 (counts as first dc). Work 1 dc into each stitch around.
- When you reach a corner, work 3 dc into the center stitch of the corner.
- Join with a sl st to the top of the beginning ch 3.
- Fasten Off and weave in all remaining tails securely.
Congratulations, you’ve successfully created a beautiful and unique baby blanket! It’s a labor of love that will be cherished for years to come.