 by
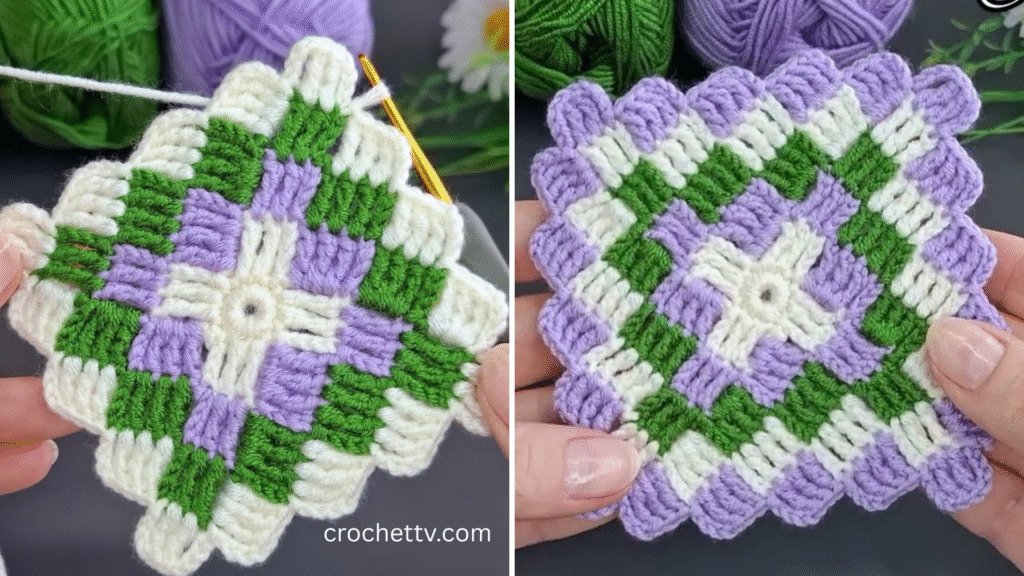
by Creating a fabulous, easy crocheted blanket with motifs is a fun and rewarding project! Here’s a simple guide to making a beautiful crochet blanket with individual motifs. We’ll focus on a classic and easy motif style, like the granny square, which you can mix and match to create different patterns and color combinations.
Materials Needed:
- Yarn (Choose a soft, durable yarn like worsted weight for a cozy blanket)
- Crochet Hook (Size recommended by yarn label, usually 5.5mm or H-8 for worsted weight)
- Scissors
- Tapestry Needle (for weaving in ends)
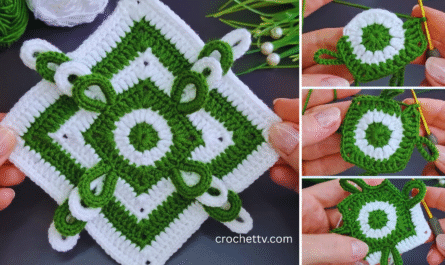
Basic Granny Square Motif
We’ll start with a traditional granny square, as it’s one of the easiest and most popular motifs for a crochet blanket.
Instructions for a Basic Granny Square:
- Start with a magic ring or chain 4 and join to form a ring (slip stitch into the first chain).
- Round 1:
- Chain 3 (counts as the first double crochet).
- Work 2 more double crochets into the center ring.
- Chain 2 (this forms a corner).
- Work 3 double crochets into the ring.
- Repeat this process (3 double crochets, chain 2) a total of 4 times.
- Slip stitch to join with the top of the beginning chain 3. You should now have a square with four corners.
- Round 2:
- Slip stitch into the next 2 stitches to get to the corner space.
- Chain 3 (counts as the first double crochet).
- Work 2 more double crochets into the same corner space.
- Chain 2 (this is the new corner space).
- Work 3 double crochets into the same corner space.
- Move to the next corner space, and repeat the process: 3 double crochets, chain 2, 3 double crochets in each corner space.
- Join with a slip stitch to the top of the first chain 3.
- Round 3 (optional for bigger squares):
- Slip stitch into the next 2 stitches to get to the next corner space.
- Chain 3, then work 2 more double crochets into the same corner space.
- Chain 1 (this forms a space between the corner groups).
- Work 3 double crochets into the next corner space.
- Continue with the same pattern for all four sides, joining with a slip stitch when you’re done.
- Finishing:
- Cut your yarn, leaving a 6-inch tail.
- Use a tapestry needle to weave in all loose ends.
Assembling the Blanket:
- Make Multiple Squares: Continue making these granny squares until you have enough to cover your desired blanket size.
- To assemble, lay out the squares in rows and columns. You can alternate colors or create a gradient for a fun effect.
- Join the Squares: There are several ways to join your squares:
- Whip stitch: This method uses a yarn needle to sew the squares together. Simply align the edges and stitch them together, matching up corners.
- Slip stitch join: This method involves using your crochet hook to join the squares. Align the squares and slip stitch through both edges, creating a seamless look.
- Add a Border: Once all the squares are joined, you can add a border around the whole blanket to finish it off. A simple border of single crochet or a shell stitch pattern works beautifully.
- Weave in Ends: Don’t forget to weave in any remaining loose ends for a neat finish.
Tips:
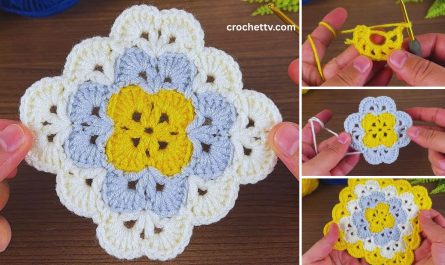
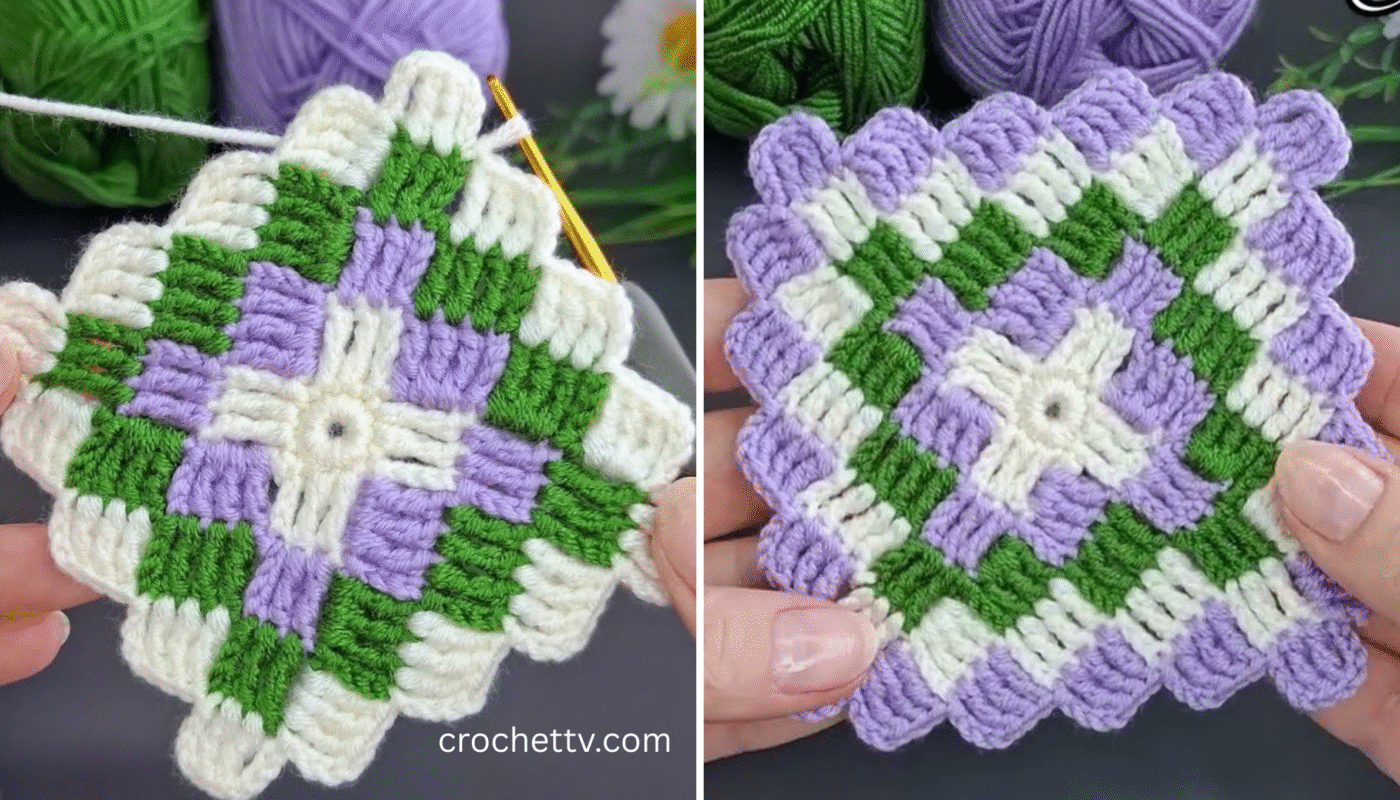
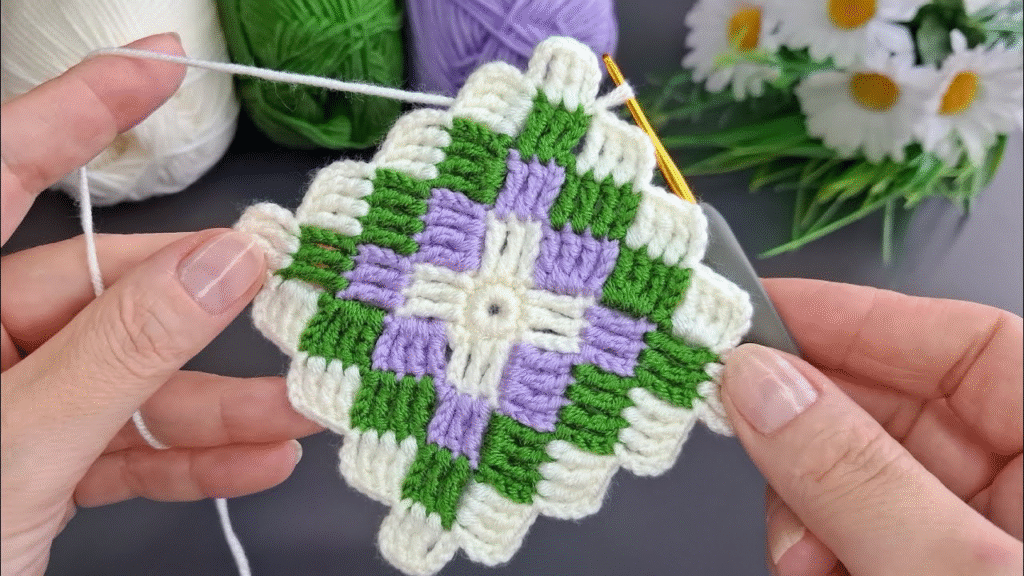
- Color Choices: You can make your blanket as colorful or neutral as you like. Try a mix of bright colors for a playful look or pastel shades for something soft and calming.
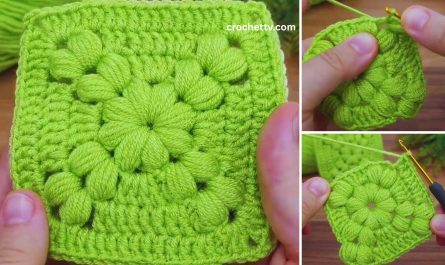
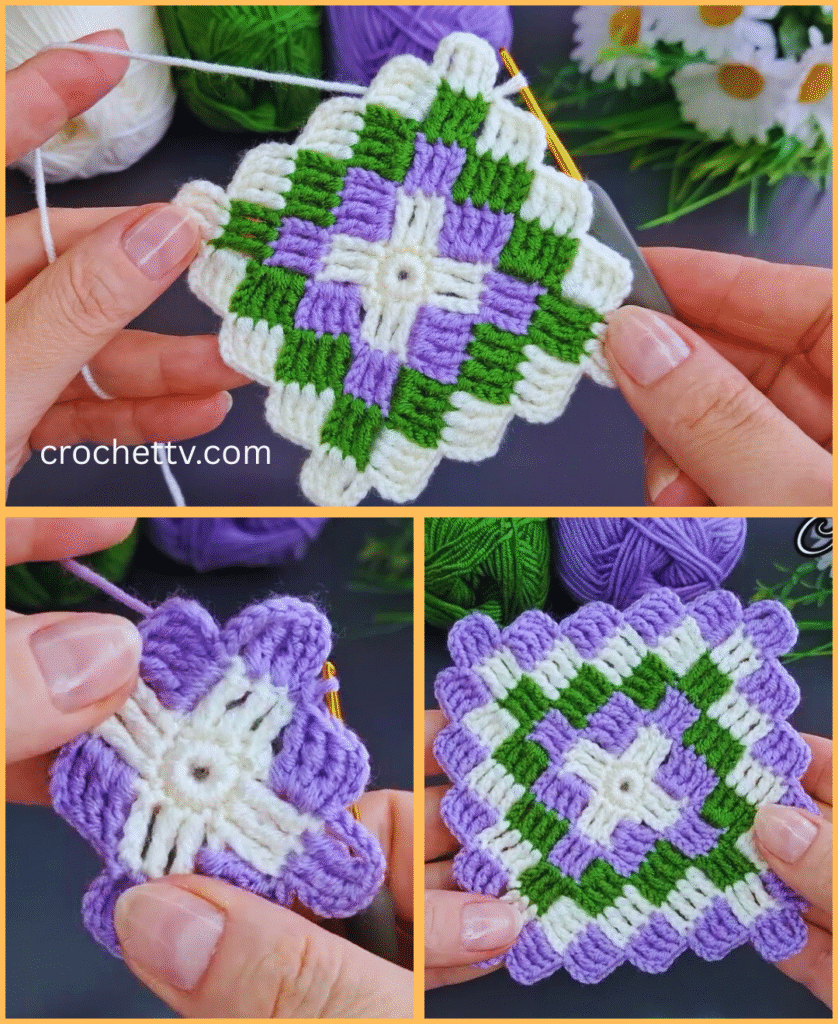
- Different Motifs: Explore other motifs like hexagons, flowers, or diamonds. Each one can add a unique texture and style to your blanket.
- Join as You Go: If you want to avoid seaming, you can also try a “join as you go” method, where you crochet the motifs together as you go along. This is a great way to save time.
Enjoy the process of making your blanket and let your creativity shine through with different colors and motif combinations! Happy crocheting!