 by
by There’s a special kind of magic in creating something beautiful and functional with your own two hands. In a world of fast fashion, a handmade accessory stands out, telling a story of patience, creativity, and personal style. If you’ve just picked up a crochet hook and are wondering what to make beyond a simple scarf, this project is for you.
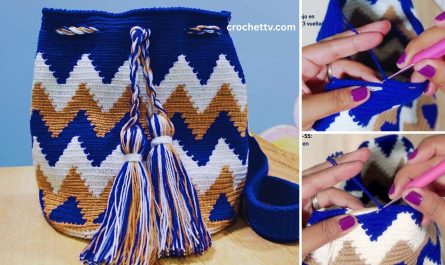
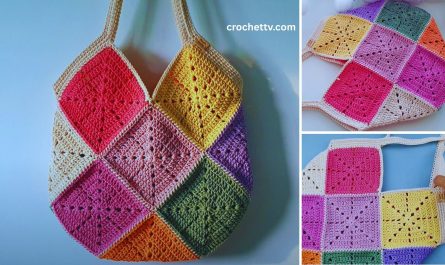
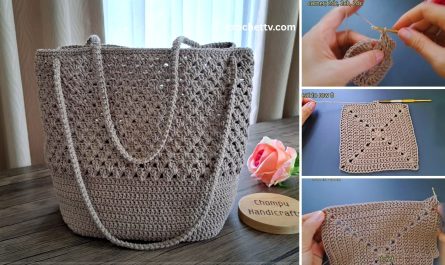
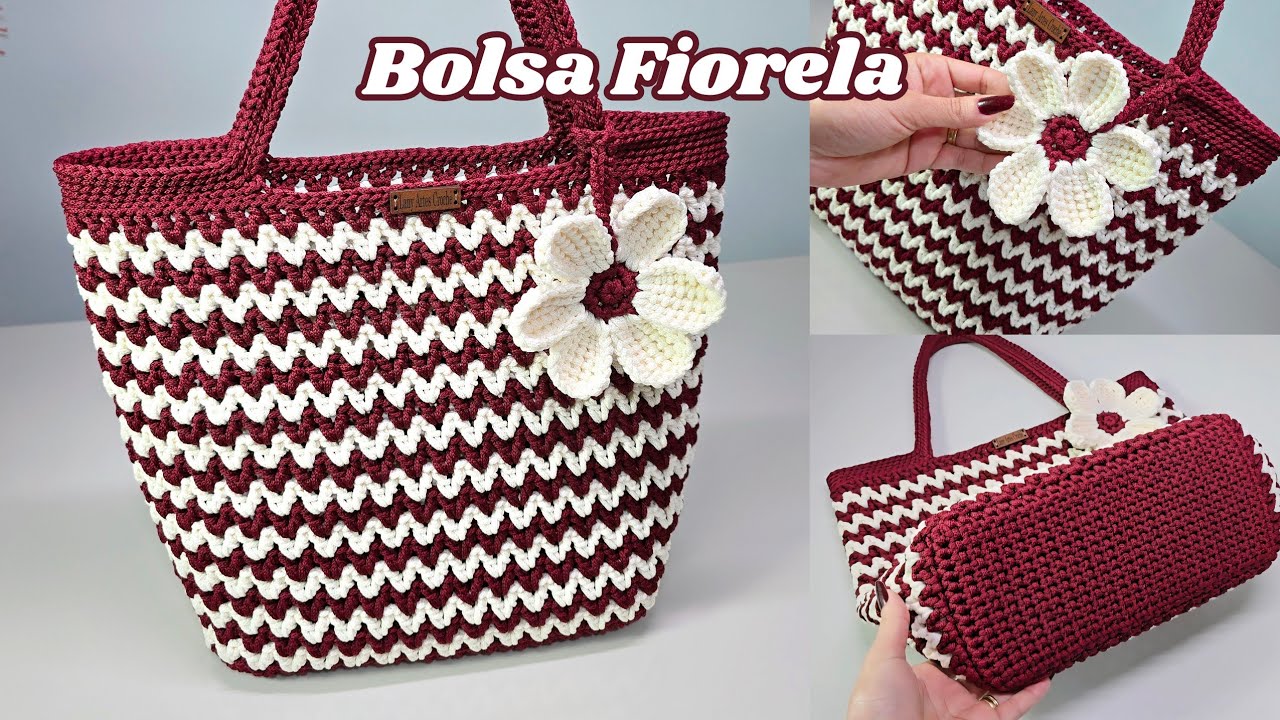
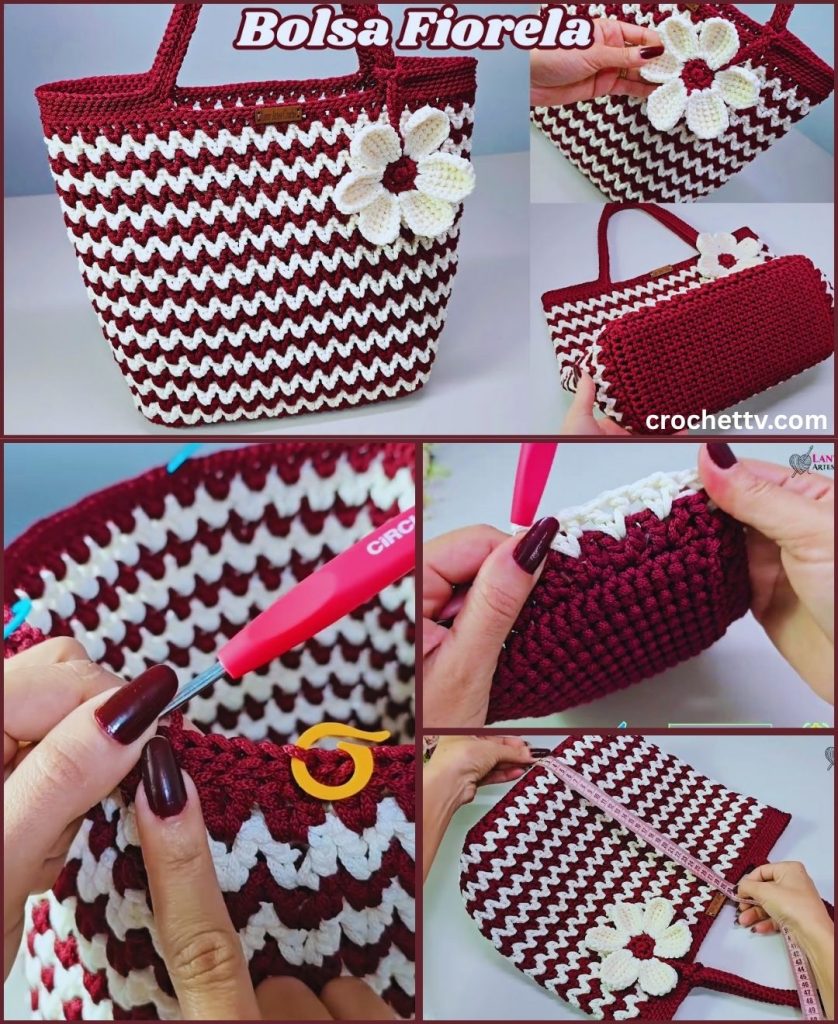
Welcome to the ultimate guide to crocheting your very first bag! We’re not just making any bag; we’re creating a chic, modern tote that’s currently trending. Its minimalist design, sturdy construction, and endless customization options make it the perfect entry into the world of crochet accessories. This pattern is designed with the absolute beginner in mind, breaking down every single step so you can build your confidence and end up with a bag you’ll be proud to carry everywhere.
Forget complicated patterns and confusing charts. We’ll walk through this together, from choosing your yarn to sewing the final seam. Let’s get started!
Why This Bag is the Perfect Beginner Project
- Simple Shape: The bag is constructed from two identical flat rectangles. There’s no complex shaping, increasing, or decreasing. If you can crochet a rectangle, you can make this bag.
- Basic Stitches: We will primarily use the Half Double Crochet (hdc) stitch. It’s just a tiny step up from a single crochet, but it’s slightly taller, which means your bag will work up faster while still creating a dense, solid fabric with no large holes.
- Forgiving by Nature: A bag is a very forgiving project. Unlike a sweater, a perfect gauge isn’t critical. A slight variation in size will still result in a perfectly usable and beautiful bag.
- Highly Customizable: This simple design is a blank canvas. You can play with colors, add stripes, attach tassels, or even line it with fabric once you feel more confident.
Step 1: Gather Your Materials
Choosing the right materials is the first step to a successful project. For a sturdy bag that holds its shape, a less stretchy yarn is ideal.
- Yarn: Cotton or a cotton-blend yarn is highly recommended. It’s strong, durable, and doesn’t stretch as much as acrylic or wool.
- Weight: Worsted Weight (Category 4) or Aran Weight (a slightly thicker Category 4) is perfect. It’s not too thin, so the project works up quickly, and not too bulky.
- Quantity: You will need approximately 400 yards (about 365 meters) or two skeins of a standard-sized yarn (like Lion Brand 24/7 Cotton or Lily Sugar’n Cream). It’s always better to have a little extra than to run out!
- Crochet Hook: A 5.0mm (H-8) hook is a great match for worsted weight yarn. If you’re using a different yarn weight, check the yarn label for the recommended hook size.
- Essential Tools (Notions):
- Tapestry Needle (or Darning Needle): This is a large, blunt-tipped needle used for weaving in yarn ends and sewing the bag pieces together.
- Scissors: Any pair of sharp scissors will do.
- Stitch Markers: These are small clips that help you keep track of your stitches. While not strictly necessary for this project, they are incredibly helpful for marking the first or last stitch of a row to ensure your edges stay straight.
Step 2: Understanding the Basics (The Foundation)
Before we start the pattern, let’s review the terminology and stitches we’ll be using. This pattern is written in standard US crochet terms.
Abbreviations:
- ch: chain
- st(s): stitch(es)
- hdc: half double crochet
- sl st: slip stitch
- FO: fasten off
Core Stitches:
- Chain (ch): This is the foundation of almost all crochet projects. To make a chain, start with a slip knot on your hook. Yarn over (wrap the yarn over your hook from back to front) and pull the yarn through the loop on your hook. That’s one chain!
- Half Double Crochet (hdc): This is the star of our show.
- Yarn over.
- Insert your hook into the designated stitch.
- Yarn over again and pull up a loop. You will now have three loops on your hook.
- Yarn over one final time and pull through all three loops on your hook. That’s one half double crochet.
A Note on Gauge:
Gauge refers to how many stitches and rows fit into a certain measurement (e.g., a 4×4 inch square). For this bag, precise gauge isn’t critical. The key is to be consistent with your tension so that both rectangular panels end up the same size. As a reference, with worsted weight yarn and a 5.0mm hook, your gauge might be around 14 stitches and 10 rows of hdc per 4 inches (10 cm).
Step 3: The Pattern – Let’s Start Crocheting!
We will create the bag in three parts:
- The Body Panels (Make 2)
- Assembly
- The Straps (Make 2)
Part 1: The Body Panels (Make 2)
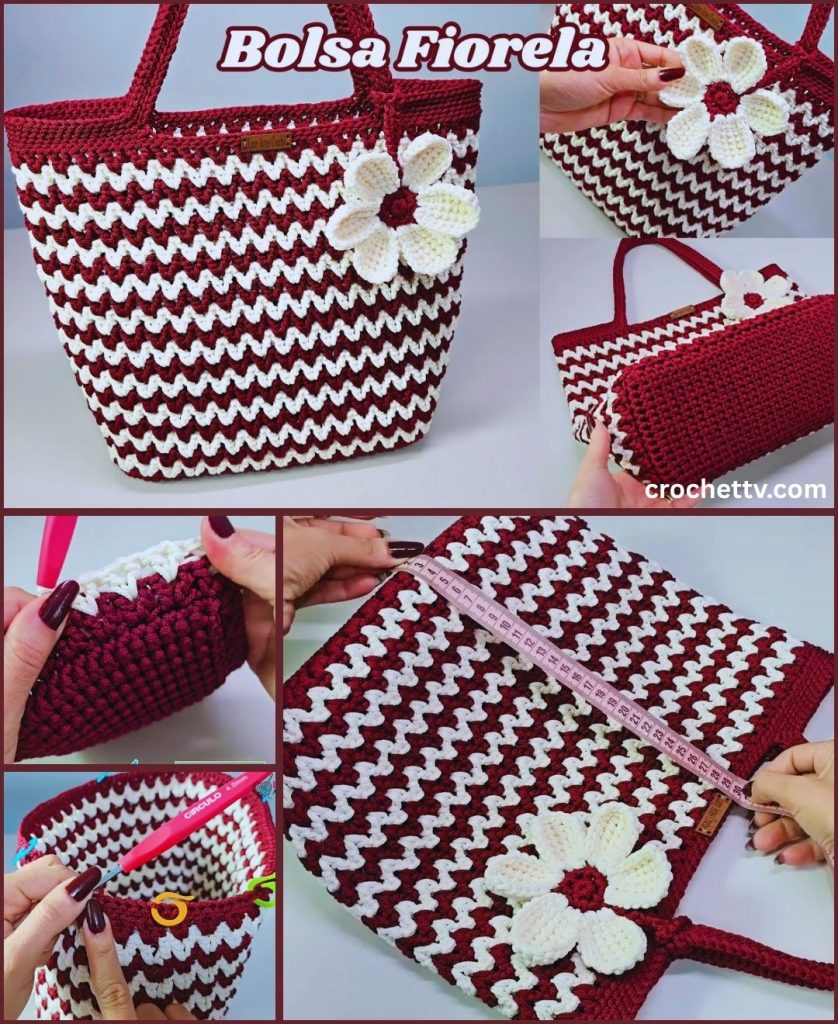
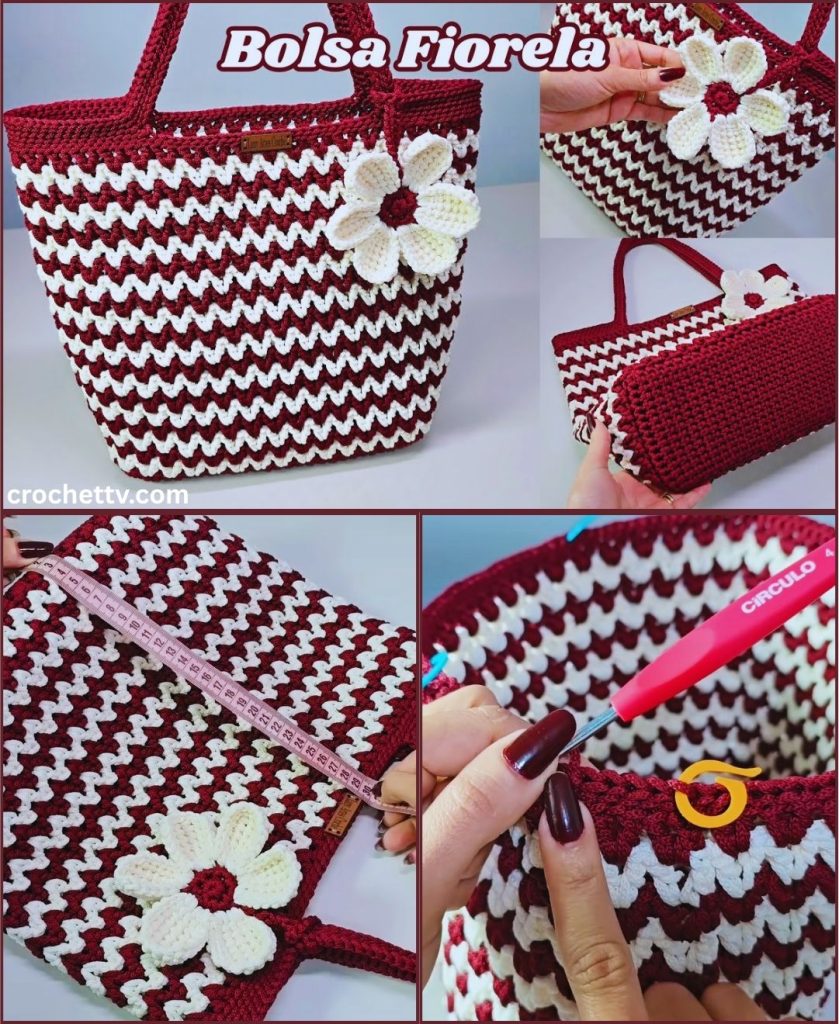
This will create one side of your bag. You will repeat these instructions to make a second, identical panel. The final dimensions of each panel will be approximately 12 inches wide by 14 inches tall.
To Start: Make a foundation chain.
- Ch 41.
- Designer’s Note: This foundation chain determines the width of your bag. 40 stitches will create a bag about 12 inches wide. If you want a wider or narrower bag, simply increase or decrease the number of chains you start with.
Row 1:
- Hdc in the 2nd chain from the hook. (The first chain you skipped acts as the turning chain and gives you height for the row).
- Hdc in each remaining chain across.
- You should have a total of 40 hdc stitches. At the end of the row, ch 1 and turn your work.
- Beginner Tip: Place a stitch marker in the very first and very last stitch of the row. This will help you know exactly where to put your hook on the following rows, preventing you from accidentally adding or losing stitches and keeping your edges perfectly straight.
Row 2:
- Hdc in the very first stitch (the same one your turning chain is coming from).
- Hdc in each stitch across the entire row.
- Your last hdc should go into the top of the last stitch from the previous row (where your stitch marker is).
- You should still have 40 hdc stitches. At the end of the row, ch 1 and turn.
Rows 3 – 35 (or until desired height):
- Repeat the instructions for Row 2.
- Continue working rows of 40 hdc stitches until your rectangle measures approximately 14 inches tall, or your desired height. This should be around 35 rows, but this can vary depending on your tension. The important thing is that both of your panels have the same number of rows.
Finishing the Panel:
- Once your first panel is the desired size, cut the yarn, leaving a 6-inch tail.
- Yarn over and pull the tail completely through the loop on your hook to create a knot. This is called “fastening off” (FO).
- Repeat all of the steps above to create a second, identical panel. Do not fasten off the yarn on your second panel if you want to use that yarn to start seaming.
Part 2: Assembly (Bringing it all Together)
Now you have two beautiful crocheted rectangles. It’s time to turn them into a bag!
- Placement: Lay your two panels on top of each other, making sure all the edges line up perfectly. Ensure the “right sides” (the sides you want facing outwards) are facing each other. We will be seaming the bag from the inside out for a clean finish.
- Seaming: We will use a single crochet seam, which is strong and easy. If you did not fasten off your second panel, you can continue with that working yarn. If you did, simply join your yarn with a slip stitch at one of the top corners.
- Step 1 (Side 1): With the panels aligned, insert your hook through the stitches of both panels at the same time. Start at one of the top corners and work your way down one side. Make a ch 1 to secure your yarn.
- Step 2: Insert your hook through both layers again in the next available space and make a single crochet. Continue making single crochet stitches evenly down the side of the bag, joining the two panels together. Try to place one single crochet stitch into the end of each hdc row.
- Step 3 (Bottom): When you reach the bottom corner, make 3 single crochet stitches in the corner space to help you turn neatly. Continue working across the bottom edge, putting one single crochet in each stitch of the foundation chain.
- Step 4 (Side 2): When you reach the next corner, make another 3 single crochet stitches in the corner space. Continue working up the final side, just as you did for the first side.
- Finish Seaming: Once you reach the top corner of the second side, slst to the first stitch to join, and then FO, leaving a long tail for weaving in.
- The Reveal: Turn your bag right-side out. You should now have a beautifully formed bag with neat seams on the inside!
Part 3: The Straps (Make 2)
A simple, flat strap is perfect for this bag. We’ll make it sturdy by keeping it narrow and dense.
To Start:
- Ch 7.
Row 1:
- Hdc in the 2nd chain from the hook and in each chain across. You will have 6 hdc stitches.
- Ch 1, turn.
Row 2:
- Hdc in each of the 6 stitches across.
- Ch 1, turn.
Repeat Row 2 until your strap reaches your desired length. A good length for a shoulder bag is typically 20-25 inches (50-64 cm). You can make it shorter for a handbag or longer for a crossbody bag. Drape it over your shoulder to test the length before finishing.
Finishing the Strap:
- Once the strap is long enough, FO, leaving a very long tail (about 12-15 inches) for sewing the strap onto the bag.
- Repeat to make a second, identical strap.
Attaching the Straps:
- Placement: Lay your bag flat. Decide where you want your straps to go. A good placement is about 2-3 inches in from each side seam. Use stitch markers to pin the ends of the straps in place on the inside of the bag, about 1-2 inches down from the top edge.
- Sewing: Thread the long yarn tail from your strap onto your tapestry needle. Securely sew the strap to the bag. For maximum durability, sew a square shape, and then sew an “X” through the middle of the square. This distributes the weight and prevents the strap from ripping off.
- Repeat: Attach all four ends of the two straps in the same way.
- Weave in Ends: Use your tapestry needle to weave in any remaining loose ends from your project. This is the final touch that makes your work look polished and professional.
Step 4: Customization & Making It Your Own
Congratulations, you’ve made a bag! Now for the really fun part: making it uniquely yours.
- Add Stripes: To create stripes, simply change your yarn color at the end of a row. Before you make your final “yarn over and pull through” on the last stitch of the row, drop your current color, pick up the new color, and pull the new color through to finish the stitch.
- Create Tassels: Make one or two chunky tassels and attach them to a strap base or a corner of the bag for a bohemian flair.
- Add a Lining (Optional advanced step): For extra durability and a professional finish, you can hand-sew a simple fabric lining for the inside of your bag. Cut two pieces of fabric to the same size as your crochet panels, sew them together just like you seamed the bag, and then stitch the fabric lining to the inside top edge of your bag.
- Fringe: Add a row of fringe along the bottom edge for a different look.
You have now successfully crocheted a beautiful, functional, and trendy tote bag. Be proud of what you’ve created! Every stitch was made by you, and it’s a piece you can use and enjoy for years to come. Welcome to the wonderful, addictive world of crochet!