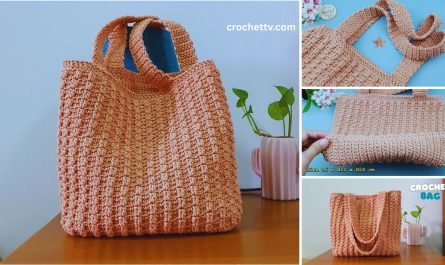
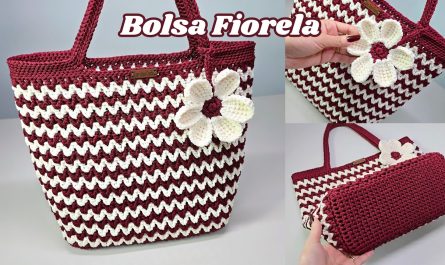
Here is a detailed, step-by-step tutorial on how to design and create a beautiful and easy striped crochet bag. This guide is perfect for advanced beginners looking to create a stylish, functional, and personalized accessory.
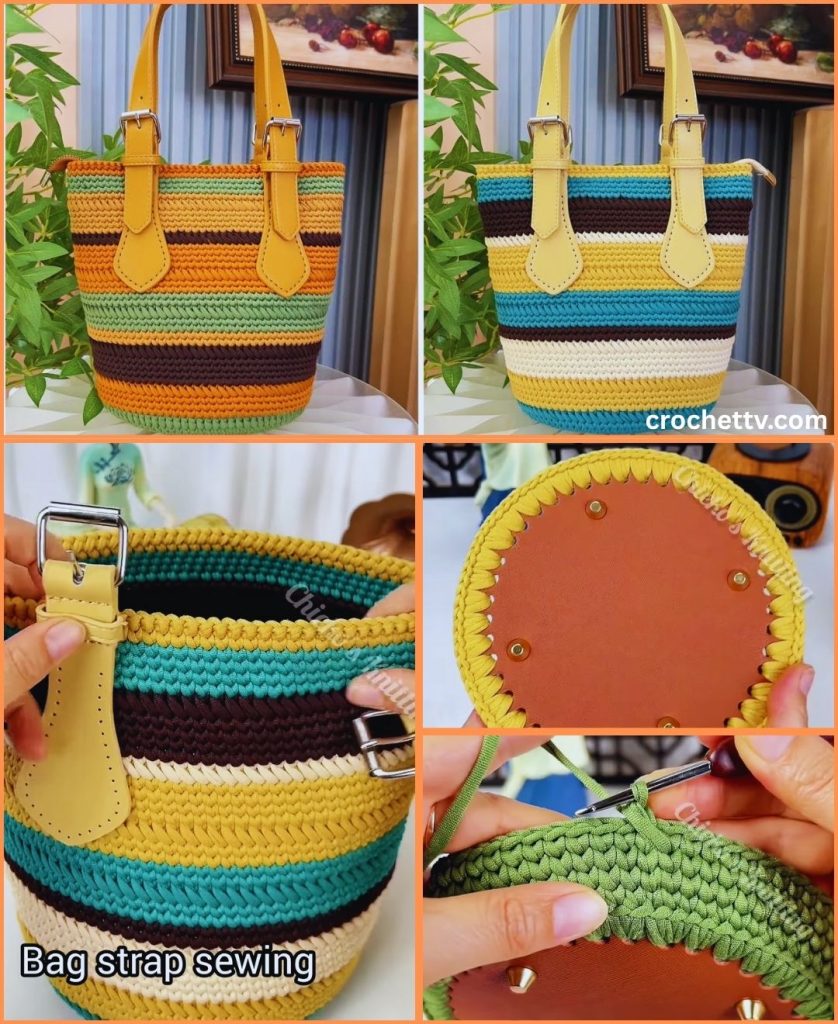
How to Crochet a Beautiful & Easy Striped Tote Bag: A Complete Step-by-Step Tutorial
There is a unique satisfaction that comes from using something you’ve created with your own hands. A crochet bag is not just a practical item for carrying your essentials; it’s a canvas for your creativity, a functional piece of art. This tutorial will guide you through creating a beautifully designed and sturdy tote bag, featuring elegant stripes that you can customize to your personal style.
We will focus on simple stitches, clean color changes, and professional finishing techniques to ensure your final product is something you’ll be proud to wear or gift.
Part 1: The Design Philosophy – The Art of the Stripe
Before we even pick up a hook, let’s talk about what makes this bag “beautifully designed.” The secret lies in the color choices and the rhythm of the stripes.
Choosing Your Palette
The colors you choose will define the bag’s personality. Don’t just pick random colors; think about the story you want to tell.
- Classic Nautical: Combine a crisp navy blue, a brilliant white, and a pop of red or mustard yellow.
- Earthy & Boho: Think terracotta, olive green, cream, and a dusty rose.
- Monochromatic Modern: Use different shades of a single color, like light grey, charcoal, and black, for a sophisticated look.
- Vibrant & Playful: Go bold with contrasting colors like turquoise, magenta, and sunny yellow. This is a fantastic way to use up leftover yarn scraps!
For this tutorial, we will work with three colors:
- Color A (Main Color): A neutral base, like cream or light grey.
- Color B (Accent Color 1): A medium-toned color, like dusty blue.
- Color C (Accent Color 2): A darker or brighter color, like navy or mustard.
The Rhythm of the Stripes
The width and placement of your stripes create a visual rhythm.
- Symmetrical Stripes: A pattern of thin and thick stripes that repeats (e.g., 6 rows of A, 2 rows of B, 4 rows of C, 2 rows of B, 6 rows of A).
- Asymmetrical Stripes: A more “random” or organic placement of stripes can create a modern, artistic feel.
- Simple & Bold: A solid color bottom with a few bold stripes near the top.
For our pattern, we will use a simple, elegant, and repeatable pattern that is easy to follow.
Part 2: Materials & Essential Information
Gathering your supplies is the first step in the creative process.
Materials & Tools
- Yarn: Worsted weight (Category 4) cotton or a cotton-blend yarn. Cotton is highly recommended for bags as it is durable, strong, and has very little stretch.
- Color A (Cream): Approx. 200 yards (183 meters)
- Color B (Dusty Blue): Approx. 100 yards (91 meters)
- Color C (Navy): Approx. 100 yards (91 meters)
- Crochet Hook: 5.0mm (H-8) hook. Using a slightly smaller hook than recommended for the yarn helps create a dense, tight fabric with no gaps.
- Scissors: For cutting yarn.
- Darning/Tapestry Needle: Essential for weaving in ends for a clean finish.
- Stitch Markers: At least one, to mark the beginning of your rounds.
Essential Information
- Skill Level: Advanced Beginner
- Terminology: This pattern is written in standard US crochet terms.
- Gauge: 14 single crochet stitches x 16 rows = 4×4 inches (10×10 cm). Gauge is not critical for a bag, but being close will ensure your bag is the intended size.
- Finished Dimensions: Approximately 14 inches (35.5 cm) wide and 12 inches (30.5 cm) tall (excluding straps).
Abbreviations
ch= chainst(s)= stitch(es)sl st= slip stitchsc= single crochet
Part 3: The Stitches & Techniques You’ll Need
This bag primarily uses the single crochet stitch, making it sturdy and simple to work up. The most important technique you’ll master is the seamless color change.
Single Crochet (sc)
Insert hook into stitch, yarn over, pull up a loop (two loops on hook), yarn over, pull through both loops.
How to Change Colors Seamlessly
To avoid a jagged edge when changing colors, you will perform the color change on the last step of the last stitch of the old color.
- Work the final single crochet of Color A until you have two loops left on your hook.
- Drop Color A.
- Yarn over with your new color (Color B).
- Pull the new color through the two loops on your hook.
- You have now completed the stitch and are ready to work the next round in Color B.
Part 4: The Step-by-Step Crochet Tutorial
Let’s begin making our beautiful bag! We will work from the bottom up.
Step 1: The Base of the Bag
The base is worked in rows and then turned into rounds to build the body. We are creating a sturdy, rectangular base.
With Color A (Cream):
- Foundation:
ch41. - Row 1:
scin the 2ndchfrom the hook and in eachchacross.ch1, turn. (40 sts) - Row 2 – 10:
scin eachstacross.ch1, turn. (40 sts)
At the end of Row 10, you will have a solid rectangle. Do not turn your work and do not fasten off. We will now begin working in rounds around the perimeter of this rectangle.
Step 2: The Body of the Bag
With Color A (Cream):
- Round 1 (Set-up Round):
ch1. Now, work around the entire rectangle:- Work 1
scin each of the 40 stitches along the top edge (the last row you made). - Place a stitch marker in the first
scyou made to mark the beginning of the round. - Work 10
scevenly down the short side (roughly onescper row-end). - Work 1
scin each of the 40 stitches of the foundation chain along the bottom. - Work 10
scevenly up the other short side. - Join to the first
scwith asl st. (100 sts)
- Work 1
- Round 2:
ch1.scin the samestand in eachstaround. Join with asl stto the firstsc. (100 sts) - Rounds 3 – 8: Repeat Round 2. At the end of Round 8, complete the last
scby changing to Color B (Dusty Blue) using the seamless color change technique.
Now we begin our stripe pattern.
With Color B (Dusty Blue):
- Rounds 9 – 10:
ch1.scin eachstaround. Join with asl st. (100 sts) *At the end of Round 10, change to Color C (Navy).
With Color C (Navy):
- Rounds 11 – 14:
ch1.scin eachstaround. Join with asl st. (100 sts) *At the end of Round 14, change to Color B (Dusty Blue).
With Color B (Dusty Blue):
- Rounds 15 – 16:
ch1.scin eachstaround. Join with asl st. (100 sts) *At the end of Round 16, change to Color A (Cream).
With Color A (Cream):
- Rounds 17 – 22:
ch1.scin eachstaround. Join with asl st. (100 sts) *At the end of Round 22, change to Color B (Dusty Blue).
Continue the Stripe Sequence: You have now completed one full sequence of the stripe pattern. Repeat this sequence one more time:
- Rounds 23 – 24: Color B (Dusty Blue)
- Rounds 25 – 28: Color C (Navy)
- Rounds 29 – 30: Color B (Dusty Blue)
- Rounds 31 – 36: Color A (Cream)
Final Top Band:
- Rounds 37 – 42:
ch1.scin eachstaround. Join with asl st. (100 sts)
At the end of Round 42, fasten off and weave in your ends meticulously using the darning needle. The body of your bag is now complete!
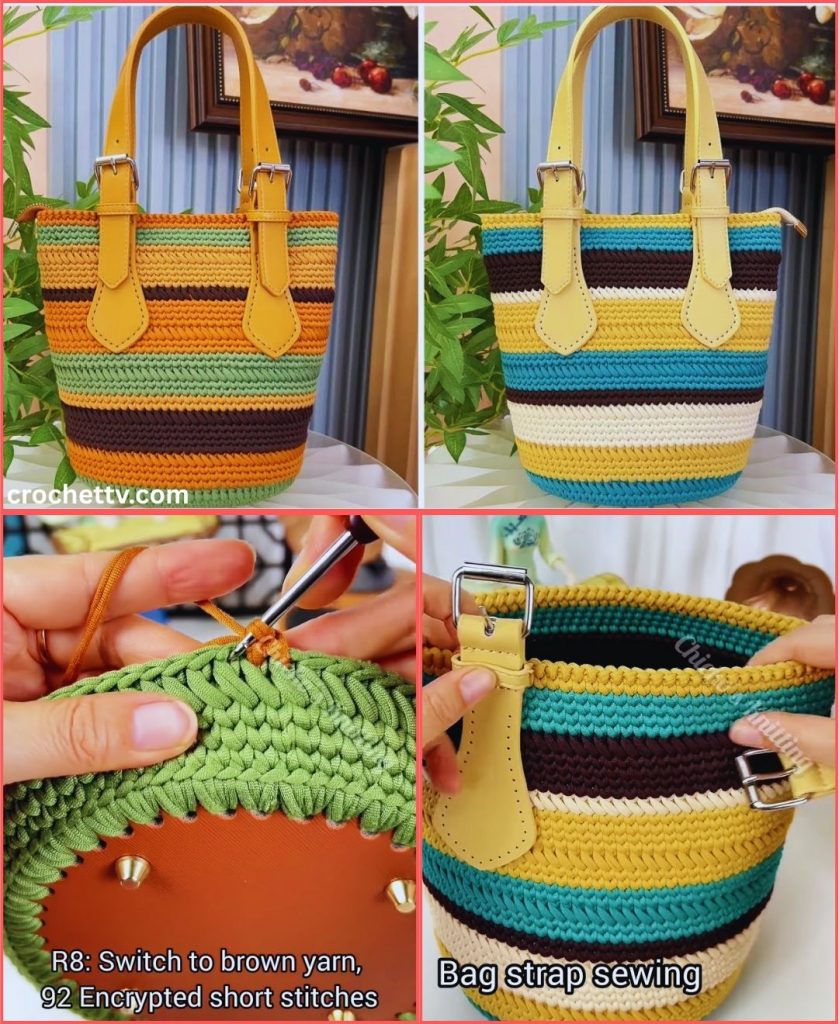
Step 3: The Straps (Make 2)
A sturdy strap is crucial. We will create a double-thick strap by working a long strip and folding it.
With Color C (Navy):
- Foundation:
ch81. - Row 1:
scin the 2ndchfrom hook and in eachchacross.ch1, turn. (80 sts) - Rows 2 – 6:
scin eachstacross.ch1, turn. (80 sts)
At the end of Row 6, do not fasten off. Fold the strap in half lengthwise. You will now sl st through the stitches of both layers to seam it together, creating a very strong, flat strap. Fasten off, leaving a long tail (about 12 inches) for sewing the strap onto the bag.
Repeat to make a second strap.
Step 4: Assembly & Finishing Touches
This is where your project transforms from a crochet piece into a professional-looking bag.
- Weave in All Ends: Before assembly, turn the bag inside out and meticulously weave in every single yarn end from your color changes. This is the secret to a durable and polished final product.
- Attaching the Straps:
- Lay the bag flat.
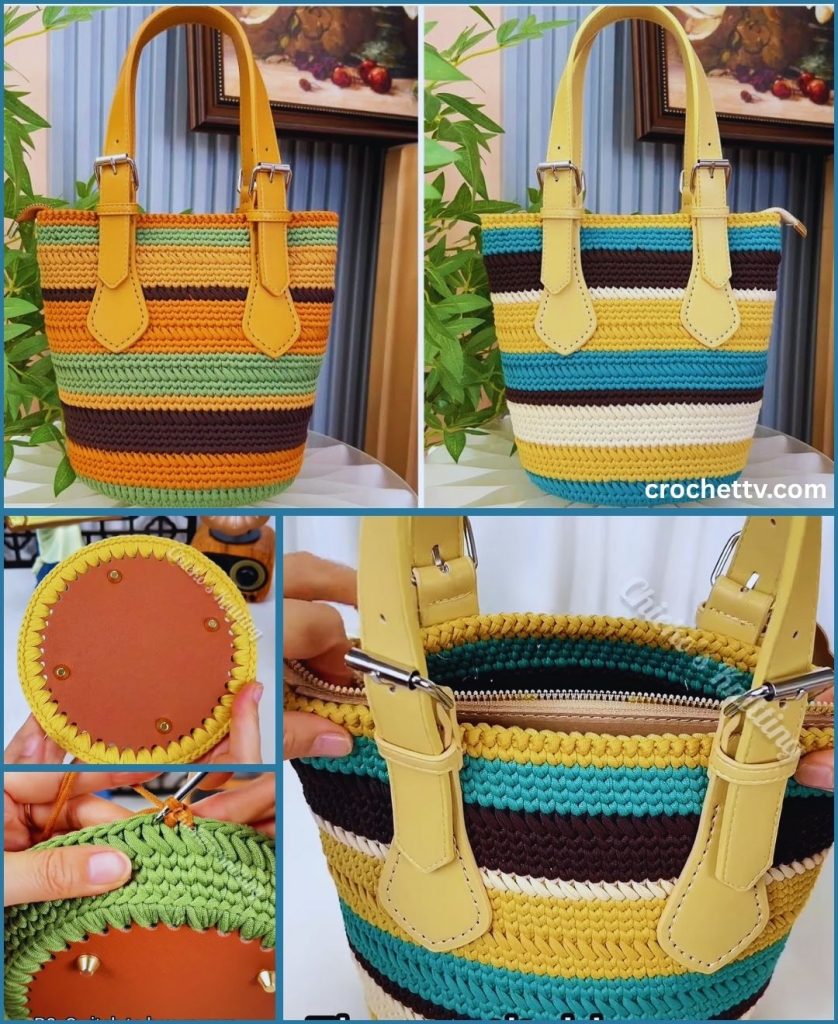
- Position the first strap on the outside of the bag. Place the ends of the strap approximately 3 inches (7.5 cm) from the side seams and 1.5 inches (4 cm) down from the top edge.
- Use pins or clips to hold the strap ends in place. Make sure the strap isn’t twisted.
- Using the long tail and your darning needle, sew the strap onto the bag. For maximum strength, sew a square shape, and then an “X” inside the square. This distributes the weight and prevents the strap from pulling on a single point.
- Repeat the process for the second strap on the other side of the bag, making sure it is placed symmetrically.
![Diagram showing how to sew a strap onto a bag with a square and X reinforcement]
- Optional Finishing Touches:
- Lining: For a truly professional finish, you can hand-sew a fabric lining into your bag. This prevents smaller items from poking through and adds another layer of durability.
- Closure: Sew a magnetic snap or a large button with a crochet loop to the inside top center of the bag for added security.
- Tassels: Create a fun, matching tassel and attach it to one of the strap bases for a touch of boho flair.
Part 5: Customization & Care
Making It Your Own
- Change the Stripe Pattern: Feel free to change the number of rows for each color to create your own unique rhythm.
- Add Texture: Swap a round of single crochet for a round of half double crochet or even the bobble stitch to add a pop of texture.
- Adjust the Size: To make the bag wider, add more stitches to your foundation chain. To make it taller, simply add more rounds.
Care Instructions
If you used 100% cotton yarn, your bag is machine washable.
- Wash on a gentle cycle with cold water.
- Lay flat to air dry. Do not put it in the dryer, as it may shrink or lose its shape.
- Reshape the bag while it is damp.
Congratulations! You have now completed your beautifully designed and easy-to-make striped crochet bag. You’ve practiced simple stitches, mastered the seamless color change, and learned professional assembly techniques. Enjoy the pride of carrying a stylish, handmade accessory that is uniquely you. Happy crocheting!


