 by
by Here’s a long, detailed step-by-step tutorial on how to crochet a beautiful tote bag using the Honeycomb Stitch. This pattern is perfect for crocheters looking to try a textured and stylish bag that stands out. Whether you’re looking to expand your skills or make a functional accessory, this tutorial has everything you need.
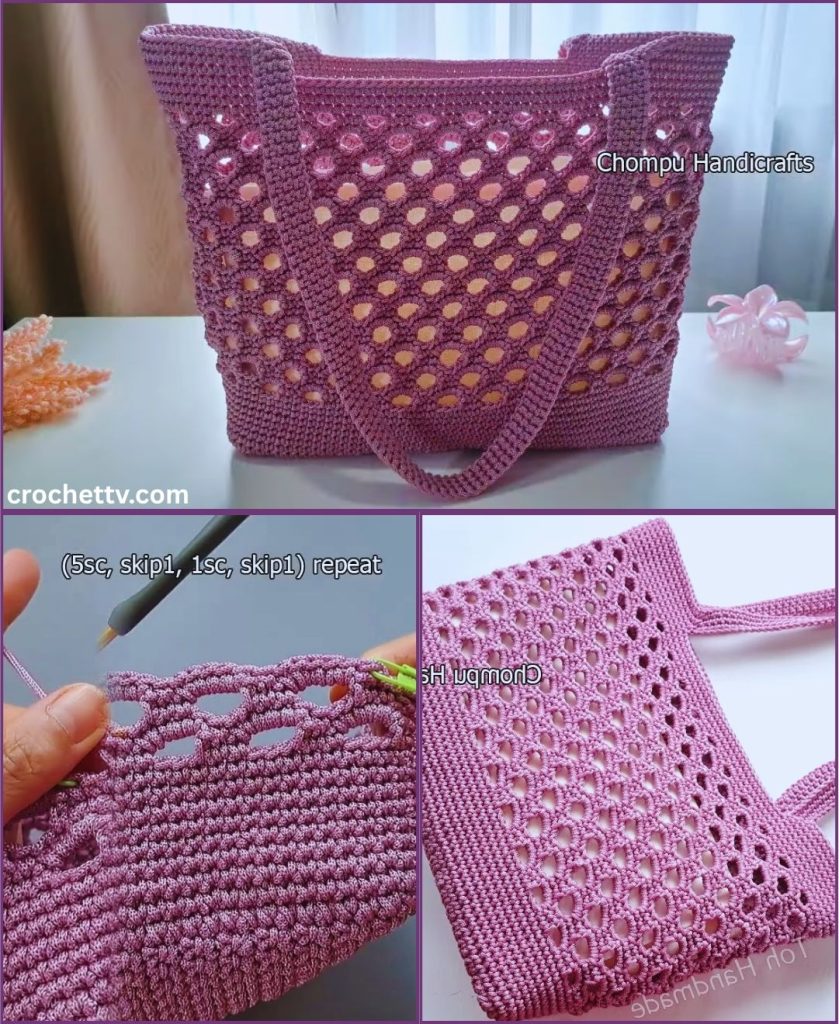
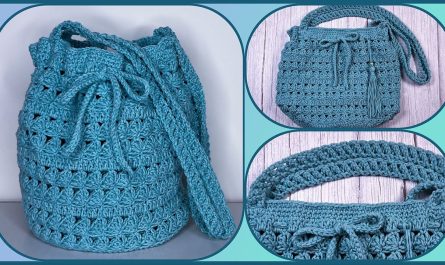
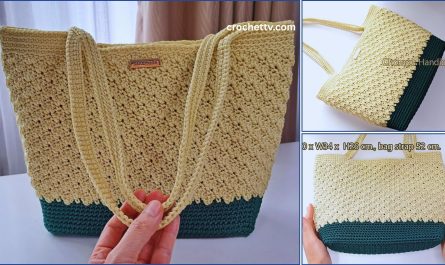
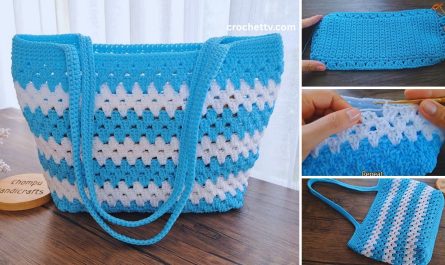
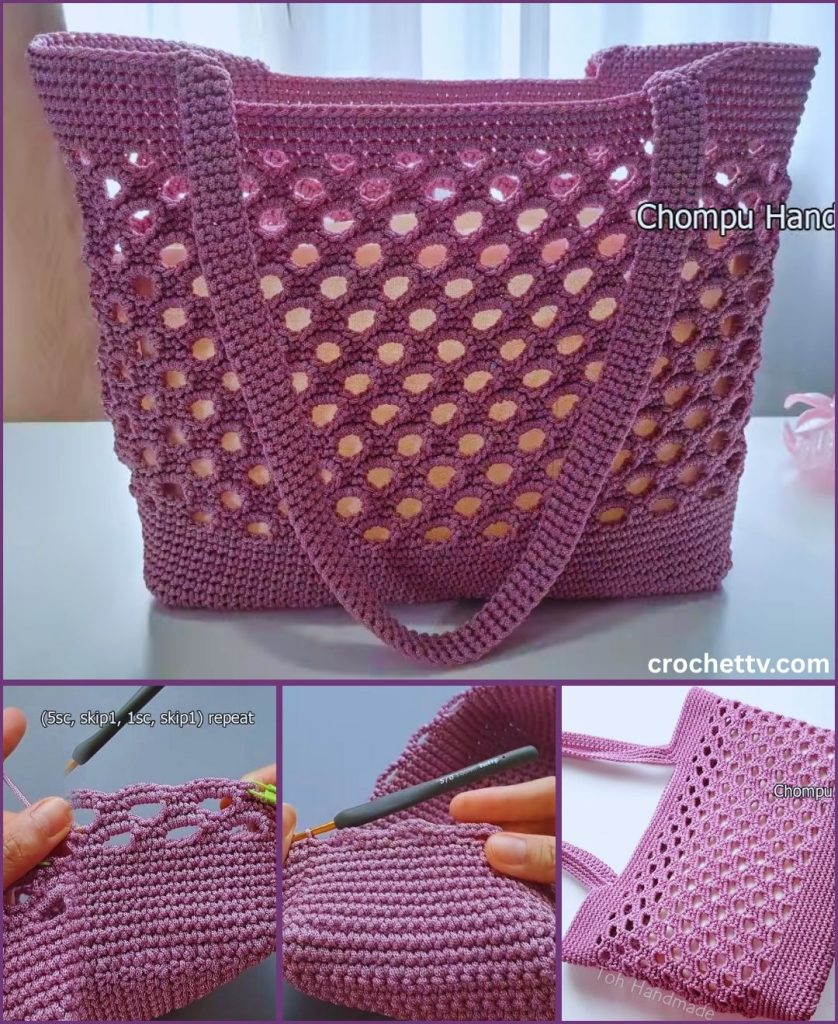
🐝 How to Crochet a Tote Bag Using the Honeycomb Stitch | Step-by-Step Tutorial
Crocheting your own tote bag is both satisfying and sustainable. If you’re looking for a stylish and modern texture, the honeycomb stitch creates a rich, 3D-like pattern that adds structure and beauty to your handmade bag. In this detailed guide, you’ll learn how to crochet a tote bag from the base to the handles using the honeycomb stitch.
This step-by-step tutorial is beginner-friendly (if you’re comfortable with basic stitches) and results in a sturdy, eye-catching tote bag perfect for daily use.
🧶 Materials Needed
To crochet a tote bag using the honeycomb stitch, you’ll need the following supplies:
- Yarn:
- 100% cotton yarn or a sturdy cotton-blend yarn is recommended for durability
- Worsted weight (medium #4) or chunky yarn for a thicker bag
- Yardage: approx. 400–500 yards depending on size
- Crochet Hook: 5.0 mm (H) or size appropriate for your yarn
- Scissors
- Tapestry needle (for weaving in ends)
- Stitch markers (optional but helpful)
- Measuring tape
📏 Finished Size
- Approx. 14” wide x 12” tall
- Size is easily adjustable by increasing the foundation chain or number of rows.
🧵 Crochet Stitches Used (US Terms)
Before starting, here are the stitches you’ll use in this project:
- ch – chain
- sc – single crochet
- dc – double crochet
- fpdc – front post double crochet
- bpdc – back post double crochet
- sl st – slip stitch
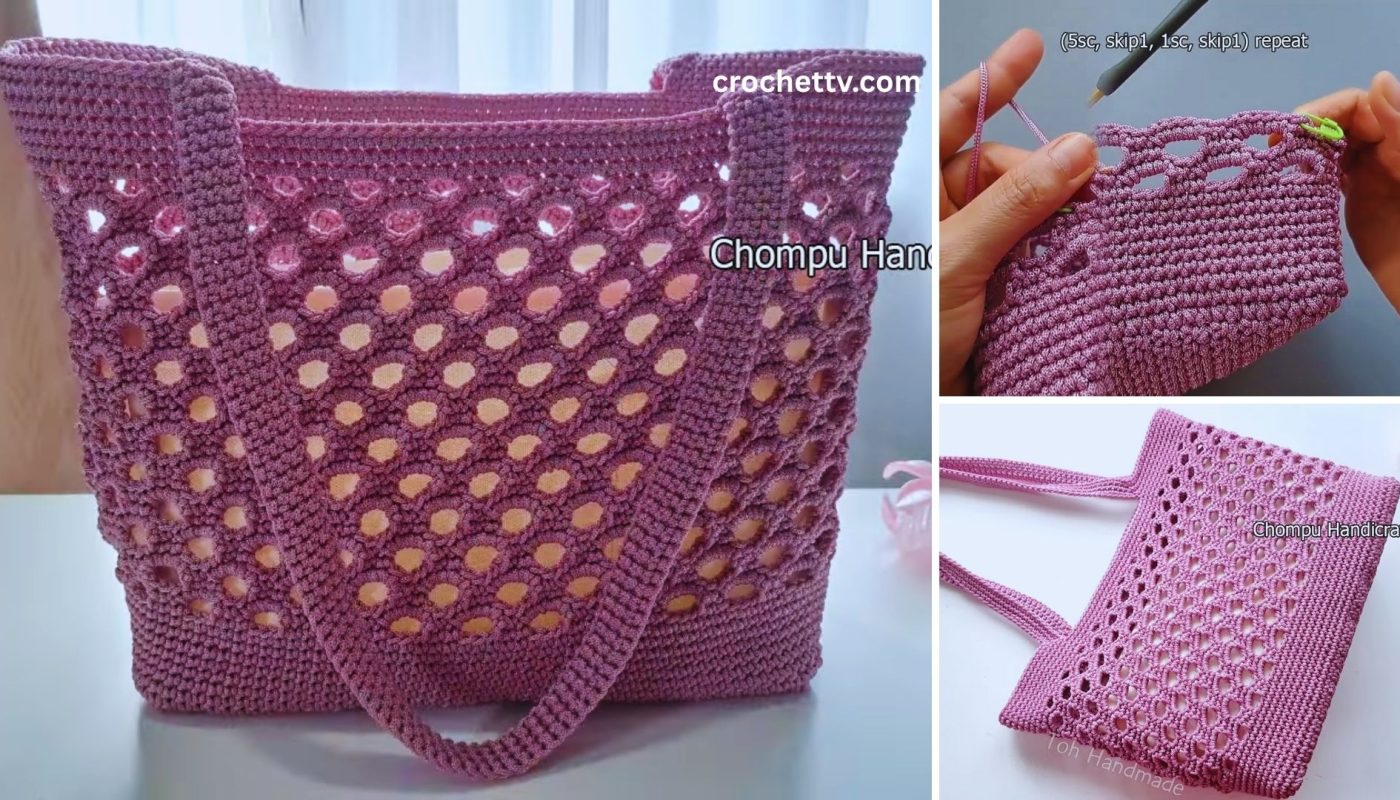
The honeycomb stitch is created by alternating front post and back post double crochet stitches in a staggered pattern.
🐝 What is the Honeycomb Stitch?
The honeycomb stitch is a textured crochet stitch that uses alternating fpdc and bpdc stitches. It creates a slightly raised, puffy effect that looks similar to a beehive or honeycomb. It adds structure and strength to projects, making it ideal for bags.
📝 Pattern Overview
Here’s the basic layout of the tote bag:
- Crochet the base (rectangular bottom of the bag)
- Work in the round to build the body using honeycomb stitch
- Shape and add the handles
- Finish the edges and weave in ends
✳️ Step-by-Step Pattern
🔹 Step 1: Crochet the Base of the Bag
We’ll start by creating a flat rectangular base using single crochet.
Instructions:
- Ch 31 (or any number depending on your preferred bag width).
- Row 1: Sc in 2nd ch from hook and in each ch across. (30 sc)
- Rows 2–6: Ch 1, turn. Sc in each stitch across. (30 sc)
Tip: You can adjust the length and width by increasing the chain and number of rows.
- Once the base is complete, rotate your work to crochet around all 4 sides to form a foundation for the sides of the bag.
- Round 1: Sc evenly around the entire rectangle. Place 3 sc in each corner. Sl st to join.

🔸 Step 2: Begin the Honeycomb Stitch for the Body
Now we’ll start working in the round, using the honeycomb stitch to build the body of the bag.
Foundation Round:
- Ch 2 (counts as dc). Alternate fpdc in next st, bpdc in next st around.
- Sl st to join. (Make sure you have an even number of stitches; if not, adjust by adding an increase or skipping one.)
Pattern for Honeycomb Stitch (Repeat Rounds):
The stitch pattern alternates post stitches to create the honeycomb texture.
- Round 2: Ch 2, bpdc in fpdc of previous round, fpdc in bpdc of previous round, repeat around. Sl st to join.
- Round 3: Repeat Round 2.
⚠️ Important: Make sure you’re always working fpdc over bpdc, and bpdc over fpdc from the round below to maintain the honeycomb texture.
- Continue repeating Round 2 for 20–25 rounds, or until you reach your desired height.
Optional: You can add color changes every 5 rounds for a striped honeycomb effect.
🔹 Step 3: Shape the Top Edge
After finishing the body of the bag, you can smooth out the texture and give it a polished look before adding the handles.
- Next Round: Ch 1, sc in each st around to flatten the edge. Sl st to join.
- Repeat 2 more rounds of sc if you’d like a more reinforced top edge.
🔸 Step 4: Add the Handles
You can crochet built-in handles or attach ready-made handles. Here’s how to crochet your own:
Built-In Handles Instructions:
- Decide handle placement by folding the bag flat and marking the sides.
- Next Round (Handle Round):
- Sc in next 6 sts,
- Ch 20 (for handle), skip 10 sts, sc in next st (to attach handle),
- Sc around to opposite side,
- Repeat handle process on other side.
- Following Round:
- Sc in each stitch and sc across the chain handle loop to reinforce.
Optional: Add 1–2 more rounds for extra strength.
✂️ Step 5: Finishing Touches
- Weave in all loose ends using a tapestry needle.
- Block the bag if needed (steam lightly or lay flat and pin to shape).
- Optional Add-ons:
- Magnetic clasp or button closure
- Fabric lining for a more polished interior
- Leather patches or logos
- Decorative tassels or keychains

🧺 Design Variations
Want to personalize your tote bag? Try these ideas:
- Color changes: Alternate rows with different yarn colors for a striped honeycomb.
- Gradient yarn: Use ombré or gradient yarns for a flowing color transition.
- Size: Make a mini tote by reducing your base chain or a larger market bag by increasing it.
- Pockets: Crochet a separate panel using sc or dc and stitch it to the inside or outside.
📷 Share Your Creation
Once you’ve completed your honeycomb tote, don’t forget to show it off!
You can post your bag on Instagram, Pinterest, or Ravelry and tag it with:
- #CrochetToteBag
- #HoneycombStitch
- #HandmadeBag
- #DIYCrochet
✅ Summary: At a Glance
| Step | Description |
|---|---|
| Step 1 | Crochet a rectangular single crochet base |
| Step 2 | Work in rounds using the honeycomb stitch |
| Step 3 | Finish the top edge with sc rounds |
| Step 4 | Add built-in or separate handles |
| Step 5 | Weave in ends, block, and personalize |
🧶 Final Tips
- Keep tension consistent for an even honeycomb look.
- Choose a durable yarn like cotton or linen for a sturdy tote.
- Use a neutral tone for everyday use or bold colors for statement bags.
- Don’t be afraid to experiment—once you master the honeycomb stitch, you’ll want to use it on everything!
🧡 Conclusion
Crocheting a honeycomb stitch tote bag is a fun and rewarding project that gives you both a creative outlet and a functional accessory. With its unique texture and structured feel, this bag is perfect for shopping, library visits, casual outings, or even as a thoughtful handmade gift.
Try it once and you’ll be hooked—literally!