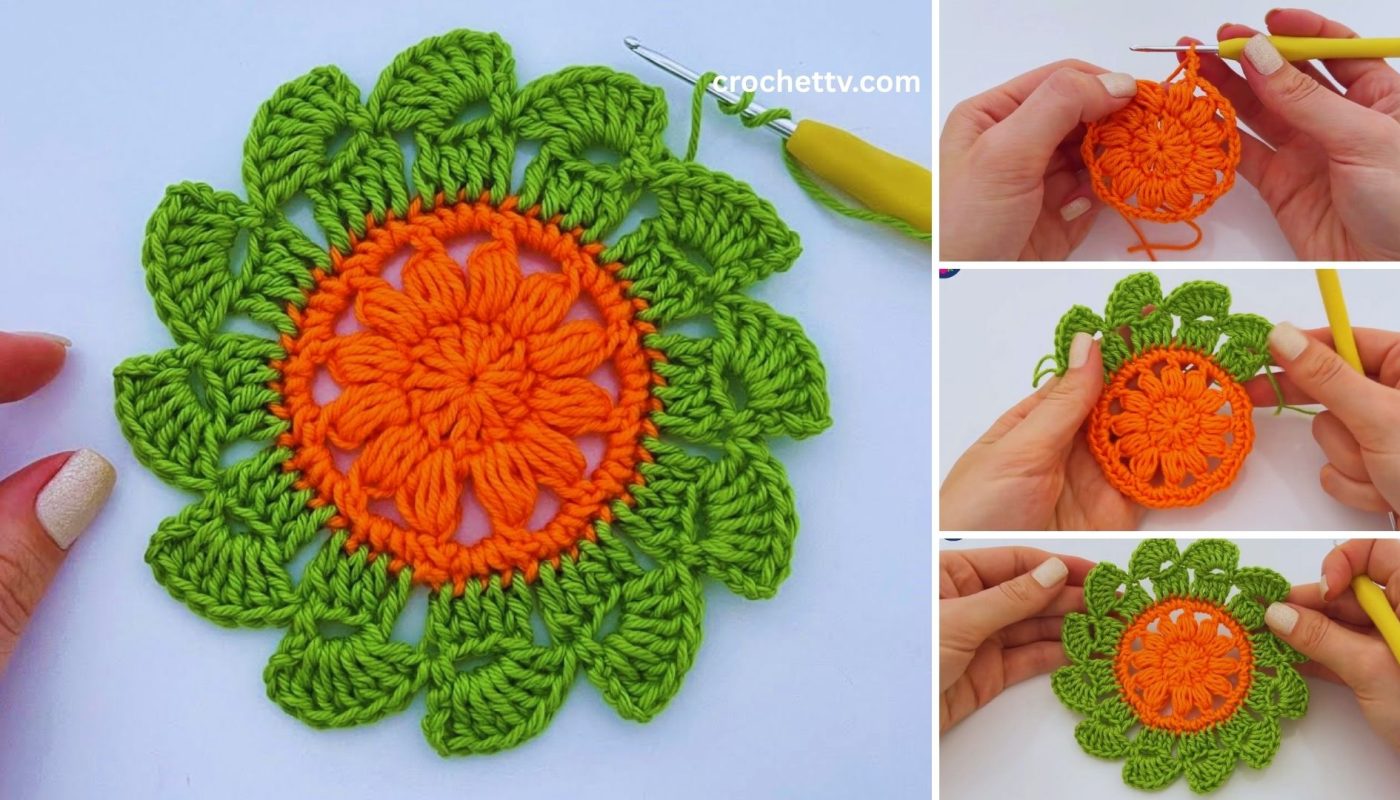
Want to add a touch of handmade charm to your home decor or create a thoughtful gift? A crocheted coaster is a fantastic project that’s both practical and beautiful. This tutorial will teach you how to make a unique coaster that appears to have two distinct lines running through it, creating a textured, elegant look. The best part? This effect is achieved using just one simple stitch, making it a perfect project for beginners and a quick, satisfying one for more experienced crafters.
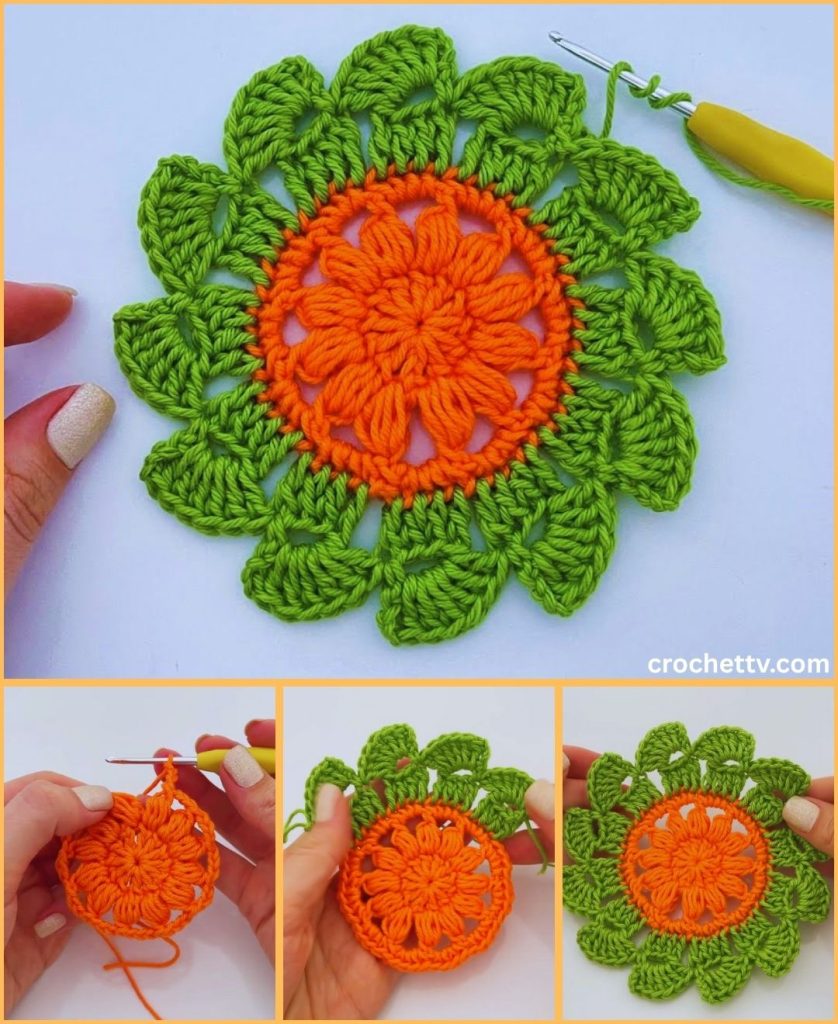
Why This Coaster is So Unique
The “two lines in one” effect is created by using the herringbone half double crochet (Hhdc) stitch. This simple variation of the classic half double crochet stitch creates a subtle, slanted texture that looks like a knitted herringbone pattern. By working this stitch in the round, you get a clean, continuous spiral that forms the beautiful, interwoven lines on your coaster.
- Quick to Make: The half double crochet is a taller stitch than the single crochet, so your coaster will work up in no time.
- Unique Texture: The herringbone stitch gives the coaster a sturdy, dense fabric that is perfect for protecting surfaces from cups.
- Looks Complex, but It’s Not: The finished product looks intricate, but the process is straightforward and uses just one repetitive stitch.
- Great for Leftover Yarn: This is a perfect project for using up small amounts of yarn from your stash.
Materials You Will Need
- Yarn: Choose a sturdy, absorbent yarn. 100% cotton yarn is the best choice for coasters because it can handle heat and moisture without melting or losing its shape. A worsted-weight (medium) yarn is ideal for a sturdy coaster.
- Crochet Hook: The size of your hook will depend on your yarn. For worsted-weight cotton yarn, a size H-8 (5.0 mm) or I-9 (5.5 mm) hook is a great choice.
- Scissors: For cutting yarn.
- Tapestry Needle: For weaving in your ends.
- Stitch Marker: Highly recommended for keeping track of the beginning of each round, as you will be working in a continuous spiral.
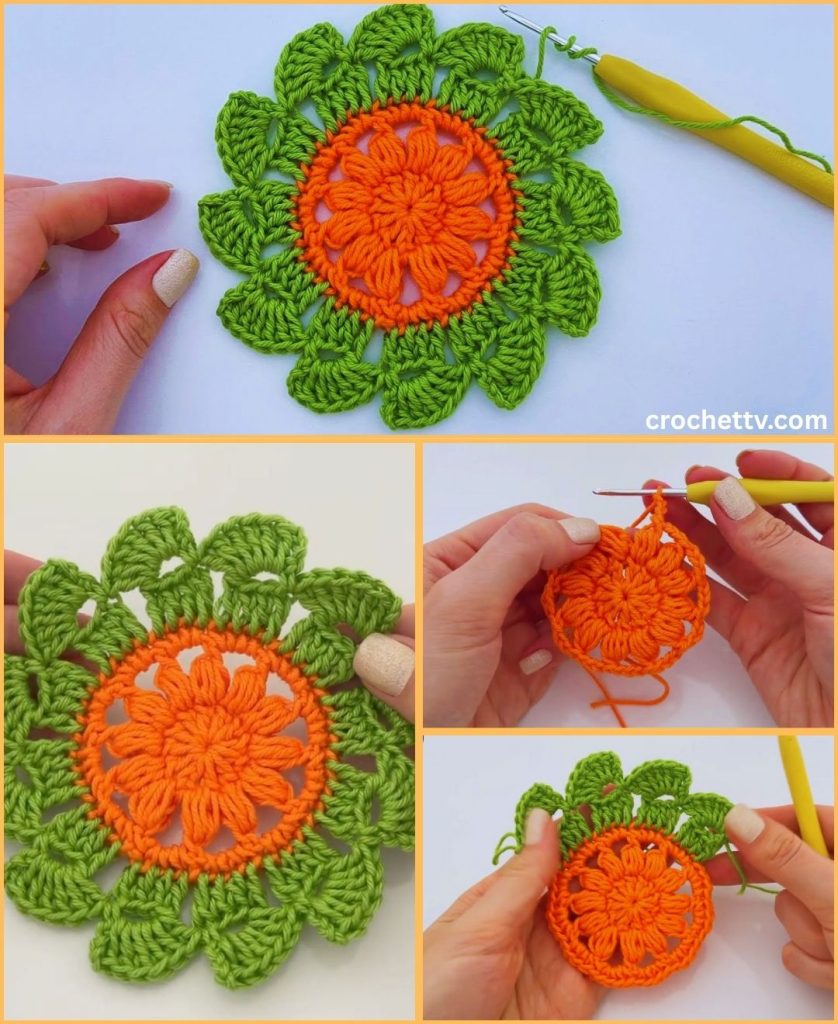
Step-by-Step Tutorial: The Herringbone Coaster
This tutorial will guide you through creating a flat, round coaster that has the characteristic herringbone texture.
Step 1: The Magic Ring
This is the best way to start a round project, as it creates a tight, neat center with no hole.
- Create a Loop: Hold the yarn tail in your hand and wrap the working yarn around your fingers to create a loop.
- Insert Hook: Insert your hook through the loop.
- Yarn Over and Pull Through: Yarn over and pull the yarn through the loop.
- Chain 2: Chain two stitches to secure the ring. This chain will act as your first half double crochet stitch and helps set the height for the rest of your stitches.
- Work into the Ring: Yarn over and work 8 herringbone half double crochet (Hhdc) stitches into the magic ring. To do a Hhdc, you’ll yarn over, insert your hook into the stitch, yarn over, pull through the stitch AND the first loop on your hook, then yarn over again and pull through the remaining two loops on your hook. We’ll break down the Hhdc in the next section, but for now, just work 8 of them into the ring.
- Pull Tight: Pull the yarn tail to close the ring tightly.
Step 2: Understanding and Practicing the Herringbone Half Double Crochet (Hhdc)
The Hhdc is what creates the unique texture. Let’s practice it slowly.
- Yarn Over (yo): Wrap the yarn over your hook from back to front.
- Insert Hook: Insert your hook into the next stitch.
- Yarn Over, Pull Through: Yarn over and pull a loop through the stitch you just inserted your hook into. At this point, you should have three loops on your hook.
- Pull Through One Loop: Pull the loop you just created through the first loop on your hook. This is the key step that makes it a herringbone stitch. Now you have two loops left on your hook.
- Yarn Over, Pull Through: Yarn over and pull the yarn through the final two loops on your hook.
- You have completed one Herringbone Half Double Crochet stitch!
Step 3: Creating the Flat Coaster (Increasing in the Round)
We’ll now work in a continuous spiral, increasing our stitches to keep the coaster flat. Do not join with a slip stitch at the end of each round. Place your stitch marker at the first stitch of each round to keep track.
- Round 1: Work 2 Hhdc into each of the 8 stitches from your magic ring. You should have 16 stitches. Place your stitch marker in the first stitch of this round.
- Round 2: Work 1 Hhdc in the first stitch, then 2 Hhdc in the next stitch. Repeat this pattern (1 Hhdc, 2 Hhdc) all the way around the circle. You should have 24 stitches.
- Round 3: Work 1 Hhdc in the first 2 stitches, then 2 Hhdc in the next stitch. Repeat this pattern (1 Hhdc in the next 2 stitches, 2 Hhdc in the next stitch) all the way around. You should have 32 stitches.
- Round 4: Work 1 Hhdc in the first 3 stitches, then 2 Hhdc in the next stitch. Repeat this pattern (1 Hhdc in the next 3 stitches, 2 Hhdc in the next stitch) all the way around. You should have 40 stitches.
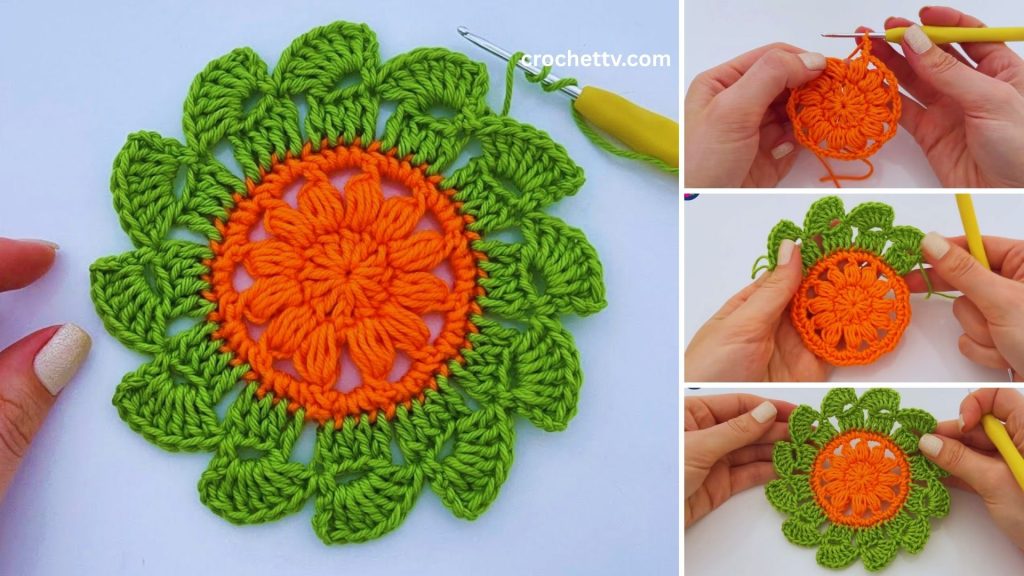
How to Check Your Progress:
As you work, lay the circle flat. If it is beginning to curl up, you are not increasing enough. If it is rippling or waving, you are increasing too much. The trick is to keep it flat. For a standard coaster, these 4 rounds of increasing are usually perfect.
Step 4: Finishing the Coaster
- Fasten Off: Once you have completed your final round, cut your yarn, leaving a tail about 6 inches long.
- Invisible Join: To make the seam invisible, pull the yarn tail through the final loop on your hook. Now, using a tapestry needle, thread the tail and skip the very next stitch. Insert your needle under both loops of the second stitch from your last completed stitch. Pull the yarn through.
- Now, thread your needle back through the top of the last stitch you made, going from front to back. Pull the yarn through and tug gently. This creates a fake stitch that blends seamlessly with the rest of your work, making the join completely invisible.
- Weave in Ends: Weave the yarn tail securely into the back of your coaster, hiding all loose ends.
Customization and Variations
- Size: To make a larger coaster or trivet, simply continue the increasing pattern for more rounds. For example, Round 5 would be “1 Hhdc in the next 4 stitches, 2 Hhdc in the next stitch” repeated all the way around.
- Color-Changing Coasters: For a fun look, you can change colors at the beginning of each round. This will make the herringbone lines even more prominent.
- Different Stitches: You can achieve a similar effect by using the herringbone single crochet (Hsc) for a smaller, tighter stitch, or the herringbone double crochet (Hdc) for a taller, looser one.
- Blocking (Optional): If your coaster isn’t perfectly flat, you can “block” it. Gently wet the finished coaster, lay it flat, and shape it. Pin it down and let it dry completely. This will ensure it holds its shape perfectly.
Now you have a beautiful, durable, and stylish coaster that looks intricate but was simple and quick to make. Happy crocheting!

