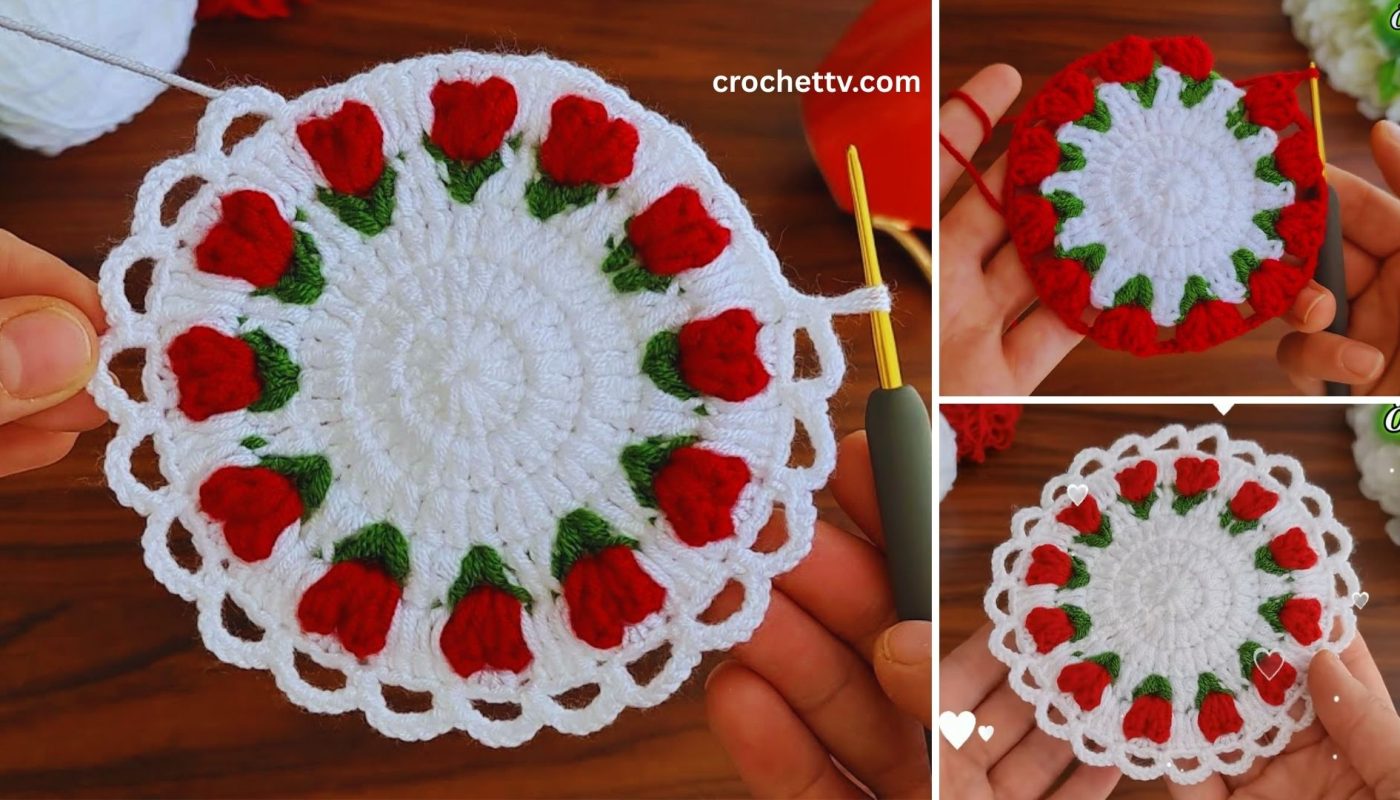
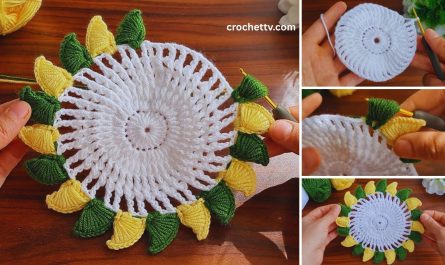
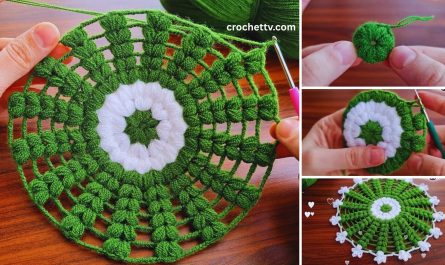
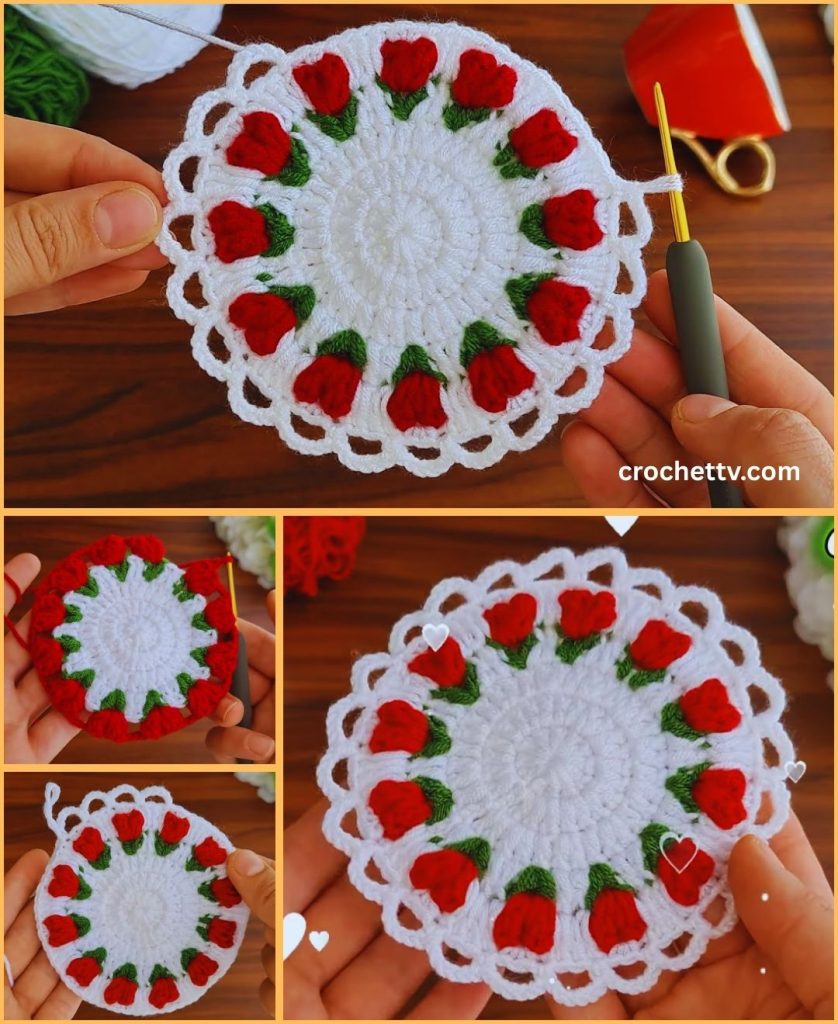
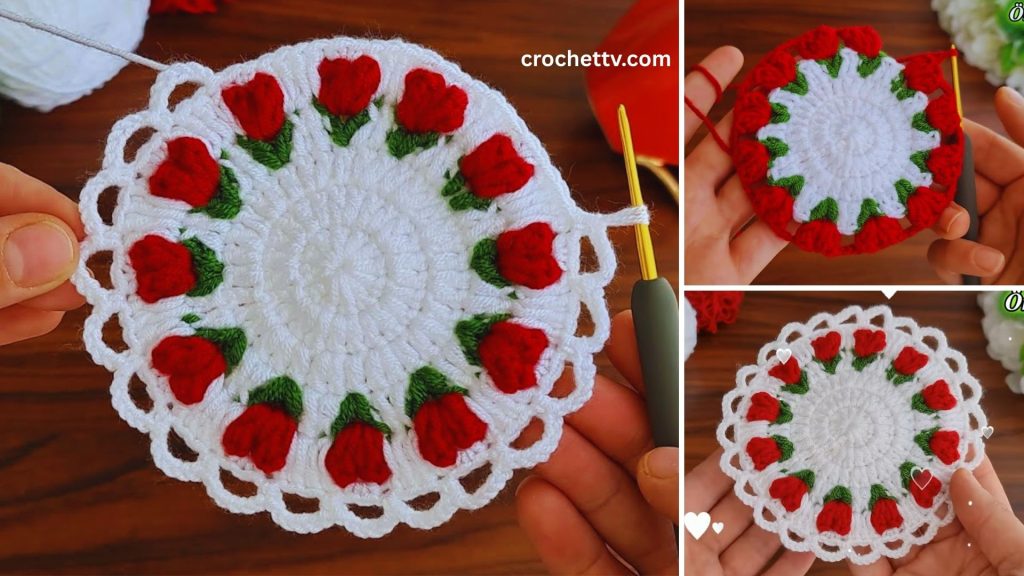
Making a 3D crochet flower coaster is a lovely project that combines the charm of a functional coaster with the elegance of a decorative flower. This detailed tutorial will guide you through creating a beautiful, multi-layered flower coaster with an intricate design. The pattern is suitable for confident beginners and those with some experience.
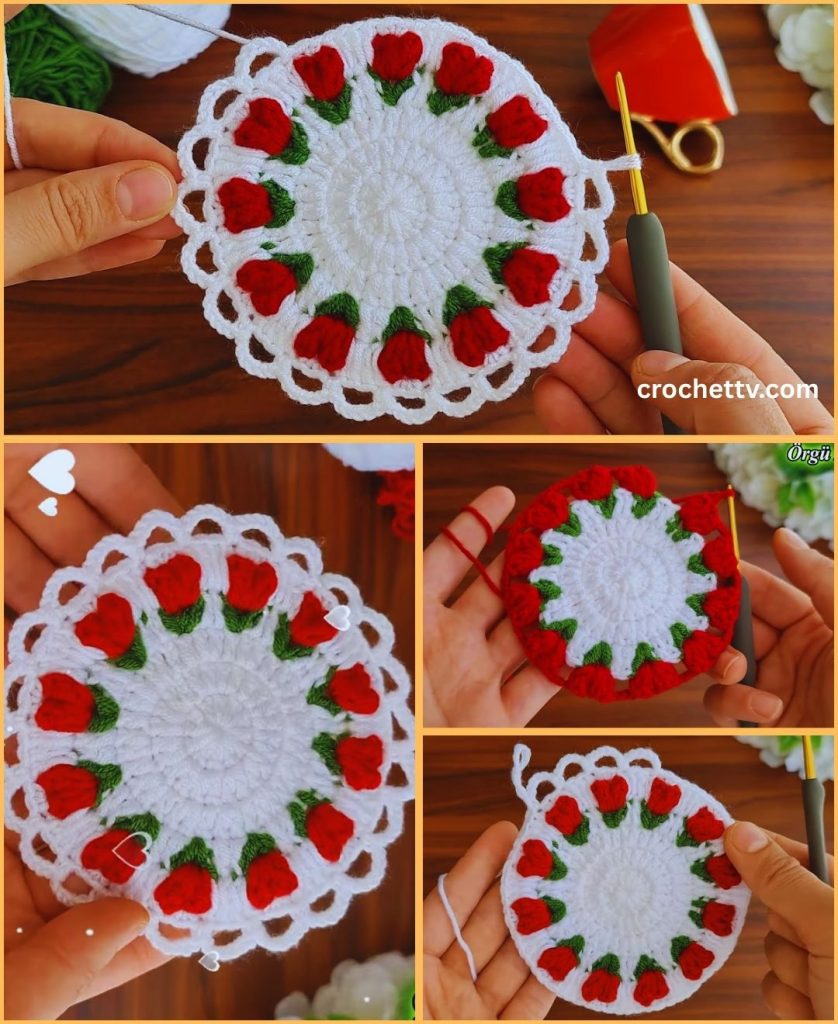
Materials You’ll Need
- Yarn: Small amounts of worsted weight (aran/10-ply) or DK (8-ply) cotton or acrylic yarn.
- Main Color (for outer petals): A color for the rose petals.
- Accent Color 1 (for inner petals): A contrasting or complementary color for the inner part of the flower.
- Accent Color 2 (for the base): A small amount of green or a coordinating color for the coaster base.
- Crochet Hook: A hook size appropriate for your chosen yarn, typically a 4.0mm (G/6) or 5.0mm (H/8) hook.
- Scissors
- Yarn Needle (Tapestry Needle): Essential for weaving in ends and assembling the flower.
Key Crochet Stitches and Techniques
- Magic Ring: The foundation for starting the coaster in the round without a hole.
- Chain (ch): The most basic crochet stitch.
- Slip Stitch (sl st): Used to join stitches and finish off.
- Single Crochet (sc): A very common and sturdy stitch.
- Half Double Crochet (hdc): A stitch taller than a single crochet.
- Double Crochet (dc): A basic and versatile stitch.
- Triple/Treble Crochet (tr): A taller stitch that creates a long, flowing petal.
Part 1: Crocheting the Inner Flower (Rose Center)
This will be the beautiful, rolled center of your flower. We will use a simple stitch pattern to create a strip that can be rolled into a rose.
- Foundation: Using your Accent Color 1, chain 20.
- Row 1: Single crochet (sc) in the second chain from the hook and in each chain across. You should have 19 stitches. Chain 1 and turn.
- Row 2 (Petal Round): Work
(sc, hdc, sc)in each sc stitch from the previous row. This will create a ruffled edge. - Fasten Off: Cut your yarn, leaving a long tail (at least 8 inches) for assembly.
Part 2: Assembling the Inner Rose
- Rolling: Take the crocheted strip from Part 1. Begin rolling it tightly from the foundation chain end. As you roll, the ruffles from Row 2 will form the petals.
- Securing: Once the strip is completely rolled, use the long yarn tail and your yarn needle to sew through the base of the rolled flower multiple times. This will secure the shape and prevent it from unraveling. Weave in the loose end.
Part 3: Crocheting the Outer Petals (Tulip Shape)
These petals will form the main body of your flower and give it a tulip-like appearance.
- Foundation: Using your Main Color, chain 26.
- Row 1: Sc in the second chain from the hook and in the next 3 chains.
(hdc in the next 3 chains, dc in the next 3 chains, hdc in the next 3 chains, sc in the next 3 chains)Repeat this pattern one more time. Chain 1 and turn. - Row 2 (Petal Round): Work a slip stitch (sl st) in the first stitch. Now,
(sc in the next 4 stitches, hdc in the next 4 stitches, dc in the next 4 stitches)Repeat this pattern one more time. The different stitch heights will create the tulip-like petal shape. - Fasten Off: Cut the yarn, leaving a long tail for assembly.
Part 4: Assembling the Flower Coaster
- Combine the Layers: Take the outer petals strip you just made and wrap it around the inner rose you created earlier. The taller stitches of the outer petal strip should be slightly higher than the inner rose’s petals.
- Secure: Use the long tail and your yarn needle to sew the outer petal strip to the base of the inner rose. Go through the bottom layers multiple times to ensure the two parts are securely joined.
Part 5: Creating the Coaster Base
The base provides a stable foundation for the flower.
- Foundation: Using your Accent Color 2, create a magic ring.
- Round 1: Chain 2 (does not count as a stitch). Work 10 dc into the magic ring. Pull the yarn tail tight to close. Sl st to the first dc to join. (10 stitches).
- Round 2: Chain 2. Work 2 dc in each stitch around. Sl st to join. (20 stitches).
- Round 3: Chain 2.
(dc in the next stitch, 2 dc in the next stitch)Repeat this around. Sl st to join. (30 stitches). - Round 4: Chain 2.
(dc in the next 2 stitches, 2 dc in the next stitch)Repeat this around. Sl st to join. (40 stitches). - Finishing: Cut the yarn, leaving a long tail for sewing.
Part 6: Final Assembly and Finishing Touches
- Weave in All Ends: Before you assemble, take a moment to use your yarn needle to weave in all loose ends on each of your pieces.
- Attach the Flower to the Base: Position the flower on top of the coaster base. Use the long yarn tail from the flower and your yarn needle to sew the flower securely to the coaster base.
- Blocking: Blocking your finished coaster will help the petals and base lay flat and look crisp. Simply mist the coaster with water, gently shape it, and let it air dry completely.
Congratulations! You have successfully created a beautiful and unique 3D crochet flower coaster. Sources

