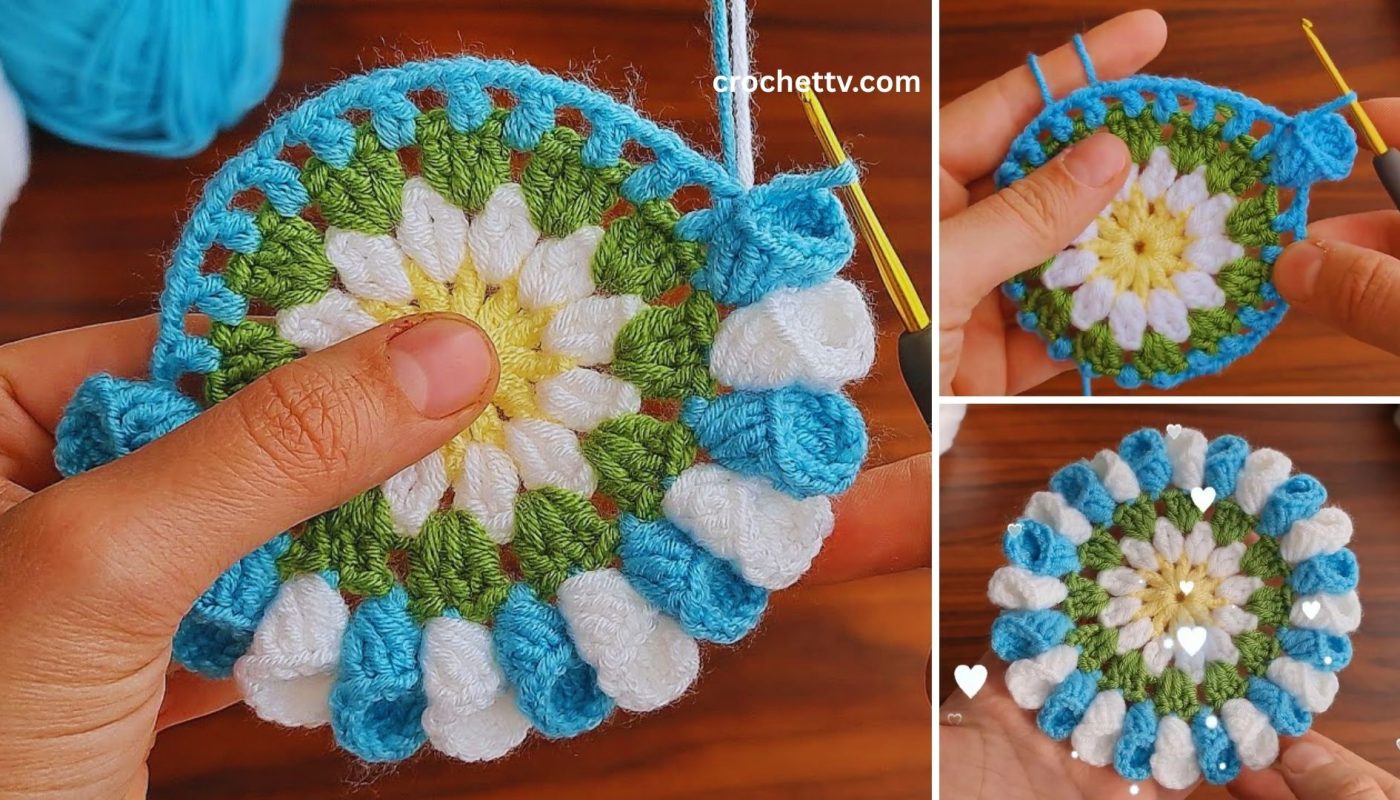
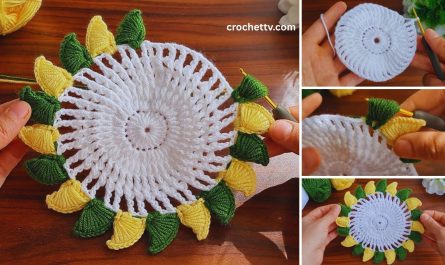
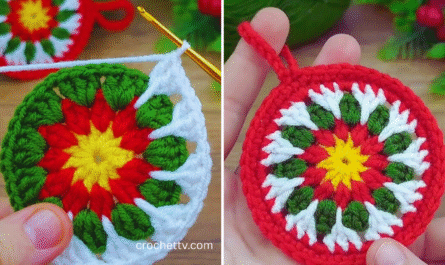
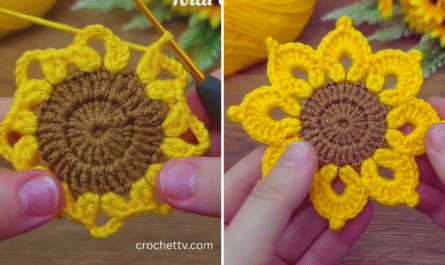
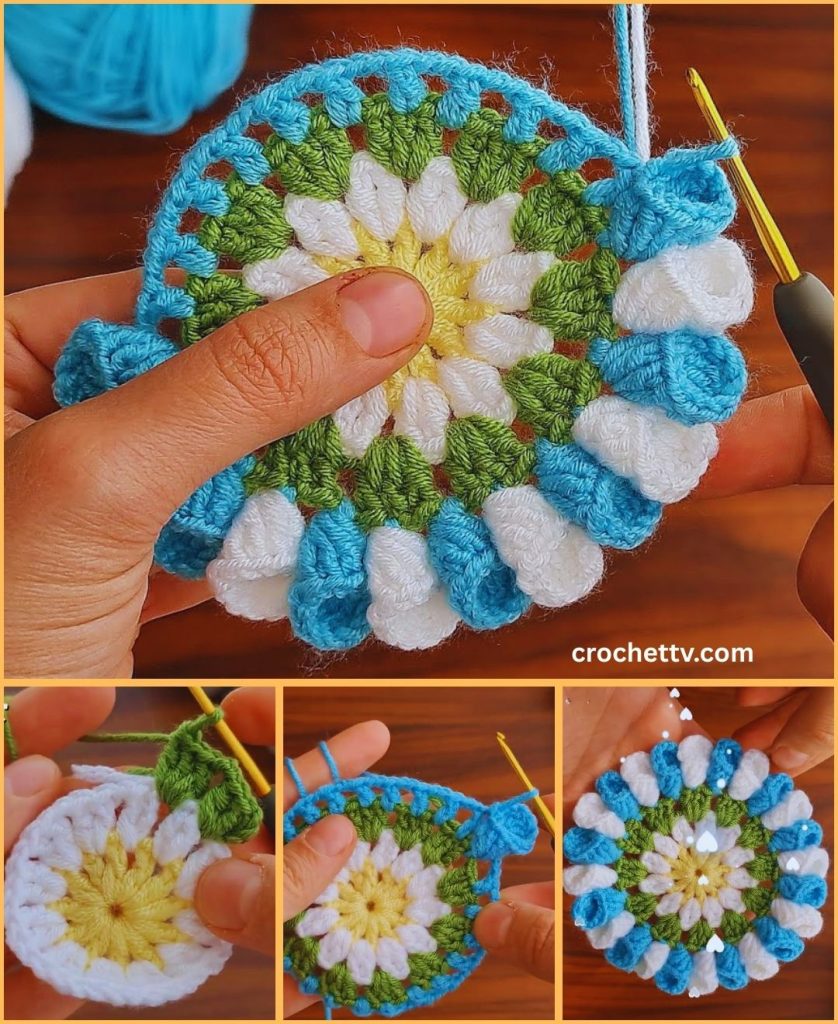
Crocheting a 3D tea rose with leaves is a rewarding project that results in a stunning, lifelike flower that never wilts. Whether you’re crafting for gifts, home décor, fashion, or floral arrangements, a three-dimensional tea rose adds elegant beauty to any piece.
This guide will walk you through making your own 3D crochet tea rose with layered petals and realistic leaves, using simple techniques to achieve rich texture and depth.
🧶 What is a 3D Crochet Tea Rose?
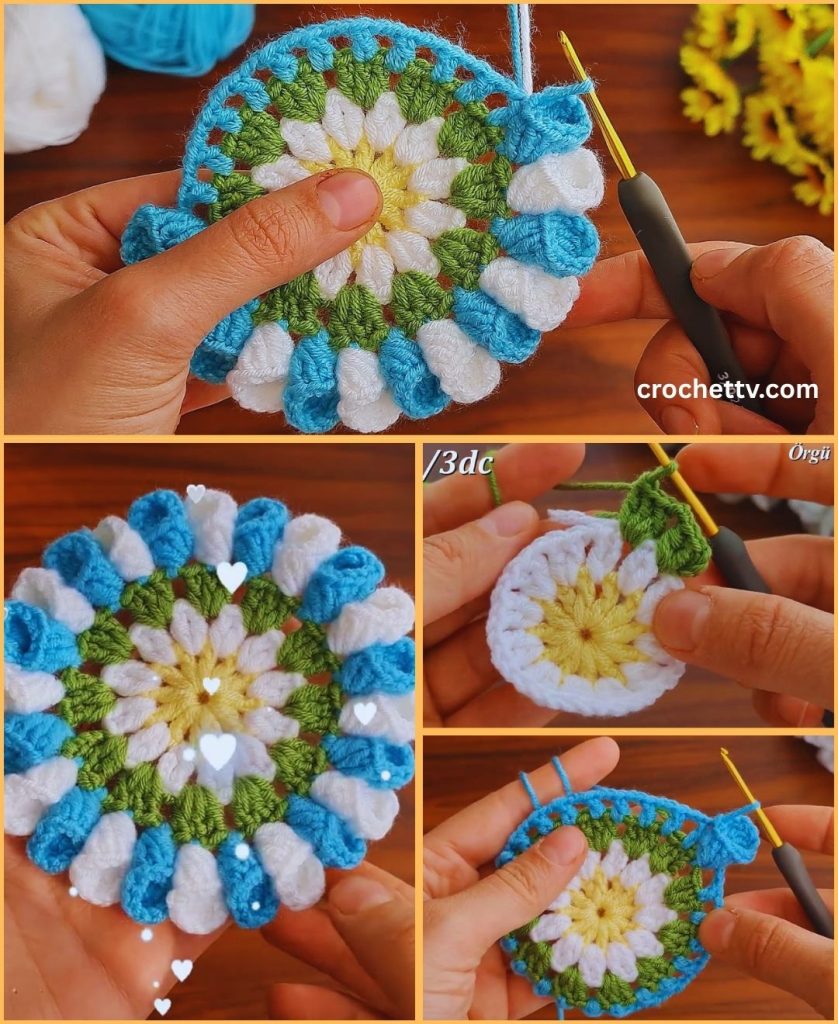
A 3D crochet tea rose is a crocheted flower designed to have layers of petals that curl outward, forming the natural spiral and bloom structure of a real rose. The three-dimensional structure gives the flower lifelike volume. Adding crocheted leaves makes it perfect for bouquets, brooches, hairpieces, or table decorations.
🧵 Materials You Will Need
To make one crochet 3D tea rose with leaves, gather the following:
Yarn:
- Petal color (light worsted, DK, or sport weight cotton/acrylic yarn)
- Green yarn (for leaves and base)
Tools:
- Crochet hook: 3.0 mm – 4.0 mm (adjust based on yarn weight)
- Scissors
- Yarn needle (for sewing and finishing)
- Stitch marker (optional)
- Optional: Floral wire or stem for support
✅ Pro tip: Cotton yarn works best because it holds shape and gives the flower structure.
✨ Crochet Stitches Used
You’ll need basic and a few intermediate stitches:
- Magic ring (MR)
- Chain (ch)
- Slip stitch (sl st)
- Single crochet (sc)
- Half double crochet (hdc)
- Double crochet (dc)
- Treble crochet (tr) (optional for leaf points)
- Back loop only (BLO) (for leaf definition)
🌼 Crochet 3D Tea Rose Pattern (Step-by-Step)
We’ll begin by making a long petal strip which we will roll into a rose, then add separate leaves and assemble everything.
🔸 Step 1: Create the Petal Base Strip
This strip will become the rose when rolled and sewn.
➤ Foundation Chain:
- Chain 63 (or any multiple of 6 + 3 — you can adjust this for smaller/larger roses)
Longer chain = more petals = fuller rose
🔸 Step 2: First Petal Row (Row 1 – Base Petals)
- Row 1:
- In the 3rd ch from the hook, work 1 dc.
- (Skip 2 chains, [2 dc, ch 2, 2 dc] in next ch) – repeat to end of row.
- You should now have 10 scalloped petal bases.
These create open V-petal bases that help with rolling the rose.
🔸 Step 3: Second Petal Row (Row 2 – Raised Petals)
- Row 2 (turn your work):
- In the first ch-2 space: (sc, hdc, 3 dc, hdc, sc)
- Sl st to next ch-2 space
- Repeat in each ch-2 space across
This forms 10 small petals (inner layer).
🔸 Step 4: Third Petal Row (Row 3 – Outer Petals)
- Row 3 (optional but adds realism):
We add another round of petals behind the first.
- Turn your work to the back side.
- Insert hook into the base of the petal (in skipped stitches or between petal clusters).
- Chain 3 between each petal group to form a new base.
- In each ch-3 space: (sc, hdc, 2 dc, 2 tr, 2 dc, hdc, sc)
These larger petals will form the outer bloom of the rose, giving it a fuller 3D effect.
🌹 Step 5: Shape the Rose
Now you’ll roll and sew the strip to form the rose shape.
- Start at the narrow end (first petal).
- Roll the strip tightly for the center (bud), then looser as you move out.
- Adjust each petal layer as you roll to create a natural bloom effect.
- Once you’re happy with the shape, use a yarn needle to sew along the base to secure it.
🧷 Tip: Pin the flower as you roll if needed, to hold its shape before sewing.
🍃 Crochet Leaves Pattern (Make 2–3 Leaves)
You can attach one or more leaves to the base of the rose.
🔹 Step 1: Leaf Foundation
- Chain 11.
- Work the following on one side of the chain:
- sc in 2nd ch from hook,
- hdc in next,
- dc in next 3,
- tr in next 2,
- dc in next,
- hdc in next,
- sc in last ch.
🔹 Step 2: Leaf Shaping (Other Side)
Now work on the opposite side of the foundation chain:
- Continue with:
- sc, hdc, dc, tr x 2, dc x 3, hdc, sc.
- Sl st into the beginning to close the leaf.
📌 This forms a symmetrical oval leaf shape with a pointed tip.
🔹 Optional: Vein Detail
- Work surface slip stitches up the center of the leaf to add a realistic vein.
- Or use back loop only (BLO) for the second row to give texture.
🌿 Optional: Add Stem or Calyx
If you want to make the flower part of a bouquet:
- Crochet a green calyx (5 small chain-3 petals) and attach it under the rose.
- Insert floral wire through the base and wrap with green yarn to create a stem.
- Add leaves along the stem using hot glue or sewing.
✂️ Final Assembly
- Sew the leaves to the underside of the rose using a yarn needle.
- Optional: Attach the entire flower to:
- Hair clip
- Pin/brooch base
- Headband
- Bag
- Gift wrap
- Wreath or garland
🧼 Care Instructions
- Hand wash gently with cold water
- Lay flat to dry
- Store in a cool, dry place
- Avoid ironing or hot washing
🌟 Customization Ideas
- Multicolor petals: Use gradient yarn or change color every few petals.
- Add beads: Stitch small pearls or seed beads into the petal bases.
- Scented sachets: Insert a cotton ball with essential oil inside the rolled rose before closing.
- Glitter yarn: For a festive or bridal look.
🎁 Perfect For…
- Bridal bouquets
- Mother’s Day gifts
- Home table décor
- Wedding corsages
- Baby shower embellishments
- Fashion accessories
- Gift tags and wrappings
📸 Share Your Floral Masterpiece
Once your rose is complete, don’t forget to show it off to the world! Share on Instagram, Facebook, or Pinterest using hashtags like:
- #CrochetTeaRose
- #3DCrochetFlower
- #CrochetWithLove
- #HandmadeBlooms
🧵 Final Thoughts
Creating a 3D crochet tea rose with leaves is a wonderfully meditative and creative project. With just a few stitches and a little shaping, you can craft a flower that brings joy and beauty without fading.
It’s perfect for beginner to intermediate crocheters who want to explore sculptural crochet, and it opens doors to many creative applications.Crocheting a 3D tea rose with leaves is a rewarding project that results in a stunning, lifelike flower that never wilts. Whether you’re crafting for gifts, home décor, fashion, or floral arrangements, a three-dimensional tea rose adds elegant beauty to any piece.
This guide will walk you through making your own 3D crochet tea rose with layered petals and realistic leaves, using simple techniques to achieve rich texture and depth.
🧶 What is a 3D Crochet Tea Rose?
A 3D crochet tea rose is a crocheted flower designed to have layers of petals that curl outward, forming the natural spiral and bloom structure of a real rose. The three-dimensional structure gives the flower lifelike volume. Adding crocheted leaves makes it perfect for bouquets, brooches, hairpieces, or table decorations.
🧵 Materials You Will Need
To make one crochet 3D tea rose with leaves, gather the following:
Yarn:
- Petal color (light worsted, DK, or sport weight cotton/acrylic yarn)
- Green yarn (for leaves and base)
Tools:
- Crochet hook: 3.0 mm – 4.0 mm (adjust based on yarn weight)
- Scissors
- Yarn needle (for sewing and finishing)
- Stitch marker (optional)
- Optional: Floral wire or stem for support
✅ Pro tip: Cotton yarn works best because it holds shape and gives the flower structure.
✨ Crochet Stitches Used
You’ll need basic and a few intermediate stitches:
- Magic ring (MR)
- Chain (ch)
- Slip stitch (sl st)
- Single crochet (sc)
- Half double crochet (hdc)
- Double crochet (dc)
- Treble crochet (tr) (optional for leaf points)
- Back loop only (BLO) (for leaf definition)
🌼 Crochet 3D Tea Rose Pattern (Step-by-Step)
We’ll begin by making a long petal strip which we will roll into a rose, then add separate leaves and assemble everything.
🔸 Step 1: Create the Petal Base Strip
This strip will become the rose when rolled and sewn.
➤ Foundation Chain:
- Chain 63 (or any multiple of 6 + 3 — you can adjust this for smaller/larger roses)
Longer chain = more petals = fuller rose
🔸 Step 2: First Petal Row (Row 1 – Base Petals)
- Row 1:
- In the 3rd ch from the hook, work 1 dc.
- (Skip 2 chains, [2 dc, ch 2, 2 dc] in next ch) – repeat to end of row.
- You should now have 10 scalloped petal bases.
These create open V-petal bases that help with rolling the rose.
🔸 Step 3: Second Petal Row (Row 2 – Raised Petals)
- Row 2 (turn your work):
- In the first ch-2 space: (sc, hdc, 3 dc, hdc, sc)
- Sl st to next ch-2 space
- Repeat in each ch-2 space across
This forms 10 small petals (inner layer).
🔸 Step 4: Third Petal Row (Row 3 – Outer Petals)
- Row 3 (optional but adds realism):
We add another round of petals behind the first.
- Turn your work to the back side.
- Insert hook into the base of the petal (in skipped stitches or between petal clusters).
- Chain 3 between each petal group to form a new base.
- In each ch-3 space: (sc, hdc, 2 dc, 2 tr, 2 dc, hdc, sc)
These larger petals will form the outer bloom of the rose, giving it a fuller 3D effect.
🌹 Step 5: Shape the Rose
Now you’ll roll and sew the strip to form the rose shape.
- Start at the narrow end (first petal).
- Roll the strip tightly for the center (bud), then looser as you move out.
- Adjust each petal layer as you roll to create a natural bloom effect.
- Once you’re happy with the shape, use a yarn needle to sew along the base to secure it.
🧷 Tip: Pin the flower as you roll if needed, to hold its shape before sewing.
🍃 Crochet Leaves Pattern (Make 2–3 Leaves)
You can attach one or more leaves to the base of the rose.
🔹 Step 1: Leaf Foundation
- Chain 11.
- Work the following on one side of the chain:
- sc in 2nd ch from hook,
- hdc in next,
- dc in next 3,
- tr in next 2,
- dc in next,
- hdc in next,
- sc in last ch.
🔹 Step 2: Leaf Shaping (Other Side)
Now work on the opposite side of the foundation chain:
- Continue with:
- sc, hdc, dc, tr x 2, dc x 3, hdc, sc.
- Sl st into the beginning to close the leaf.
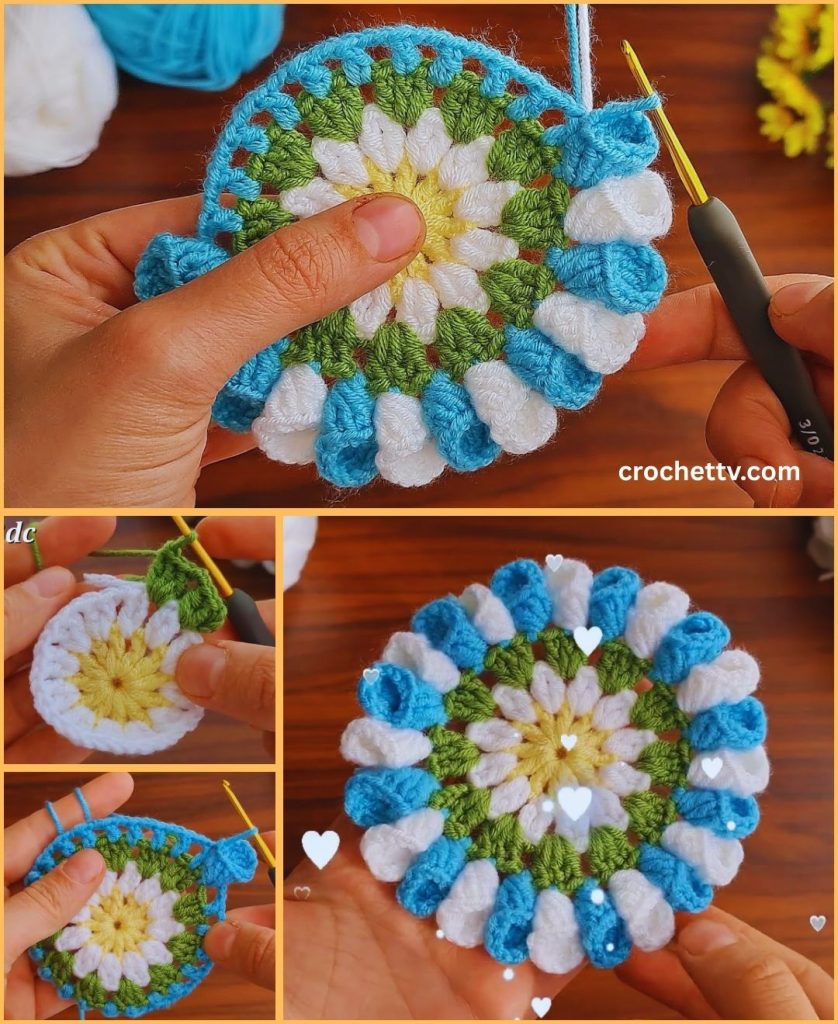
📌 This forms a symmetrical oval leaf shape with a pointed tip.
🔹 Optional: Vein Detail
- Work surface slip stitches up the center of the leaf to add a realistic vein.
- Or use back loop only (BLO) for the second row to give texture.
🌿 Optional: Add Stem or Calyx
If you want to make the flower part of a bouquet:
- Crochet a green calyx (5 small chain-3 petals) and attach it under the rose.
- Insert floral wire through the base and wrap with green yarn to create a stem.
- Add leaves along the stem using hot glue or sewing.
✂️ Final Assembly
- Sew the leaves to the underside of the rose using a yarn needle.
- Optional: Attach the entire flower to:
- Hair clip
- Pin/brooch base
- Headband
- Bag
- Gift wrap
- Wreath or garland
🧼 Care Instructions
- Hand wash gently with cold water
- Lay flat to dry
- Store in a cool, dry place
- Avoid ironing or hot washing
🌟 Customization Ideas
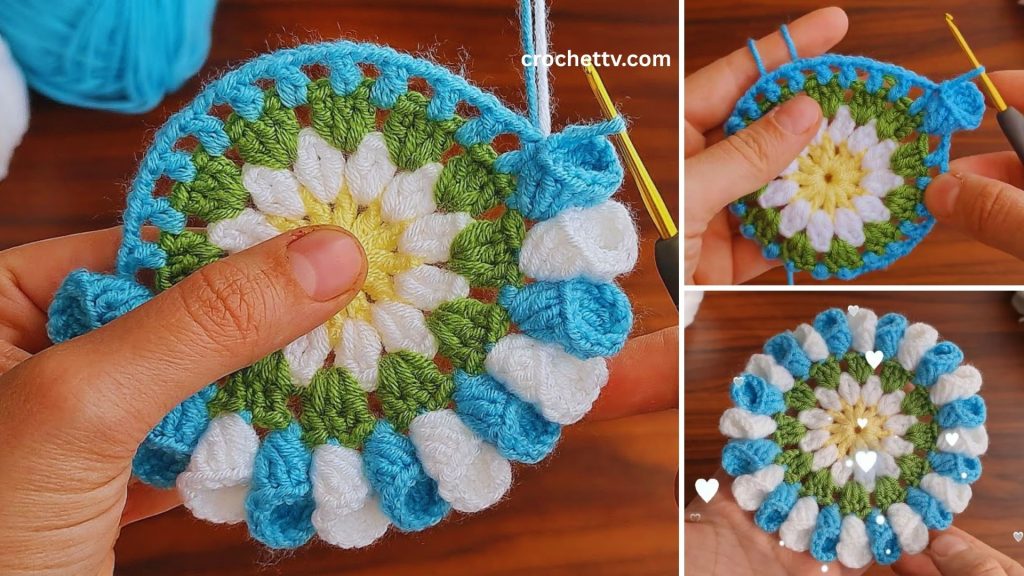
- Multicolor petals: Use gradient yarn or change color every few petals.
- Add beads: Stitch small pearls or seed beads into the petal bases.
- Scented sachets: Insert a cotton ball with essential oil inside the rolled rose before closing.
- Glitter yarn: For a festive or bridal look.
🎁 Perfect For…
- Bridal bouquets
- Mother’s Day gifts
- Home table décor
- Wedding corsages
- Baby shower embellishments
- Fashion accessories
- Gift tags and wrappings
📸 Share Your Floral Masterpiece
Once your rose is complete, don’t forget to show it off to the world! Share on Instagram, Facebook, or Pinterest using hashtags like:
- #CrochetTeaRose
- #3DCrochetFlower
- #CrochetWithLove
- #HandmadeBlooms
🧵 Final Thoughts
Creating a 3D crochet tea rose with leaves is a wonderfully meditative and creative project. With just a few stitches and a little shaping, you can craft a flower that brings joy and beauty without fading.
It’s perfect for beginner to intermediate crocheters who want to explore sculptural crochet, and it opens doors to many creative applications.
Congratulations! You have now successfully created a beautiful crocheted 3D tea rose with leaves. This project is a wonderful way to create a lasting handmade flower that can be used to add a touch of elegance to any project or home decor.

