 by
by Let’s crochet a beautiful and cozy striped baby blanket! This project is perfect for beginners, as it primarily uses one of the most fundamental crochet stitches: the double crochet. By simply changing colors every few rows, you’ll create lovely stripes that make this blanket both visually appealing and surprisingly simple to make. It’s a wonderful project for a new arrival, a thoughtful gift, or a cherished heirloom.
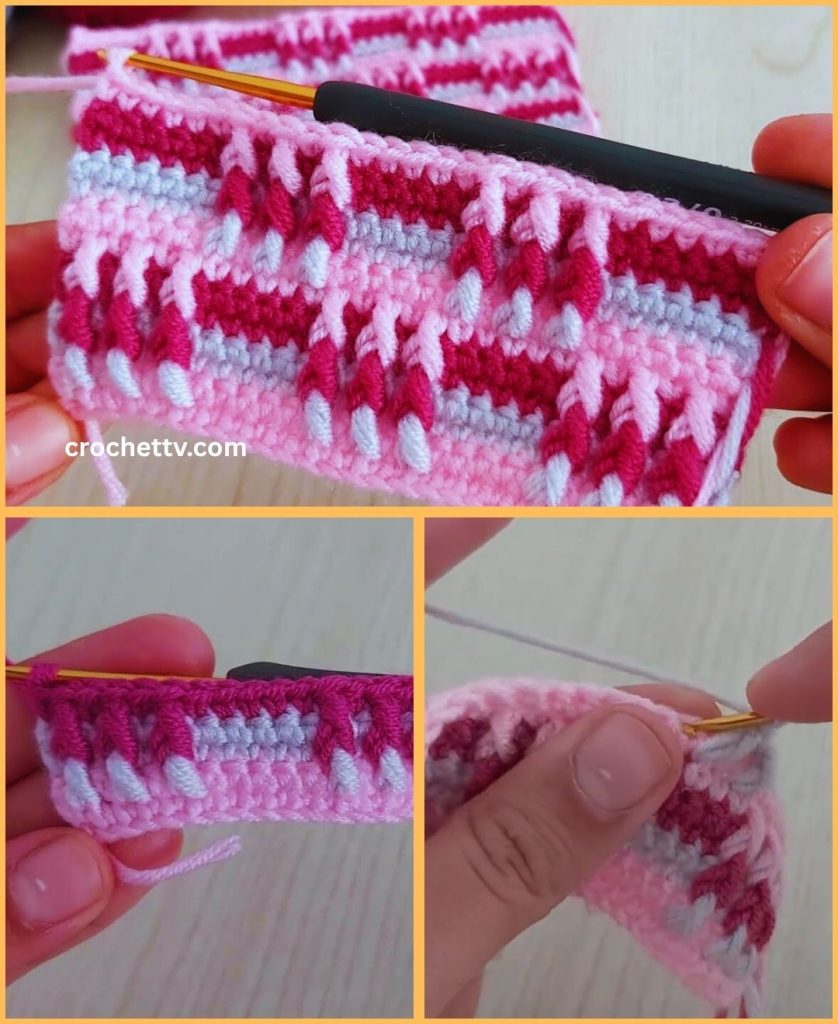
How to Crochet a Striped Baby Blanket (Step-by-Step Tutorial)
This detailed guide will walk you through making a soft, warm, and durable baby blanket. We’ll focus on straightforward stitches and clear instructions to ensure a successful and enjoyable project, even if you’re just starting your crochet journey.
Skill Level: Beginner
This project is ideal if you’re comfortable with (or ready to learn!):
- Chain (ch): The foundation of crochet.
- Double Crochet (dc): The main stitch used for the blanket, creating a soft, drapey fabric.
- Changing colors: A simple technique to create stripes.
- Working in rows: Crocheting back and forth.
- Fastening off: Securing your yarn.
- Weaving in ends: The essential finishing touch.
Finished Baby Blanket Dimensions (Approximate):
Using worsted weight yarn and the suggested hook, your finished baby blanket will typically measure around 30 inches (76 cm) wide by 36 inches (91 cm) long. This is a common and versatile size for newborns, tummy time, or stroller use. You can easily adjust the size by changing your starting chain and number of rows.
Materials You’ll Need:
Gathering your materials beforehand ensures a smooth and enjoyable crocheting session.
- Yarn: Approximately 1000-1200 yards (915-1100 meters) of Worsted Weight (Medium #4) Yarn.
- Why Worsted Weight? It’s a versatile and widely available yarn, and it works up quickly for a blanket.
- Fiber Choice: Look for soft, washable yarn designed for babies. Options include:
- Baby Acrylic: Very soft, durable, easy to wash, and often hypoallergenic.
- Cotton Blend: Offers a nice drape and breathability, often very soft.
- Anti-Pilling Acrylic: Resists fuzzing and pilling, keeping the blanket looking new.
- Color Choices for Stripes: Select 2-4 colors. Contrasting colors will create bold stripes, while analogous colors will give a softer, more blended look.
- Color A (Main Color): Approx. 400-500 yards (365-457m) – e.g., a neutral like white, cream, or light grey.
- Color B (Stripe Color 1): Approx. 300-350 yards (274-320m) – e.g., a light blue or pink.
- Color C (Stripe Color 2 – Optional): Approx. 300-350 yards (274-320m) – e.g., a pastel green or yellow.
- Crochet Hook: Size I/5.5mm or J/6.0mm. Using a slightly larger hook than recommended for worsted weight yarn often creates a softer, more drapey fabric, which is ideal for baby blankets. Test with a small swatch to see what you prefer!
- Yarn Needle (Tapestry Needle): Essential for seamlessly weaving in all your loose yarn tails. It has a blunt tip and a large eye, making it easy to thread yarn.
- Scissors: Any sharp pair of scissors will do for cutting your yarn.
- Stitch Marker (Optional): Helpful for marking the first or last stitch of your rows, especially if you find your edges becoming uneven.
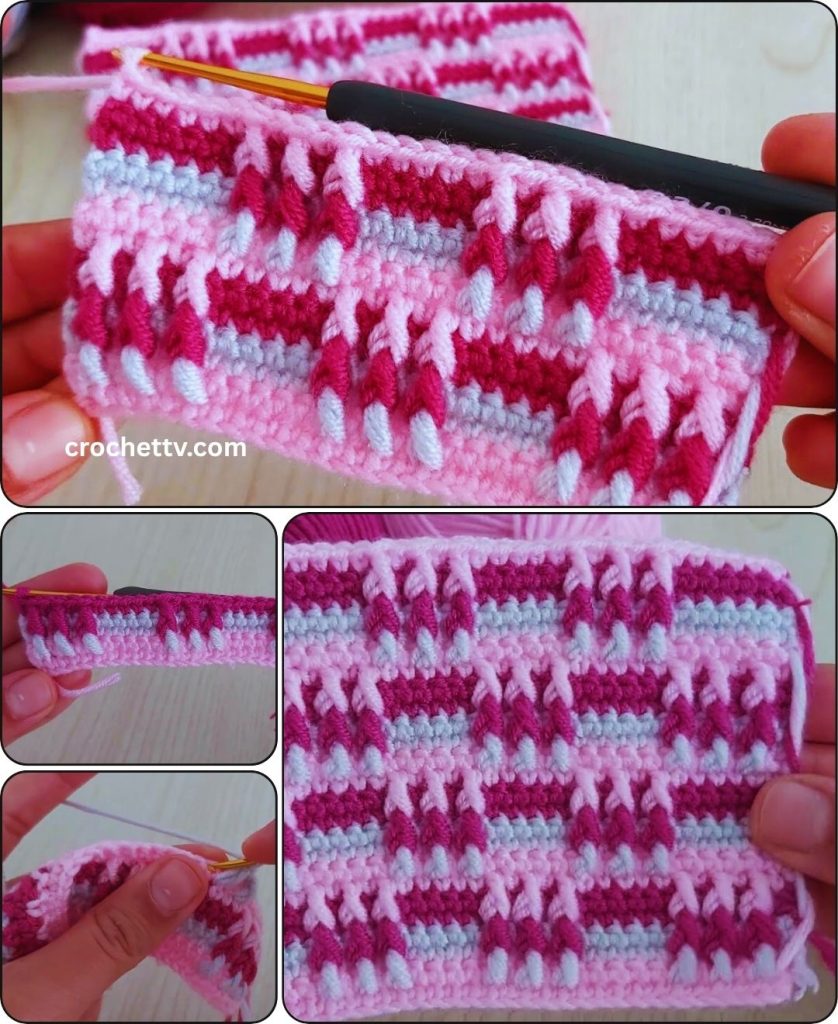
Understanding the Blanket Construction: Simple Rows
This blanket is constructed using a very straightforward method:
- One Large Panel: You’ll crochet one large rectangular panel by working back and forth in rows.
- Stripes: You’ll change yarn colors at regular intervals (every few rows) to create the striped pattern.
- Optional Border: Once the main blanket panel is complete, you can add an easy border (like a few rounds of single crochet) to give it a neat finish.
This “working in rows” method is beginner-friendly and great for blankets, as you’re always working flat.
Let’s Crochet Your Striped Baby Blanket!
Follow these steps carefully. Maintaining consistent tension and practicing neat color changes are key to a professional-looking finished blanket.
Part 1: Crocheting the Main Blanket Panel
This is the main body of your blanket where your beautiful stripes will appear. We’ll use double crochet (dc) for a soft and relatively quick-to-grow fabric.
- Starting Chain (with Color A):
- Make a slip knot with Color A and place it onto your chosen hook (I/5.5mm or J/6.0mm).
- Chain (ch) 111. (This chain length determines the width of your blanket. For a different width, chain an even number, then add 1. So, your final chain count should be an odd number. This allows for 110 double crochet stitches in the first row.)
- Row 1 (Color A):
- Work 1 double crochet (dc) into the 3rd chain from your hook. (The skipped 2 chains count as your first dc of the row.)
- Continue to work 1 dc into each remaining chain across the entire row. You should end up with a total of 110 double crochet stitches.
- Chain 2 (ch 2) (this turning chain counts as your first dc of the next row).
- Turn your work. This means flipping your crocheted piece over, like turning a page in a book, so your hook is ready to work into the first stitch of the new row.
- Color Changing Technique (at the end of a row):
- To create clean, distinct stripes, you’ll change colors on the last yarn over of the very last double crochet stitch of the row before you want the new color to begin.
- Let’s say you’re about to finish a row using Color A, and the next row should be Color B.
- Work the last double crochet stitch of the current row as normal: Yarn over, insert hook into the last stitch, yarn over, pull up a loop (3 loops on hook), yarn over, pull through 2 loops (2 loops on hook).
- Stop here! Drop Color A. Pick up Color B.
- With Color B, yarn over and pull through the remaining 2 loops on your hook to complete the stitch. Color B is now active on your hook.
- Chain 2 (using Color B – this counts as the first dc of the new row), then turn your work. You are now ready to work the entire next row in Color B.
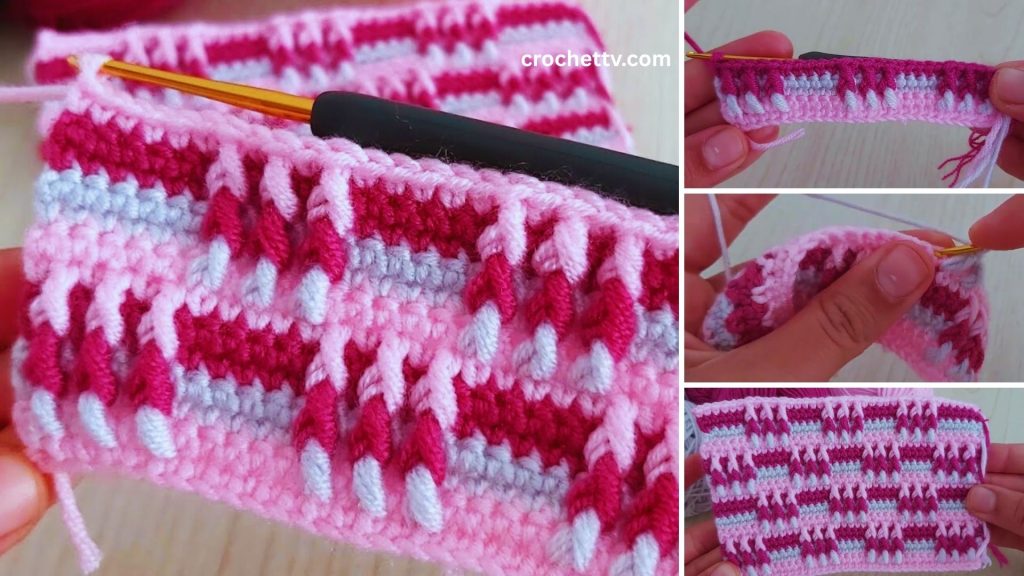
- Stripe Pattern for Blanket (Approximate for 100-110 rows total):
- We’ll use an easy 4-row stripe repeat for a classic, balanced look. You can adjust the number of rows per stripe as you like!
- Rows 2-4 (3 more rows in Color A): Work 1 dc into the top of the first dc from the previous row (this will be the top of the turning chain 2). Work 1 dc into each remaining dc across the row. At the end of Row 4, change to Color B. Chain 2, turn.
- Rows 5-8 (4 rows in Color B): Work 1 dc into each dc across. At the end of Row 8, change to Color A. Chain 2, turn.
- Rows 9-12 (4 rows in Color A): Work 1 dc into each dc across. At the end of Row 12, change to Color C (if using 3 colors). Chain 2, turn.
- Rows 13-16 (4 rows in Color C): Work 1 dc into each dc across. At the end of Row 16, change to Color A. Chain 2, turn.
- Continue repeating this 4-row stripe pattern (e.g., 4 rows A, 4 rows B, 4 rows A, 4 rows C, then back to 4 rows A, 4 rows B, etc.) until your blanket reaches your desired length (approximately 100-110 rows total for 36 inches long). Always remember to change colors on the last yarn over of the last dc of the last row for that color segment.
- Tip for carrying yarn: For stripes that repeat frequently (like every 4 rows), you can gently carry the non-working yarn up the side of your work. To do this, simply lay the dropped yarn color along the top edge of the stitches of the current row and crochet over it with your new color. This avoids cutting and rejoining yarn constantly, which saves time and weaving in ends. Just be careful not to pull the carried yarn too tightly, or it will pucker your edge. If the stripe is many rows long, it’s better to cut the yarn and rejoin.
- Fasten Off:
- After completing your very last row, cut your yarn, leaving a tail about 6-8 inches (15-20 cm) long.
- Yarn over with your hook, pull the cut tail completely through the loop left on your hook, and gently tug to secure the knot.
Part 2: Adding an Easy Border (Optional but Recommended)
A simple border gives your blanket a finished, polished look and helps to straighten out any slightly uneven edges. We’ll use single crochet for a neat edge.
- Round 1 (with Color A or a coordinating color):
- Join your chosen border yarn with a slip stitch into any corner of the blanket.
- Chain 1 (does not count as a stitch).
- Work single crochet (sc) stitches evenly around the entire perimeter of the blanket.
- Along the top and bottom edges (the chained edges): Work 1 sc into the top of each double crochet stitch. When you come to the side of a turning chain, work 1 sc into it.
- Along the side edges (the row ends): This is where you need to be mindful of spacing. A good rule of thumb for double crochet rows is to work 2 single crochet stitches for every 1 double crochet row. So, if you have a row of double crochets, work 2 sc evenly around the end of that row. When you come to a color change point, ensure your stitches are even.
- In each corner: Work (1 sc, ch 1, 1 sc) into the corner stitch/space. This helps the blanket turn neatly without curling.
- Continue all the way around, making sure to keep your stitches even.
- Slip stitch into the first sc to join the round.
- Round 2 (Optional, for a thicker border):
- Chain 1.
- Work 1 sc into each sc around the entire blanket.
- When you reach the chain-1 space in each corner from the previous round, work (1 sc, ch 1, 1 sc) into that chain-1 space. This maintains the square/rectangular shape.
- Slip stitch into the first sc to join.
- You can repeat this round for another 1-2 times if you desire a wider border.
- Fasten Off:
- After your final border round, cut your yarn, leaving a 6-8 inch tail.
- Yarn over with your hook, pull the cut tail completely through the loop left on your hook, and gently tug to secure the knot.
Part 3: Final Finishing Touches
- Weave in ALL Remaining Ends:
- This is the most crucial step for a professional-looking, durable blanket, especially with a striped project. You’ll have tails from your starting chain, all your color changes, and the final fasten-offs from the border.
- Use your yarn needle to meticulously weave in every single loose yarn tail.
- How to Weave Neatly: Thread the yarn tail onto your yarn needle. Weave the tail into the stitches of the same color as the tail. Go in one direction for at least 2-3 inches (5-7.5 cm). To truly secure it, subtly change direction (e.g., weave along a row, then turn and weave back through some of the same stitches diagonally or perpendicularly) to “lock” the tail in place and prevent it from unraveling. Trim any excess yarn close to the fabric, being careful not to cut any of your actual stitches.
- Blocking (Optional but Highly Recommended):
- Blocking can significantly improve the drape, even out any tension inconsistencies, and give your blanket a more polished, professional look. It makes a big difference in how well the stitches lay and how straight the edges appear.
- Method (Wet Blocking – Ideal for Cotton or Acrylic):
- Gently mist your entire blanket evenly with cool water using a spray bottle until it’s damp but not soaking wet.
- Carefully stretch and pin your blanket to its desired rectangular shape on a blocking mat or a clean, dry towel. Ensure the edges are straight and the corners are square.
- Allow the blanket to air dry completely and thoroughly in a well-ventilated area. This can take a day or two, depending on humidity and ventilation. Ensure it’s bone dry before removing pins or using it.
Congratulations! You’ve successfully crocheted a beautiful and cozy striped baby blanket! This handmade item is not only practical but also a fantastic way to showcase your developing crochet skills. Your little one (or the recipient) is sure to cherish this warm and colorful creation!