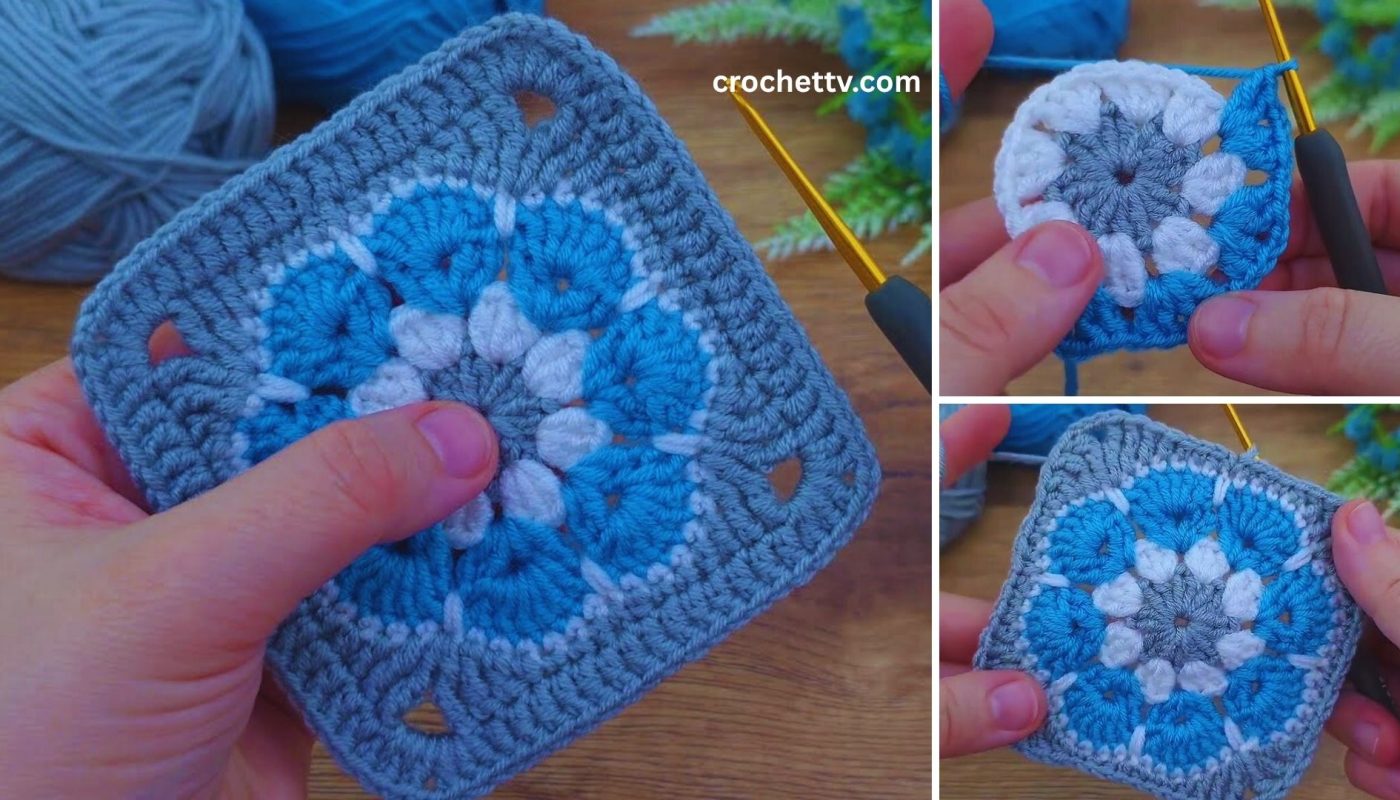
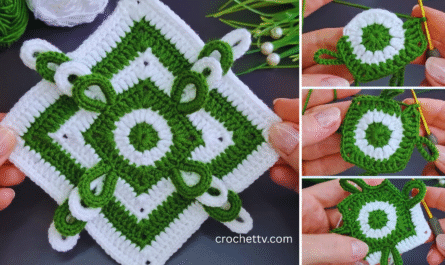
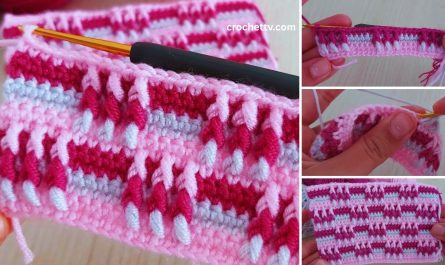
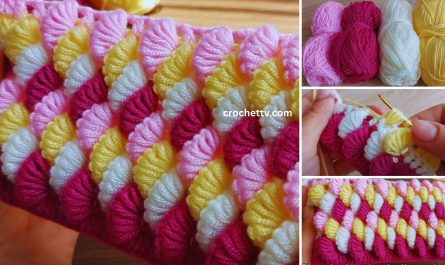
Let’s create a beautiful and cozy crochet baby blanket with a flower motif! This project is a wonderful way to welcome a new baby, combining warmth with a delightful floral design. While it sounds intricate, we’ll break it down into manageable steps, focusing on a repeating flower square motif that’s perfect for building a blanket.
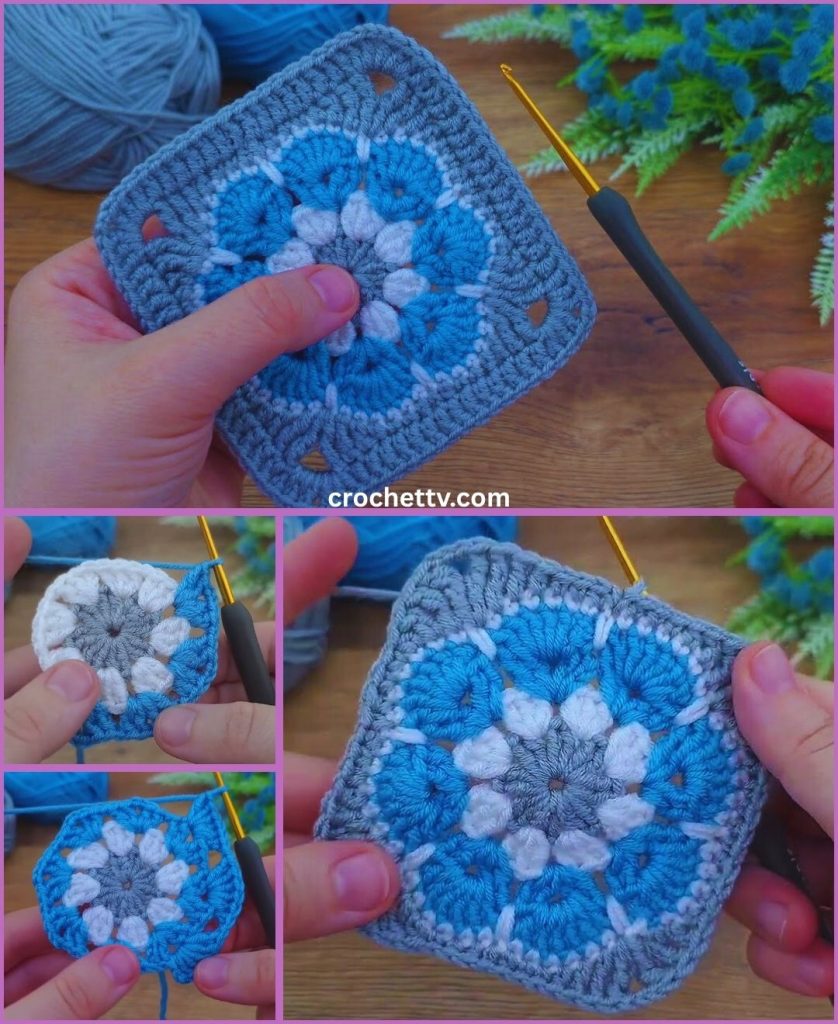
How to Crochet a Baby Blanket with Flower Motifs
This detailed tutorial will guide you through making individual flower granny squares and then joining them to form a lovely baby blanket. You can choose to make many small flower squares or a few larger ones, depending on your desired look and blanket size. We’ll focus on a classic, beginner-friendly flower granny square.
Skill Level: Advanced Beginner
This project is great if you’re comfortable with:
- Chain (ch): The basic foundation.
- Slip Stitch (sl st): For joining rounds.
- Single Crochet (sc): A fundamental stitch.
- Half Double Crochet (hdc): A stitch taller than sc.
- Double Crochet (dc): The main stitch for granny squares.
- Treble Crochet (tr) / Triple Crochet: A taller stitch used for petals.
- Magic Ring (MR) / Chain-2 Start: For a neat center hole.
- Working in rounds: Crocheting in a circular fashion.
- Color changes: Neatly switching between yarn colors.
- Fastening off: Securing your yarn.
- Weaving in ends: The essential finishing touch.
- Basic seaming: Joining squares with a yarn needle or slip stitch.
Finished Blanket Dimensions (Approximate):
A baby blanket made with 36 squares (6×6 layout) using 5-inch (12.5 cm) flower granny squares will be roughly:
- 30 inches x 30 inches (75 cm x 75 cm) – a perfect size for a car seat, stroller, or tummy time mat.
You can easily adjust the size of your blanket by making more or fewer squares, or by making larger or smaller squares (by adding more granny square rounds).
Materials You’ll Need:
Gathering your materials beforehand makes for a smoother crocheting experience.
- Yarn: Approximately 1000-1500 yards (915-1370 meters) of DK (Light #3) or Worsted Weight (Medium #4) Yarn.
- Why these weights? They’re soft and cozy, perfect for babies.
- Why Cotton/Acrylic/Blend? Cotton is soft, breathable, and great for warmer climates or if the baby has sensitive skin. Acrylic is widely available, soft, durable, and easy to wash – a common choice for baby blankets. Blends offer the best of both.
- Color Choices:
- Flower Centers (e.g., Yellow, Cream): Small amount.
- Petal Colors (e.g., Pinks, Blues, Purples, Pastels): Varies per flower, allowing for a mix-and-match look.
- Leaf/Accent Green (Optional): Small amount for the green layer around the flower.
- Granny Square Background Color(s): The majority of your yarn. This could be a single neutral color (white, grey, cream) for a consistent background, or you could use multiple colors for a more vibrant, patchwork effect.
- Crochet Hook:
- Size G/4.0mm for DK weight yarn.
- Size H/5.0mm for Worsted Weight yarn.
- Choose a hook that creates a soft, pliable fabric (not too stiff) with your chosen yarn.
- Yarn Needle (Tapestry Needle): Essential for seamlessly weaving in all your loose yarn tails (you’ll have a few with color changes!) and for joining the granny squares. It has a blunt tip and a large eye.
- Scissors: Any sharp pair of scissors.
- Stitch Markers (Optional): Handy for marking corners or specific stitches if you’re new to granny squares.
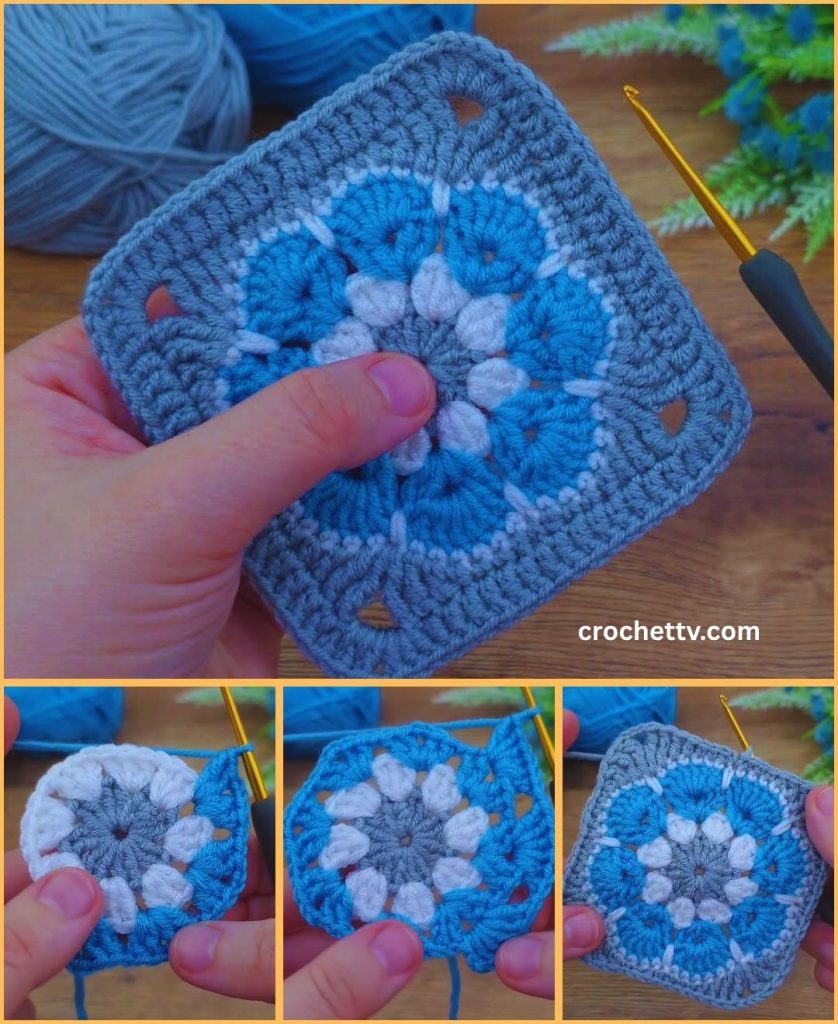
Part 1: How to Crochet a Flower Granny Square
This is the main component of your blanket. We’ll create a layered flower within a classic granny square border. You will need many of these squares (e.g., 36 for a 30×30 inch blanket, or more/less depending on your desired size).
Let’s Crochet a Flower Granny Square!
A. The Flower (Inner Flower – Center and Petal Colors)
This part builds the layered petals of the flower.
- Starting the Flower (Magic Ring Method – Recommended for neat center):
- Make a Magic Ring (MR) with your Center Color yarn (e.g., Yellow/Cream).
- (Alternative start): Chain 4, then slip stitch (sl st) into the first chain to form a ring.
- Round 1 (Flower Center):
- Chain 1 (ch 1 – does NOT count as a stitch). Work 10 single crochet (sc) stitches into the magic ring.
- Gently pull the tail of the magic ring tight to close the center hole.
- Slip stitch (sl st) into the first sc to join the round. (10 sc)
- Fasten off Center Color, leaving a 4-inch (10 cm) tail.
- Round 2 (First Petal Layer – Petal Color 1):
- Join Petal Color 1 with a slip stitch (sl st) into any sc stitch from Round 1.
- Chain 2 (ch 2 – does NOT count as a stitch).
- *Work 2 hdc (half double crochet) into the same stitch. Sl st into the next stitch.*
- Repeat from * to * around the entire round. You’ll make 5 small petal bumps.
- Fasten off Petal Color 1, leaving a 4-inch (10 cm) tail.
- Round 3 (Second Petal Layer – Petal Color 2 or same as Petal Color 1):
- Turn your flower to the back side. You’ll see the unused loops from Round 1 (the ones you didn’t work into for Round 2).
- Join Petal Color 2 (or the same as Petal Color 1 for a solid flower) with a slip stitch (sl st) into the back loop only (BLO) of any stitch from Round 1.
- Chain 2 (does NOT count as a stitch).
- *Work 3 dc (double crochet) into the same BLO stitch. Sl st into the BLO of the next stitch.*
- Repeat from * to * around. You’ll make 5 slightly larger petal bumps.
- Fasten off Petal Color 2, leaving a 4-inch (10 cm) tail.
- Round 4 (Third Petal Layer – Petal Color 3 or same):
- Turn your flower again to the back side. You’ll be working into the remaining unused back loops from Round 1 that you didn’t work into for Round 3. There should be 5 of them.
- Join Petal Color 3 with a slip stitch (sl st) into any of these remaining BLO stitches from Round 1.
- Chain 2 (does NOT count as a stitch).
- *Work (hdc, 2 tr, hdc) into the same BLO stitch. Sl st into the BLO of the next stitch.*
- Repeat from * to * around. You’ll make 5 largest petals.
- Fasten off Petal Color 3, leaving a 4-inch (10 cm) tail.
- Gently push and shape your petals to create a 3D flower effect.
B. The Green Layer (Optional, but adds a nice touch)
This forms the green accent behind the flower, and also starts to square off the shape.
- Joining Green Yarn:
- Turn your flower to the back side. You’ll find the unused loops from Round 2 (the ones you worked BLO into for Round 3).
- Join Green yarn with a slip stitch (sl st) into any of these unused back loops from Round 2.
- Round 5 (Creating Green Corners):
- Chain 2 (ch 2 – counts as 1 hdc). Work 1 hdc in the same stitch.
- Work 1 hdc into the next 2 stitches.
- Work (2 hdc, ch 2, 2 hdc) into the next stitch. (This is your first corner).
- Work 1 hdc into the next 3 stitches.
- Work (2 hdc, ch 2, 2 hdc) into the next stitch. (Second corner).
- Work 1 hdc into the next 3 stitches.
- Work (2 hdc, ch 2, 2 hdc) into the next stitch. (Third corner).
- Work 1 hdc into the next 3 stitches.
- Work (2 hdc, ch 2, 2 hdc) into the next stitch. (Fourth corner).
- Slip stitch (sl st) into the top of the beginning ch 2 to join.
- Fasten off Green yarn, leaving a 4-inch (10 cm) tail. You’ve now formed a square shape with the green.
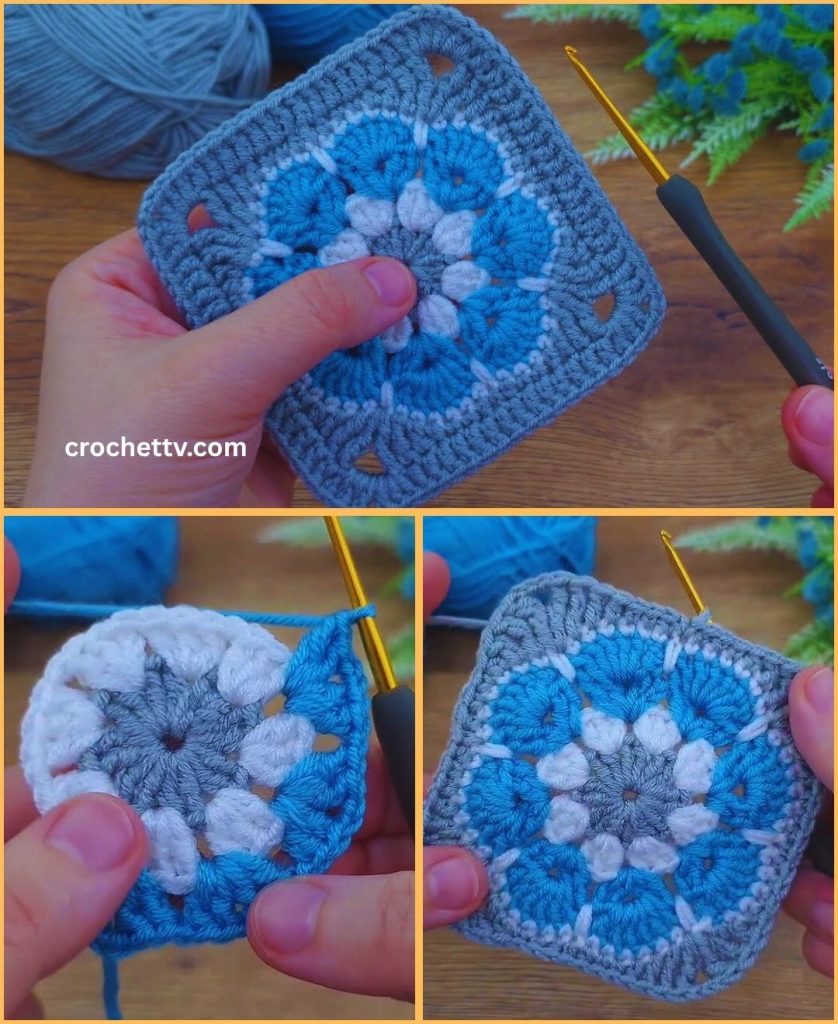
C. The Granny Square Border (Background Color)
This transforms your flower into a full granny square, allowing it to be easily joined to others.
- Joining Background Color:
- Join your Background Color yarn with a slip stitch (sl st) into any chain-2 corner space from the green Round 5.
- Round 6 (First Granny Round):
- Chain 3 (ch 3 – counts as your first dc). Work 2 dc into the same corner space. (First cluster).
- Chain 2 (ch 2 – corner space).
- Work 3 dc into the same corner space. (Completes first corner).
- *Chain 1 (ch 1 – side space).
- Work 3 dc into the next space between the hdc clusters from the green round. (This is a side cluster).
- Chain 1.
- In the next chain-2 corner space: Work (3 dc, ch 2, 3 dc).* (Completes a corner).
- Repeat from * to * around the remaining two sides and corners.
- Chain 1 (for the last side space).
- Slip stitch (sl st) into the top of the beginning ch 3 to join the round.
- Fasten off Background Color, leaving a 4-inch (10 cm) tail.
- Round 7 (Second Granny Round – if you want a larger square):
- Join Background Color (or a new background color) with a slip stitch (sl st) into any chain-2 corner space from Round 6.
- Chain 3 (ch 3 – counts as your first dc). Work 2 dc into the same corner space.
- Chain 2.
- Work 3 dc into the same corner space.
- *Chain 1.
- Work 3 dc into the next chain-1 space (from Round 6).
- Chain 1.
- Work 3 dc into the next chain-1 space.
- Chain 1.
- In the next chain-2 corner space: Work (3 dc, ch 2, 3 dc).*
- Repeat from * to * around.
- Chain 1 (for the last side space).
- Slip stitch (sl st) into the top of the beginning ch 3 to join the round.
- Fasten off, leaving a 4-inch (10 cm) tail.
- Repeat!
- Make a total of 36 Flower Granny Squares (for a 30×30 inch blanket) following these steps.
- Weave in all ends for each square as you finish them. This is crucial! With many color changes, doing it as you go saves a lot of time and effort at the end.
Part 2: Assembling Your Baby Blanket
Once you have all your beautiful squares, it’s time to put them together!
- Layout Your Squares:
- Lay out all your finished squares on a flat surface in your desired arrangement. For a 30×30 inch blanket, a 6×6 grid works well. Experiment with color placement to create a pleasing pattern. Take a photo of your layout so you don’t forget!
- Joining the Squares:
- There are several methods for joining granny squares. For beginners, the Whip Stitch or Slip Stitch Join are often the easiest.
- Whip Stitch (using a yarn needle):
- Place two squares right sides facing each other (so the backs are facing out). Align the stitches along the edge you want to join.
- Cut a long piece of yarn (about 3 times the length of the edge you’re joining) in a color that matches your background color. Thread it onto your yarn needle.
- Insert your needle from back to front through both loops of the first stitch/space on both squares. Pull the yarn through, leaving a tail to weave in later.
- Continue by inserting your needle from back to front through both loops of the next corresponding stitch/space on both squares. Pull the yarn through.
- Repeat this process, always going in the same direction, through both loops of each corresponding stitch/space along the edge. Keep your tension consistent but not too tight, or it will pucker.
- Slip Stitch Join (using your hook):
- Place two squares wrong sides facing each other (so the right sides are facing out). Align the stitches along the edge you want to join.
- Join your background yarn with a slip stitch into the corner space of both squares.
- Chain 1 (optional, for height).
- *Insert your hook through both loops of the next corresponding stitch on both squares, yarn over, and pull through all loops on your hook (creating a slip stitch).*
- Repeat from * to * across the entire edge, joining into each stitch and chain-1 space.
- When you reach the next corner, slip stitch into both corner spaces.
- This creates a raised seam. Some prefer the flat look of whip stitch. Try both on a practice piece to see which you prefer!
- Join in Rows, then Columns:
- First, join all the squares horizontally into long strips (e.g., 6 strips of 6 squares each).
- Then, join these long strips vertically to each other until your full blanket panel is complete.
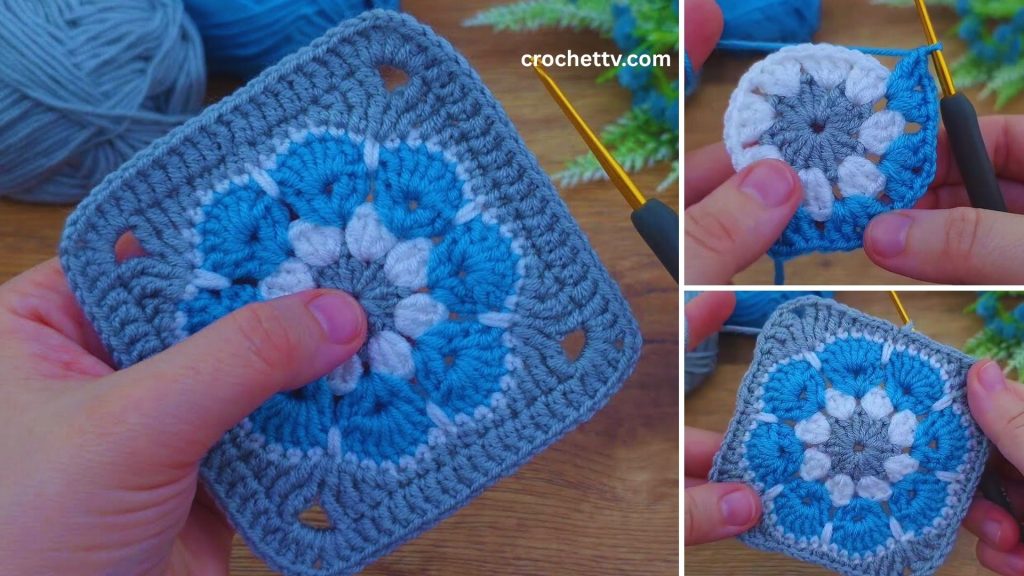
Part 3: Adding a Border (Optional, but Recommended)
A border gives your blanket a finished, polished look.
- Single Crochet Border (for a clean edge):
- Join your background yarn (or a complementary color) with a slip stitch (sl st) into any corner of your joined blanket.
- Chain 1 (ch 1 – does NOT count as a stitch).
- Work 1 single crochet (sc) into each stitch along the edge of the blanket. When you reach a seam where two squares are joined, try to work 1-2 sc stitches over the seam itself to bridge the gap neatly.
- When you reach a corner, work (1 sc, ch 2, 1 sc) into the corner space.
- Continue working sc stitches evenly around the entire blanket.
- Slip stitch (sl st) into the first sc to join the round.
- Optional: Additional Border Rounds (for a wider border):
- Chain 2 (ch 2 – counts as 1 hdc) or Chain 3 (ch 3 – counts as 1 dc).
- Work 1 hdc (or dc) into each stitch around the blanket.
- In the corners, work (2 hdc, ch 2, 2 hdc) or (2 dc, ch 2, 2 dc).
- Slip stitch (sl st) into the top of the beginning chain to join.
- Repeat this round as many times as desired for your preferred border thickness.
- Fasten Off your yarn and weave in the final tail.
Part 4: Final Finishing Touches
- Weave in ALL Remaining Ends:
- This is the most time-consuming but crucial step for a beautiful and durable blanket. Double-check that all your loose yarn tails from color changes and joining are securely woven in. Take your time to weave them discreetly into the corresponding color stitches.
- Blocking (Highly Recommended):
- Blocking will make your stitches even, help your blanket lie flat, and make the flower motifs pop.
- Method: Gently mist the blanket evenly with cool water using a spray bottle until it’s damp (not soaking wet). You can also gently wash it according to your yarn’s care instructions and then gently squeeze out excess water.
- Lay the damp blanket flat on blocking mats or a clean, dry towel. Gently stretch and pat it into its desired square shape, making sure the edges are straight.
- Allow the blanket to air dry completely and thoroughly. This might take a day or two. Do not move it until it’s completely dry.
Congratulations! You’ve successfully crocheted and assembled a beautiful and unique Baby Blanket with Flower Motifs! This project is a wonderful gift, filled with love and warmth. Enjoy seeing your handmade creation bring joy!

