 by
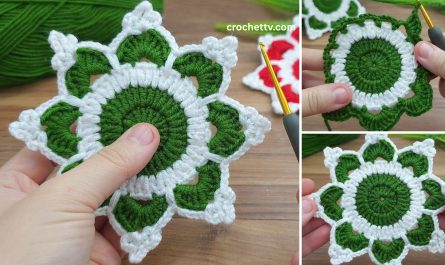
by Let’s bring some sunshine into your life with a beautiful crochet sunflower! This detailed tutorial will guide you through creating a charming, multi-layered sunflower with a textured center and vibrant petals. It’s a delightful project that’s perfect for embellishing blankets, hats, bags, or even as a standalone decoration.
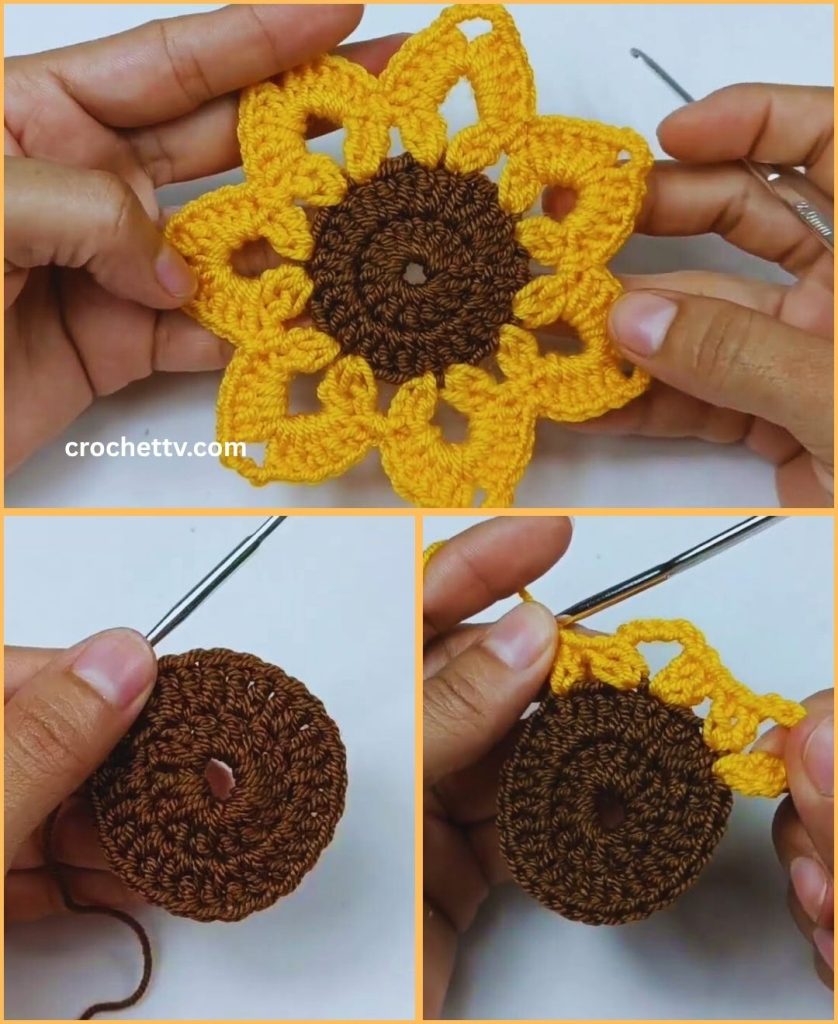
How to Make a Crochet Sunflower (Step-by-Step Tutorial)
This guide will break down the sunflower into its three main components: the dark center, the inner ring of yellow petals, and the outer ring of larger yellow petals. You’ll learn simple stitches combined in a way that creates a lovely 3D effect.
Skill Level: Advanced Beginner
This project is ideal if you’re comfortable with:
- Chain (ch): The basic foundation.
- Slip Stitch (sl st): For joining rounds.
- Single Crochet (sc): A dense stitch.
- Half Double Crochet (hdc): A stitch taller than sc.
- Double Crochet (dc): A common, taller stitch.
- Magic Ring (MR) / Chain-2 Start: For a neat center hole.
- Working in rounds: Crocheting in a circular manner.
- Fastening off: Securing your yarn.
- Weaving in ends: The essential finishing touch.
Finished Sunflower Dimensions (Approximate):
Using worsted weight yarn and the suggested hook, your finished sunflower will typically measure around 4-5 inches (10-12.5 cm) in diameter. You can adjust the size by using different yarn weights or hook sizes.
Materials You’ll Need:
Gathering your materials beforehand ensures a smooth crocheting session.
- Yarn:Worsted Weight (Medium #4) Yarn.
- Dark Brown/Black: Approximately 10-15 yards (9-14 meters) for the center.
- Bright Yellow/Golden Yellow: Approximately 20-30 yards (18-27 meters) for the petals.
- (Optional) Green: A small amount (5-10 yards) for an optional leaf.
- Crochet Hook: Size G/4.0mm or H/5.0mm. A slightly smaller hook will create denser petals; a larger one will make them softer and more flexible.
- Yarn Needle (Tapestry Needle): Essential for seamlessly weaving in all your loose yarn tails.
- Scissors: Any sharp pair of scissors.
- Stitch Marker (Optional): Helpful for marking the first stitch of a round if you tend to lose your place.
Let’s Crochet Your Sunflower!
We’ll work from the center outwards, building the sunflower layer by layer.
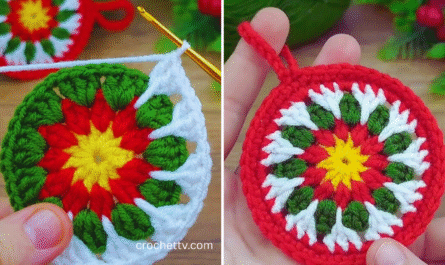
Part 1: The Dark Center (Brown/Black Yarn)
This forms the textured middle of your sunflower.
- Starting the Center (Magic Ring Method – Recommended for a neat center):
- Make a Magic Ring (MR) with your Dark Brown/Black yarn.
- (Alternative start if Magic Ring is tricky): Chain 2, then work all stitches into the 2nd chain from your hook.
- Round 1: Chain 1 (ch 1 – does NOT count as a stitch). Work 8 single crochet (sc) stitches into the magic ring.
- Gently pull the tail of the magic ring tight to close the center hole.
- Slip stitch (sl st) into the first sc to join the round. (8 sc)
- Round 2:
- Chain 1. Work 2 sc into each stitch around. (16 sc)
- Slip stitch into the first sc to join.
- Round 3 (Creating texture with Back Loop Only):
- Chain 1. Work 1 sc into the back loop only (BLO) of each stitch around. (16 sc)
- Why BLO? This creates a small ridge on the front of your work, giving the center a more realistic, textured look like sunflower seeds.
- Slip stitch into the first sc to join.
- Fasten off Dark Brown/Black yarn, leaving a 4-inch (10 cm) tail for weaving in.
- Weave in the starting tail of the magic ring on the back of the center.
- Chain 1. Work 1 sc into the back loop only (BLO) of each stitch around. (16 sc)
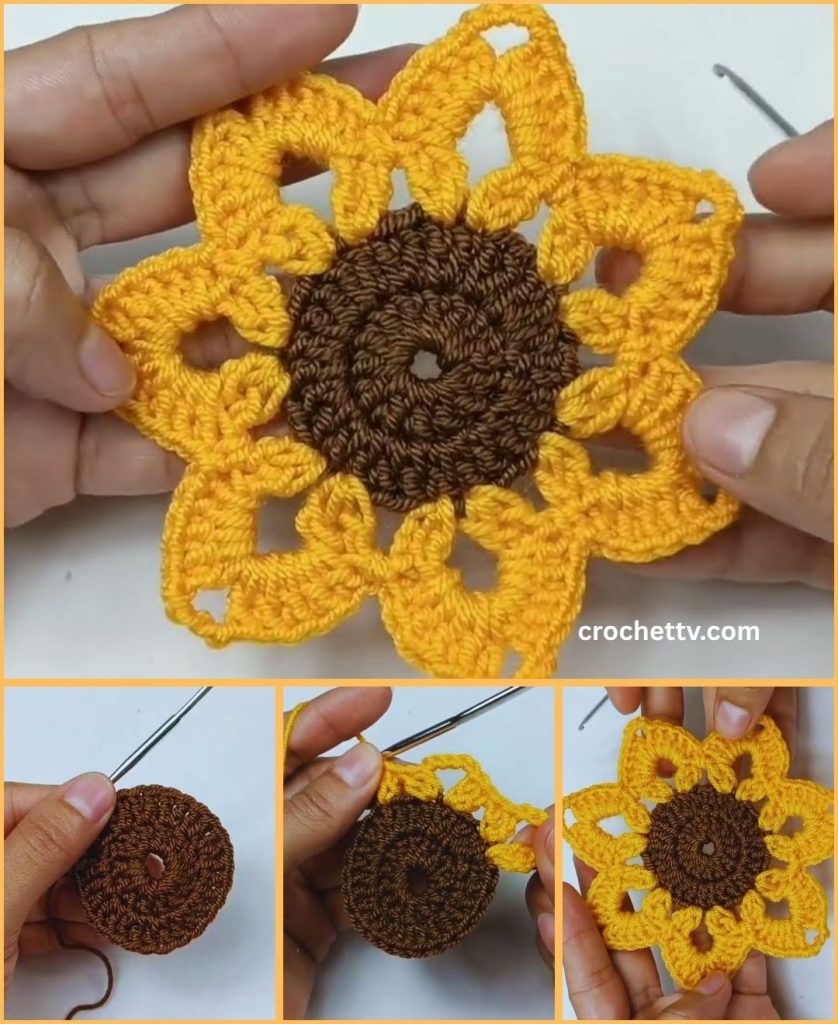
Part 2: The Inner Ring of Yellow Petals (Bright Yellow Yarn)
These are the smaller, slightly more upright petals that frame the center.
- Joining Yellow Yarn:
- With your Bright Yellow yarn, join with a slip stitch (sl st) into any of the front loops from Round 2 of the dark center. (Remember how we worked BLO in Round 3? This leaves the front loops visible in a circle.)
- Round 4 (Creating Petals):
- *Chain 2. Work 1 half double crochet (hdc) and 1 double crochet (dc) into the same front loop.
- Work 1 hdc into the next front loop.
- Slip stitch into the next front loop.* (This completes one small petal segment).
- Repeat from * to * around the entire round. You should make approximately 5-6 small petals.
- After the last petal, slip stitch into the base of the very first petal (where you joined the yarn) to secure the round.
- Fasten off Bright Yellow yarn, leaving a 6-inch (15 cm) tail. Weave in the starting tail.
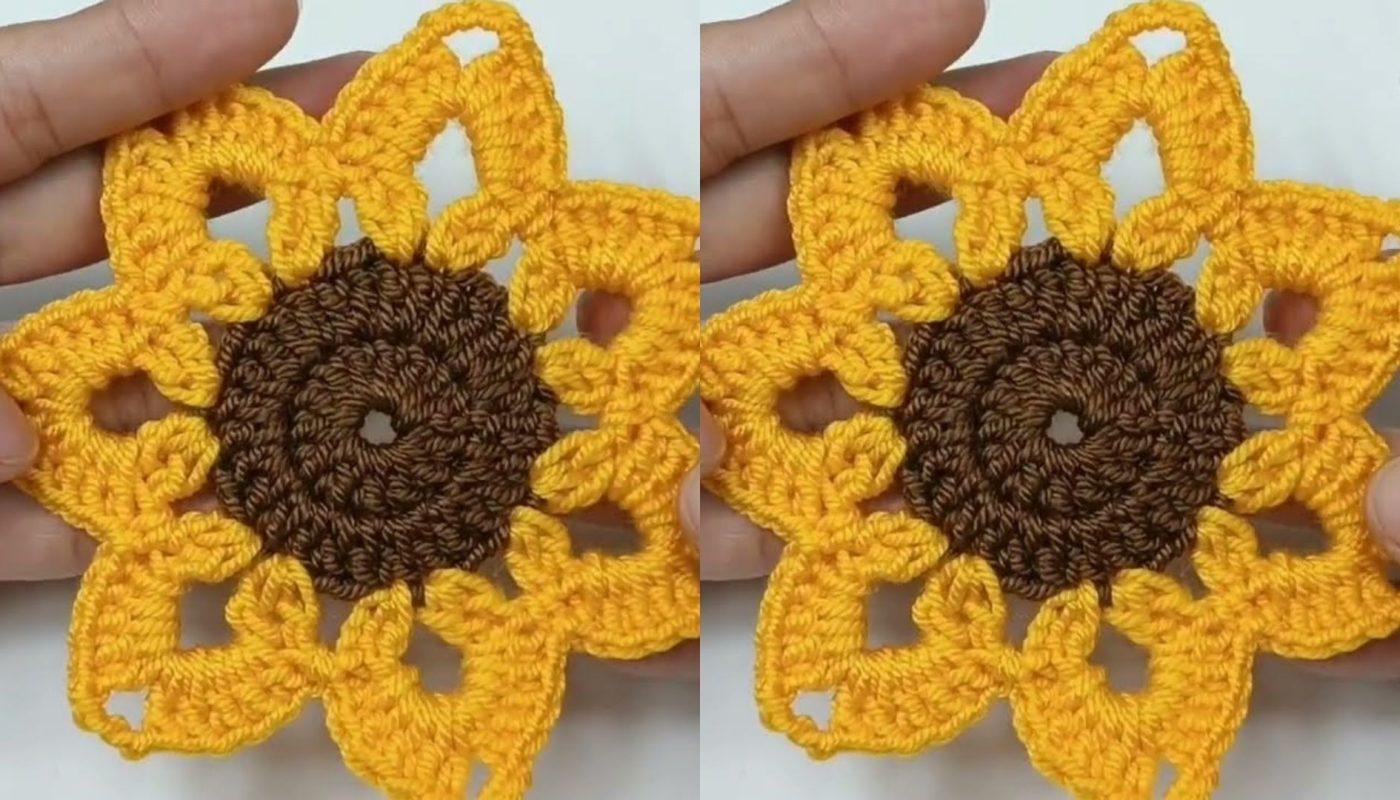
Part 3: The Outer Ring of Larger Yellow Petals (Bright Yellow Yarn)
These are the main, prominent petals of your sunflower.
- Joining Yellow Yarn for Outer Petals:
- Turn your sunflower over to the back side slightly. You will see 16 unused back loops from Round 3 of the dark center (the same round where you made the BLO texture). These are directly behind where your inner petals are.
- Join your Bright Yellow yarn with a slip stitch (sl st) into any of these back loops from Round 3.
- Round 5 (Creating Larger Petals):
- *Chain 2. Work 1 hdc, 1 double crochet (dc), and 1 hdc into the same back loop where you just joined.
- Slip stitch into the next back loop.* (This completes one larger petal).
- Repeat from * to * around the entire round. You should make approximately 8 larger petals.
- After the last petal, slip stitch into the base of the very first petal (where you joined the yarn) to secure the round.
- Fasten off Bright Yellow yarn, leaving a 6-8 inch (15-20 cm) tail.

Optional: Adding a Green Leaf
A simple leaf can add a lovely finishing touch to your sunflower.
- With Green Yarn:
- Chain 8.
- Starting in the 2nd chain from hook: Slip stitch (sl st) in next ch, single crochet (sc) in next ch, half double crochet (hdc) in next ch, double crochet (dc) in next 2 ch, hdc in next ch, sc in last ch.
- Fasten off, leaving a 6-inch (15 cm) tail.
Part 4: Final Finishing Touches
- Weave in ALL Remaining Ends:
- This is the most crucial step for a professional-looking, durable sunflower. You’ll have tails from your color changes and the final fasten-offs.
- Use your yarn needle to meticulously weave in every single loose yarn tail.
- How to Weave Neatly: Thread the yarn tail onto your yarn needle. Weave the tail into the stitches of the same color as the tail. Go in one direction for at least 1-2 inches (2.5-5 cm). To truly secure it, subtly change direction (e.g., weave along a stitch, then turn and weave back through some of the same stitches diagonally or perpendicularly) to “lock” the tail in place and prevent it from unraveling. Trim any excess yarn close to the fabric, being careful not to cut any of your actual stitches.
- Attach the Optional Leaf:
- If you made a leaf, thread its tail onto your yarn needle.
- Position the leaf on the back of your sunflower, slightly peeking out from behind the petals.
- Stitch the leaf securely to the back of the sunflower, making sure your stitches don’t show through to the front. Weave in the remaining tail.
- Blocking (Optional):
- If your sunflower looks a little uneven or curled, light blocking can help it lay flat and define the petals.
- Method: Gently mist your sunflower evenly with cool water using a spray bottle until it’s damp but not soaking wet. Gently shape the petals with your fingers to open them up. You can pin it to a blocking mat or a clean, dry towel. Allow it to air dry completely and thoroughly.
Congratulations! You’ve successfully crocheted a beautiful sunflower! This charming creation can be used in countless ways – as an appliqué, part of a garland, or simply as a lovely decoration. What will you do with your sunny new creation?