 by
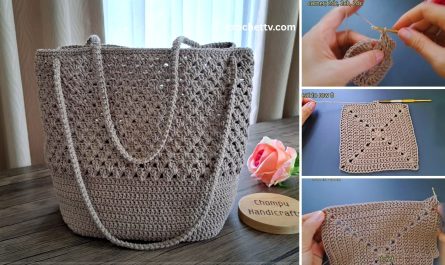
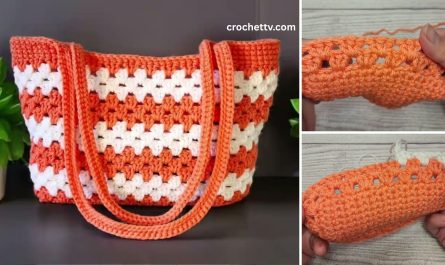
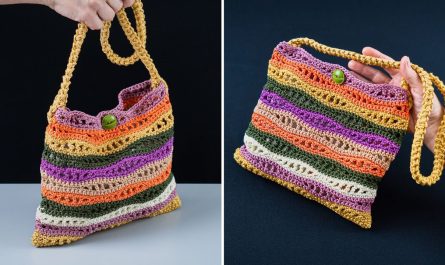
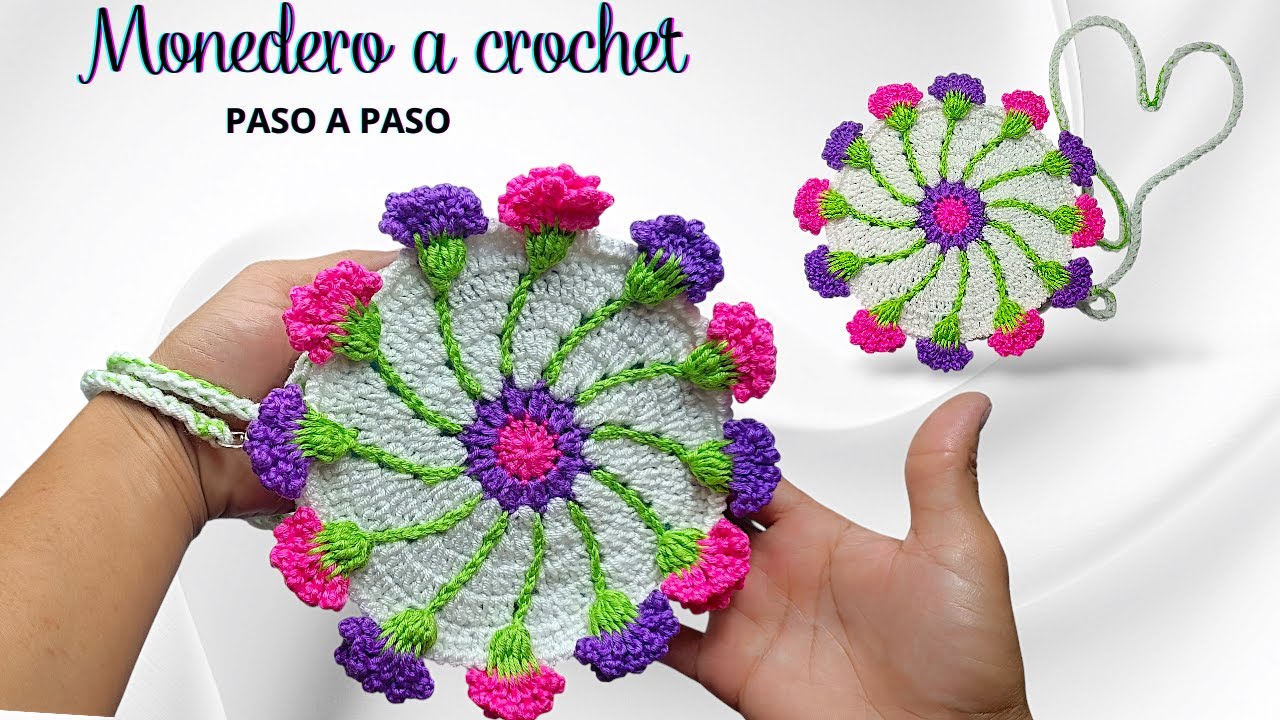
by Let’s create a compact and stylish crochet wallet or a small purse bag! This project is perfect for keeping your essentials organized and makes a fantastic handmade gift. We’ll focus on a simple rectangular design, using sturdy stitches for durability, and adding a flap and closure.
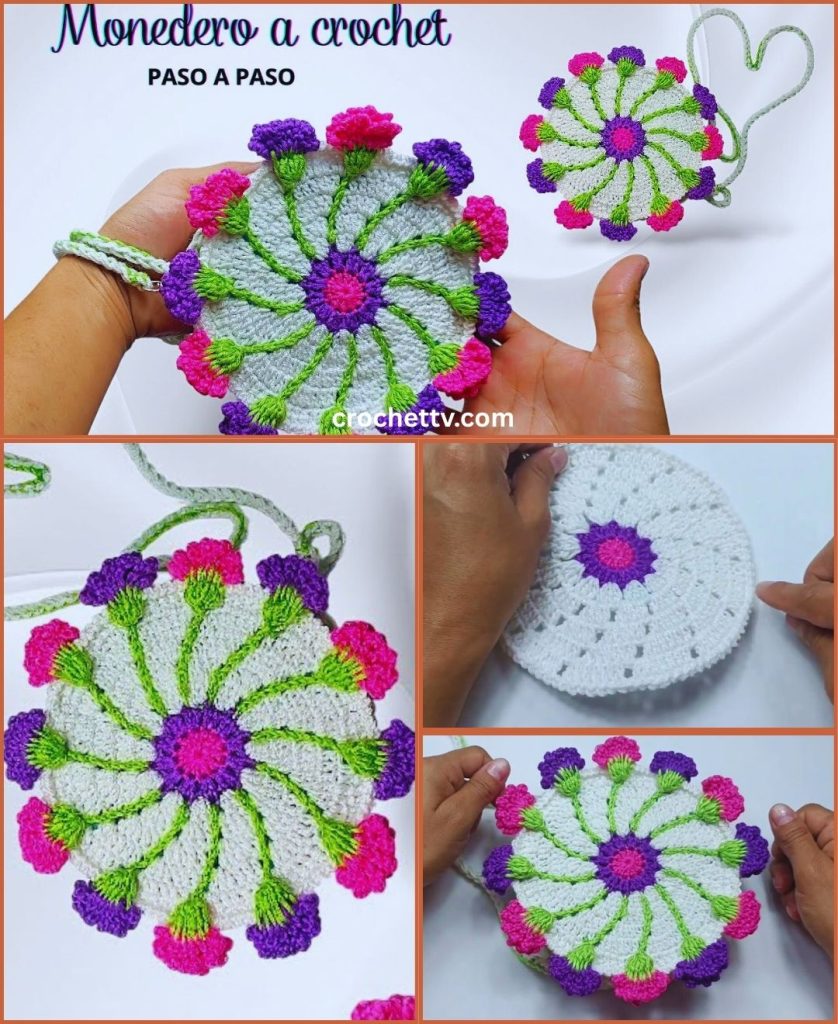
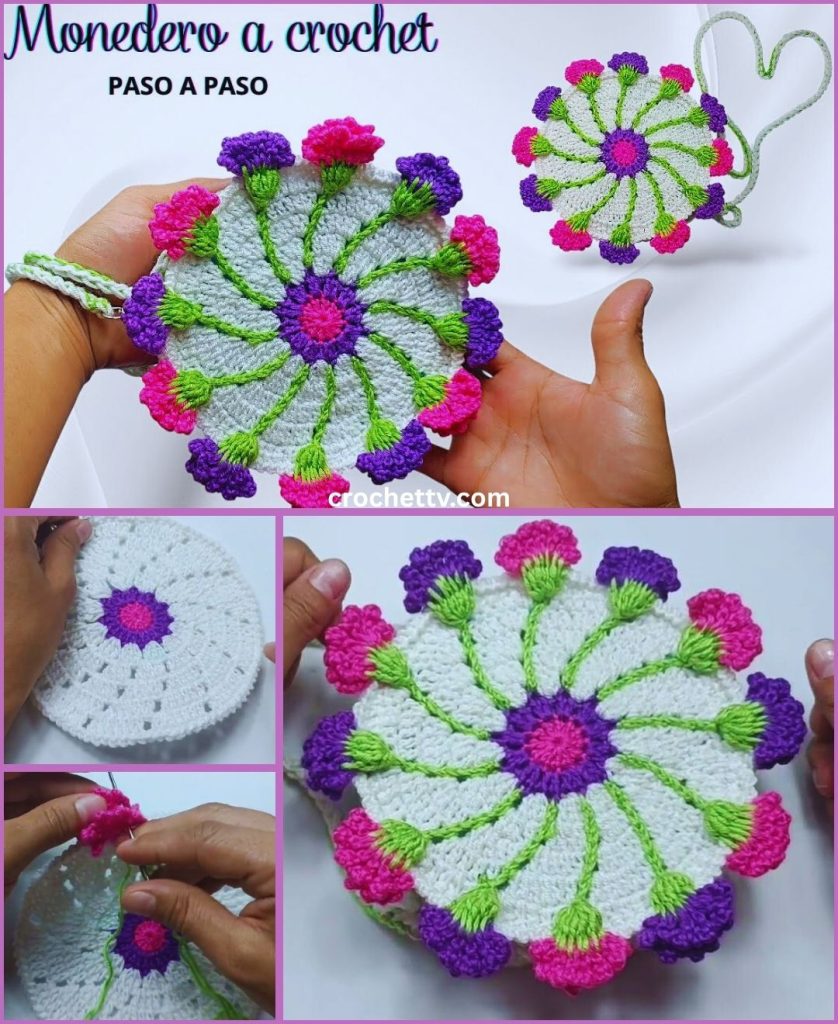
How to Make a Crochet Wallet / Small Purse Bag (Step-by-Step Tutorial)
This detailed guide will walk you through crocheting a charming and practical wallet, from its foundation to its functional closure. You’ll learn essential techniques for creating a structured item that’s both beautiful and useful.
Skill Level: Beginner
This project is ideal if you’re comfortable with (or ready to learn!):
- Chain (ch): The basic foundation.
- Slip Stitch (sl st): For joining and neatening.
- Single Crochet (sc): A dense and sturdy stitch, excellent for wallets.
- Half Double Crochet (hdc): A slightly taller stitch for variation.
- Working in rows: Crocheting back and forth.
- Fastening off: Securing your yarn.
- Weaving in ends: The essential finishing touch for a neat project.
Finished Wallet Dimensions (Approximate):
Using worsted weight yarn and the suggested hook, your finished wallet will typically measure around:
- Closed: 4.5-5 inches (11-13 cm) wide by 4 inches (10 cm) tall
- Open: 4.5-5 inches (11-13 cm) wide by 8-9 inches (20-23 cm) long
You can easily adjust the size by changing the starting chain length or the number of rows.
Materials You’ll Need:
Gathering your materials beforehand ensures a smooth and enjoyable crocheting session.
- Yarn: Approximately 50-70 yards (45-65 meters) of Worsted Weight (Medium #4) Cotton or Acrylic Yarn.
- Why Cotton/Acrylic? Cotton yarn provides good structure and durability, which is excellent for wallets. Acrylic is also a great choice as it’s widely available, easy to work with, and comes in many colors.
- Color Choice: Pick one main color for your wallet. A solid color will highlight the stitch texture.
- Crochet Hook: Size G/4.0mm or H/5.0mm. A smaller hook will create a tighter, denser fabric (more desirable for a wallet); a larger one will make it softer.
- Yarn Needle (Tapestry Needle): Essential for seamlessly weaving in your loose yarn tails and for attaching the button/closure. It has a blunt tip and a large eye.
- Scissors: Any sharp pair of scissors.
- Button (Optional): One button, roughly 0.5-0.75 inches (1.25-2 cm) in diameter, for the closure.
- Magnetic Snap (Optional): Instead of a button, you can sew on a small magnetic snap closure for a sleeker look.
Let’s Crochet Your Wallet!
We’ll build this wallet as a single rectangular piece, then fold and seam it to form the pockets and body, and finally add a flap and closure.

Part 1: The Main Body of the Wallet (Rectangle)
This rectangular piece will form the wallet’s body and internal pocket.
- Starting Chain:
- Make a slip knot with your yarn and place it onto your G/4.0mm or H/5.0mm crochet hook.
- Chain (ch) 21. (This will be the height of your open wallet.)
- Row 1:
- Work 1 single crochet (sc) into the 2nd chain from your hook.
- Work 1 sc into each remaining chain across the row. (You should have 20 sc stitches).
- Chain 1 (ch 1), turn your work.
- Rows 2 – 40 (or until desired length):
- Work 1 sc into each stitch across the row. (20 sc)
- Chain 1, turn your work.
- Repeat this row until your piece measures approximately 9-10 inches (23-25 cm) long when laid flat. This will allow for the body, a pocket, and the flap. Aim for a total of 40 rows for typical wallet dimensions.
- Fasten off, leaving a tail of about 12-15 inches (30-38 cm) for seaming later.
Part 2: Assembling the Wallet (Seaming)
Now, you’ll fold and seam your crocheted rectangle to create the wallet shape.
- Folding for Pockets:
- Lay your long rectangular piece flat.
- Fold one end of the rectangle up by about 3.5 inches (9 cm). This will form your main internal pocket.
- You can use a stitch marker or clip to hold this fold in place for now.
- Seaming the Sides:
- Thread the long tail you left at the end of your rectangle onto your yarn needle.
- Align the side edges of the folded pocket with the main body.
- Using a whip stitch or mattress stitch, seam up both sides of this folded pocket. Stitch through both layers (the folded pocket and the main body layer).
- Whip Stitch: Insert your needle from back to front through both loops of the first stitch on both layers. Pull the yarn through. Continue by inserting your needle from back to front through both loops of the next corresponding stitch on both layers, always going in the same direction. Keep your stitches neat and fairly tight.
- Once both sides of the pocket are seamed, knot off the tail and weave it into the fabric securely.
- Forming the Flap:
- The remaining unseamed part of your rectangle will be the wallet flap.
Part 3: Adding the Flap and Closure
You’ll reinforce the flap and add a functional closure.
- Reinforcing the Flap (Optional but Recommended):
- To give the flap a neater, stronger edge, you can add a border of single crochet.
- Join your yarn with a slip stitch (sl st) to any corner of the flap where you just seamed.
- Chain 1 (ch 1).
- Work single crochet (sc) stitches evenly around the entire edge of the flap. When you reach the corners, work 2 sc in the corner stitch to create a neat turn. Work 1 sc per row along the raw side edges.
- Slip stitch to join your first sc.
- Fasten off, leaving a tail for weaving in. Weave in all loose ends.
- Creating the Button Loop (if using a button):
- Locate the center of the flap’s edge.
- Join your yarn with a slip stitch in the center stitch.
- Chain (ch) 8-12 (adjust this number so the loop fits around your button comfortably).
- Slip stitch into the same stitch where you started the chain loop. This forms a small loop.
- Fasten off, leaving a 6-inch (15 cm) tail. Weave in this tail securely into the flap, ensuring the loop is sturdy.
- Attaching the Button:
- Fold the flap down over the front of the wallet.
- Mark the spot where the button loop naturally falls on the front of the wallet.
- Using your yarn needle and a new piece of yarn (matching your wallet color), sew your button securely onto the marked spot. Go through the button holes and the wallet fabric multiple times to ensure it’s firmly attached. Knot off the yarn on the inside and weave in the ends.
- Attaching a Magnetic Snap (Alternative to Button):
- If you’re using a magnetic snap, follow the instructions that come with your snap, as they vary slightly. Typically, you’ll sew one half of the snap onto the underside of the flap and the other half onto the corresponding spot on the front of the wallet. Use your yarn needle and a strong thread (or yarn) to sew them on securely.
Part 4: Final Finishing Touches
- Weave in ALL Remaining Ends:
- This is the most crucial step for a neat and professional-looking wallet. You’ll have tails from your starting chain, your main body fasten-off, flap reinforcement, and any closure attachments.
- Use your yarn needle to meticulously weave in every loose yarn tail.
- How to Weave Neatly: Thread the yarn tail onto your yarn needle. Weave the tail into the stitches of your wallet. Go in one direction for at least 1-2 inches (2.5-5 cm). To truly secure it, subtly change direction (e.g., weave along a stitch, then turn and weave back through some of the same stitches diagonally or perpendicularly) to “lock” the tail in place and prevent it from unraveling. Trim any excess yarn close to the fabric, being careful not to cut any of your actual stitches.
- Blocking (Optional):
- Blocking can significantly improve the shape, even out any tension inconsistencies, and give your wallet a more polished, professional look.
- Method: Gently mist the wallet evenly with cool water using a spray bottle until it’s damp but not soaking wet. Gently shape the wallet with your hands, ensuring the edges are straight and the flap lays flat. You can lay it flat on a clean, dry towel or pin it to a blocking mat if you have one. Allow it to air dry completely and thoroughly.
Congratulations! You’ve successfully crocheted your very own DIY Crochet Wallet / Small Purse Bag! This project is a fantastic accomplishment for any beginner, and you now have a unique, handmade accessory that’s perfect for carrying your cards, cash, and other small essentials. Enjoy your beautiful new creation!