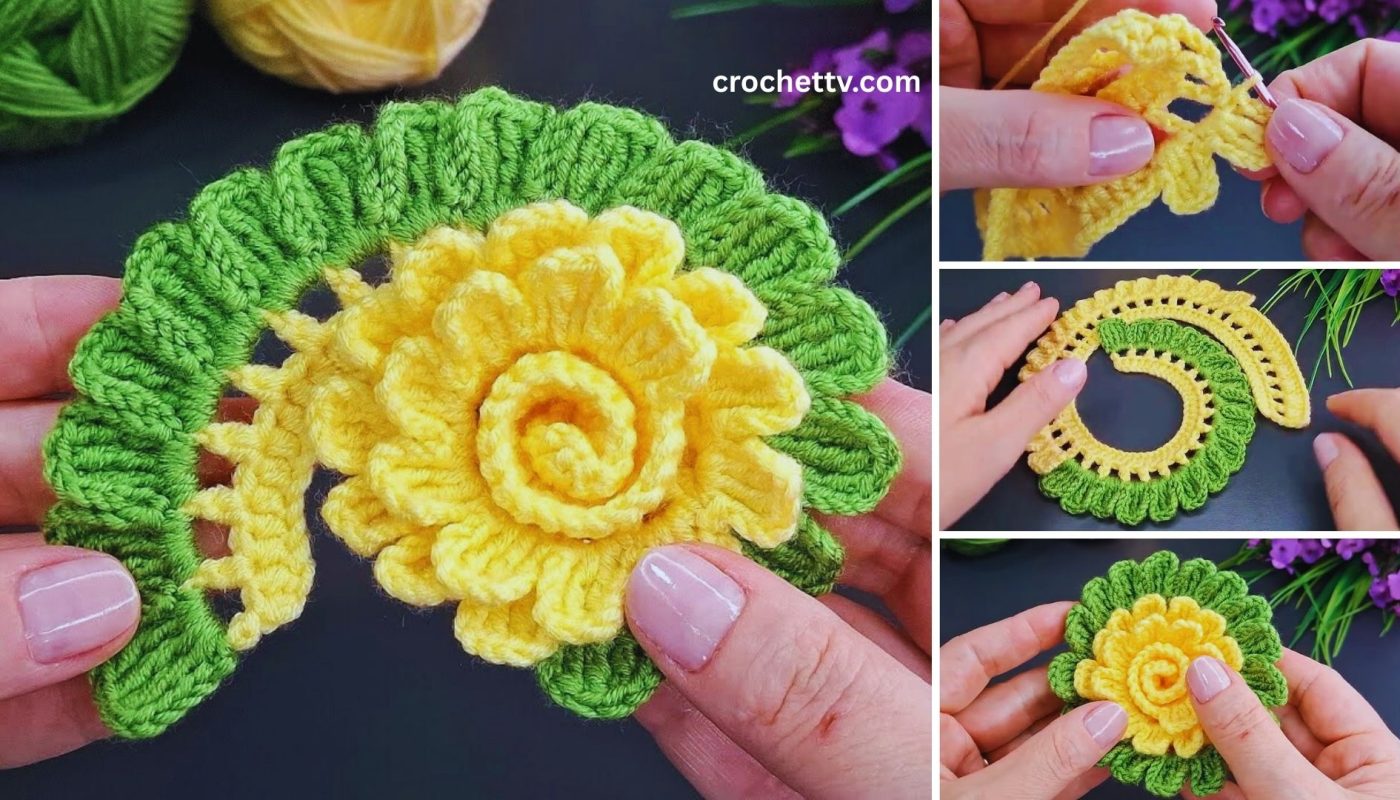
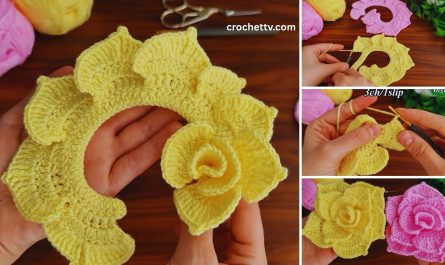
There is something timeless and enchanting about a rose. It’s a symbol of love, beauty, and elegance. While a real rose fades, a crocheted one can last forever. Many people assume that crafting a beautiful, three-dimensional crochet rose is a complex task reserved for expert crafters. This tutorial is here to show you that’s simply not true!
Using a clever and surprisingly simple “roll-up” technique, you can create a stunning, realistic-looking crochet rose in under an hour. This method involves crocheting a single flat, wavy strip that, when coiled, magically transforms into a blossoming flower. It’s the perfect project for beginners looking to create something impressive, and it’s a wonderfully satisfying make for seasoned crocheters.
This comprehensive guide will walk you through every single step, from the materials you’ll need to the final assembly, including a bonus pattern for simple leaves to complete the look.
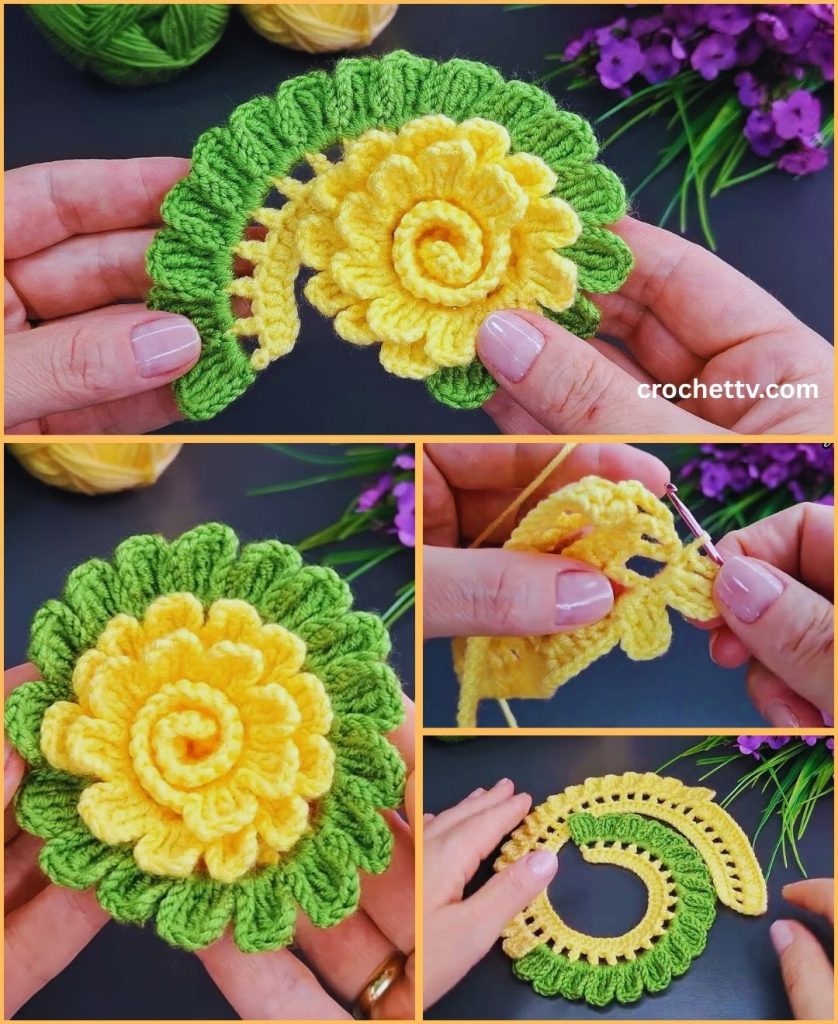
What You’ll Need to Get Started
Before we dive into the pattern, let’s gather our supplies. The beauty of this project lies in its simplicity, which extends to the materials list.
Skills Required
This is a fantastic project for a confident beginner. You only need to know a few basic stitches:
- Chain (
ch) - Slip Stitch (
sl st) - Double Crochet (
dc) - Single Crochet (
sc)
Materials
- Yarn: Worsted weight (Category 4) yarn is perfect for this project. It’s thick enough to work with easily and creates a substantial, lush rose.
- For the Rose: Choose classic colors like deep red, soft pink, sunny yellow, or creamy white. Don’t be afraid to get creative with purples, blues, or even variegated yarns for a multi-toned effect!
- For the Leaves (Optional): A medium green yarn.
- Crochet Hook: A size H-8 (5.00 mm) hook is a great match for worsted weight yarn. If you tend to crochet tightly, you might go up to a size I-9 (5.50 mm) hook to keep your stitches loose and flexible.
- Scissors: For cutting your yarn.
- Tapestry Needle (or Yarn Needle): This is absolutely essential for the assembly phase. Don’t skip it!
Crochet Abbreviations (US Terms)
This pattern is written in standard US crochet terminology.
ch: Chainst(s): Stitch(es)sl st: Slip Stitchsc: Single Crochetdc: Double Crochetsk: Skip(...): Parentheses indicate a group of stitches to be worked into the same stitch or space.
The Core Technique: Understanding the Magic of the Spiral
The secret to this easy rose is that we are not crocheting in a circle. Instead, we will create a long, flat piece that has a straight bottom edge and a very ruffly, scalloped top edge.
- The Foundation: We start with a simple chain. The length of this chain will determine the number of petals and the overall fullness of your rose.
- The Petal Bases: The first row creates a series of small spaces (
ch-1 sp) that will serve as the foundation for our petals. - The Petals: The second and final row is where the magic happens. We will work clusters of stitches into the spaces from the previous row. By varying the number of stitches in each cluster—starting with small clusters and moving to larger ones—we create petals that are small and tight in the center and gradually become larger and more open, just like a real rose.
Once this wavy strip is complete, we simply roll it up from the small-petal end to the large-petal end and sew the base to secure it.
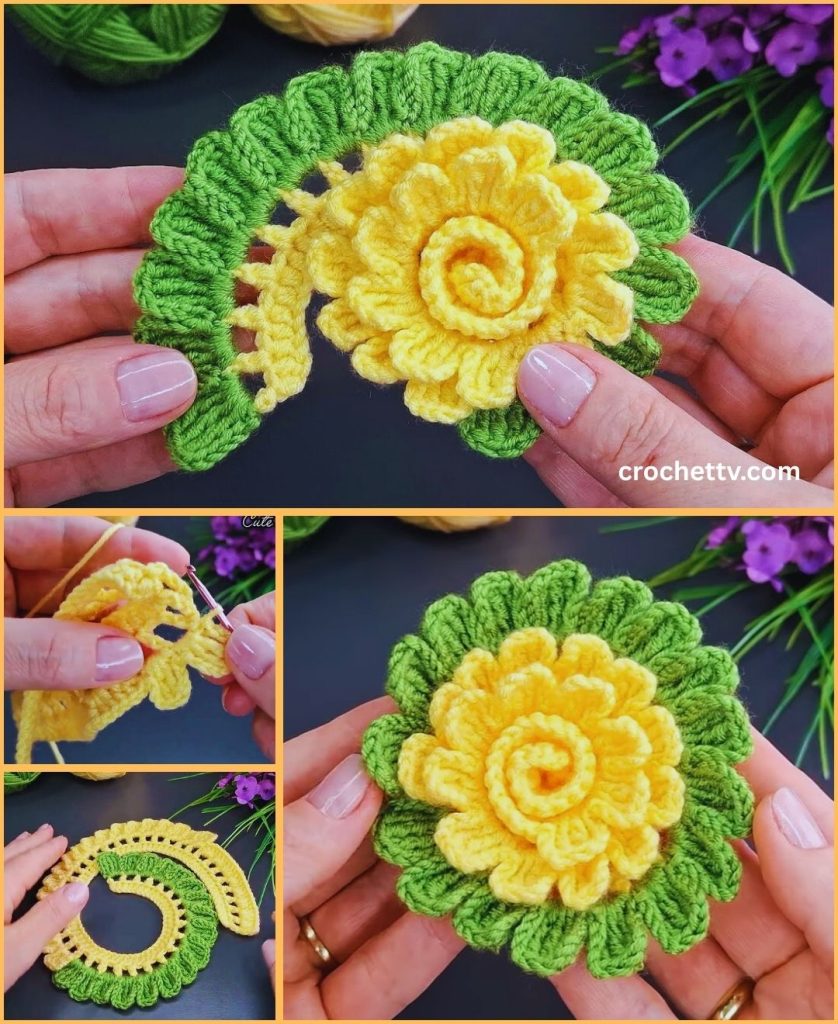
Step-by-Step Crochet Rose Pattern
Let’s begin making the flower! We will start with the rose-colored yarn.
Step 1: The Foundation Chain
This chain is the base of your entire flower. Instruction: With your rose-colored yarn, ch 46.
Step 2: Row 1 – Creating the Petal Bases
This row creates the structure that your petals will be built upon.
- Work 1
dcin the 4thchfrom your hook. (The 3 skipped chains count as your firstdcstitch). *ch 1,skthe nextch, work 1dcin the followingch.- Repeat the instruction from
*all the way across the foundation chain.
At the end of this row, you should have a ladder-like strip with 22 dc posts and 21 ch-1 spaces. Turn your work.
Step 3: Row 2 – Forming the Petals
Now we will create the ruffles that will become our petals. We will work in the ch-1 spaces from the previous row.
ch 1(does not count as a stitch).- Inner Petals (Small):
- In the very first
ch-1 sp, work(1 sc, 2 dc). - In the next
ch-1 sp, work(3 dc). - In the next
ch-1 sp, work(3 dc).
- In the very first
- Middle Petals (Medium):
- In each of the next 5
ch-1spaces, work(5 dc).
- In each of the next 5
- Outer Petals (Large):
- In each of the next 12
ch-1spaces, work(7 dc).
- In each of the next 12
sl stinto the last stitch of the row to finish.
Step 4: Finishing the Strip
Fasten off your yarn, but leave a very long tail—at least 15-20 inches (40-50 cm). This long tail is what you will use to sew your rose together, so don’t cut it short!
You should now have a long, crocheted strip that is flat on one side (the foundation chain) and very wavy and ruffled on the other. It might be coiling on its own already.
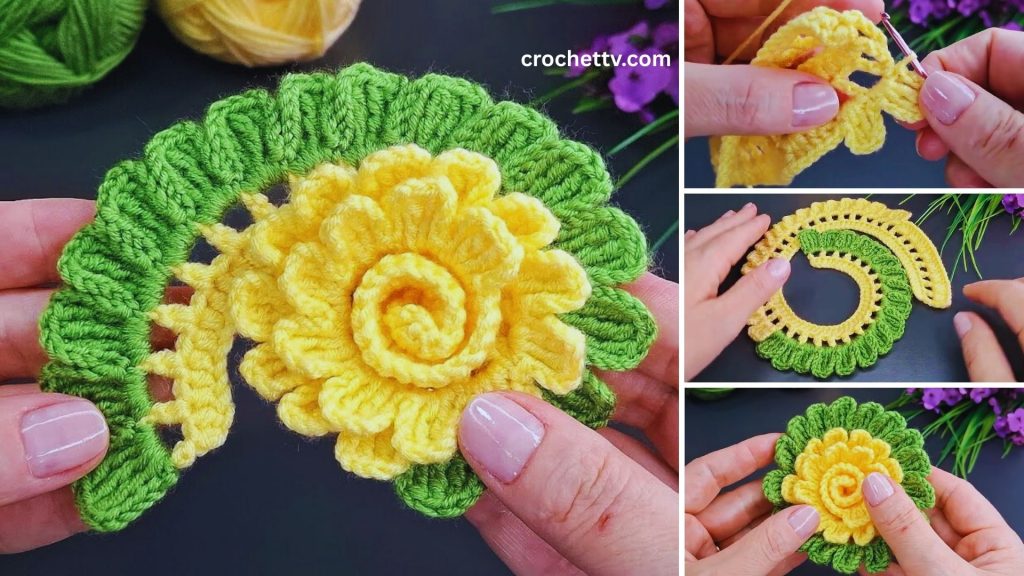
The Assembly: Bringing Your Rose to Life
This is the most creative and satisfying part of the process.
1. Thread Your Needle: Thread the long yarn tail onto your tapestry needle.
2. The Initial Coil: Take the end of the strip where you made the smallest petals (the sc and 3 dc groups). This will be the center bud of your rose. Begin to roll it up tightly for the first two or three petals.
3. Shape and Roll: Continue to roll the strip around this central bud. As you roll, don’t pull it too tight. Allow the ruffles to flare out naturally. You can slightly angle the strip as you roll to help the petals overlap and nestle into each other realistically. Keep the bottom edge (the straight foundation chain edge) aligned.
4. Secure the Base: Once your rose is fully rolled up, hold the base firmly. Take your tapestry needle and pass it through all the layers of the coiled base, from one side to the other. Pull it snug, but not so tight that it deforms the flower.
5. Stitch it Securely: Continue making several passes back and forth through the base. Make sure your stitches catch every single layer of the coil. There is no precise science to this—the goal is simply to stitch the base together so the rose cannot unravel. Once it feels secure, knot the yarn and weave in the end.
Bonus: Easy Crochet Leaf Pattern (Make 2)
A touch of green makes your rose even more eye-catching.
- With your green yarn,
ch10. scin the 2ndchfrom the hook.hdc(half double crochet) in the nextst.dcin each of the next 5sts.hdcin the nextst.scin the lastst. You’ve now worked down one side of the chain.- Do not turn! We will now work along the opposite side of the foundation chain.
ch 2(this creates the pointed tip of the leaf).- Working into the unused loops on the other side of the chain:
scin the firstst. hdcin the nextst.dcin each of the next 5sts.hdcin the nextst.scin the lastst.sl stto the firstscyou made to join.
Fasten off, leaving a tail for sewing. Use the tail to sew the leaves to the bottom of your rose.
Project Ideas and Inspiration
Now that you have a beautiful crochet rose, what can you do with it?
- Create a Bouquet: Make a half-dozen roses and attach them to floral wire stems (you can do this with a hot glue gun) for an everlasting bouquet.
- Appliqué: Sew them onto hats, scarves, blankets, pillows, or bags for a touch of handmade charm.
- Hair Accessories: Attach a rose to a hair clip, bobby pin, or headband.
- Gift Toppers: Use a rose instead of a traditional bow to elevate your gift wrapping.
- Brooch or Pin: Attach a pin-back to a rose to create a lovely accessory for a coat or sweater.
Congratulations! You have now mastered the art of the easy, eye-catching crochet rose. This simple technique opens up a world of creative possibilities, allowing you to add a touch of handmade beauty to your life and the lives of those you gift them to. Experiment with different yarn weights and colors, and soon you’ll have a whole garden of everlasting blooms. Happy crocheting!

