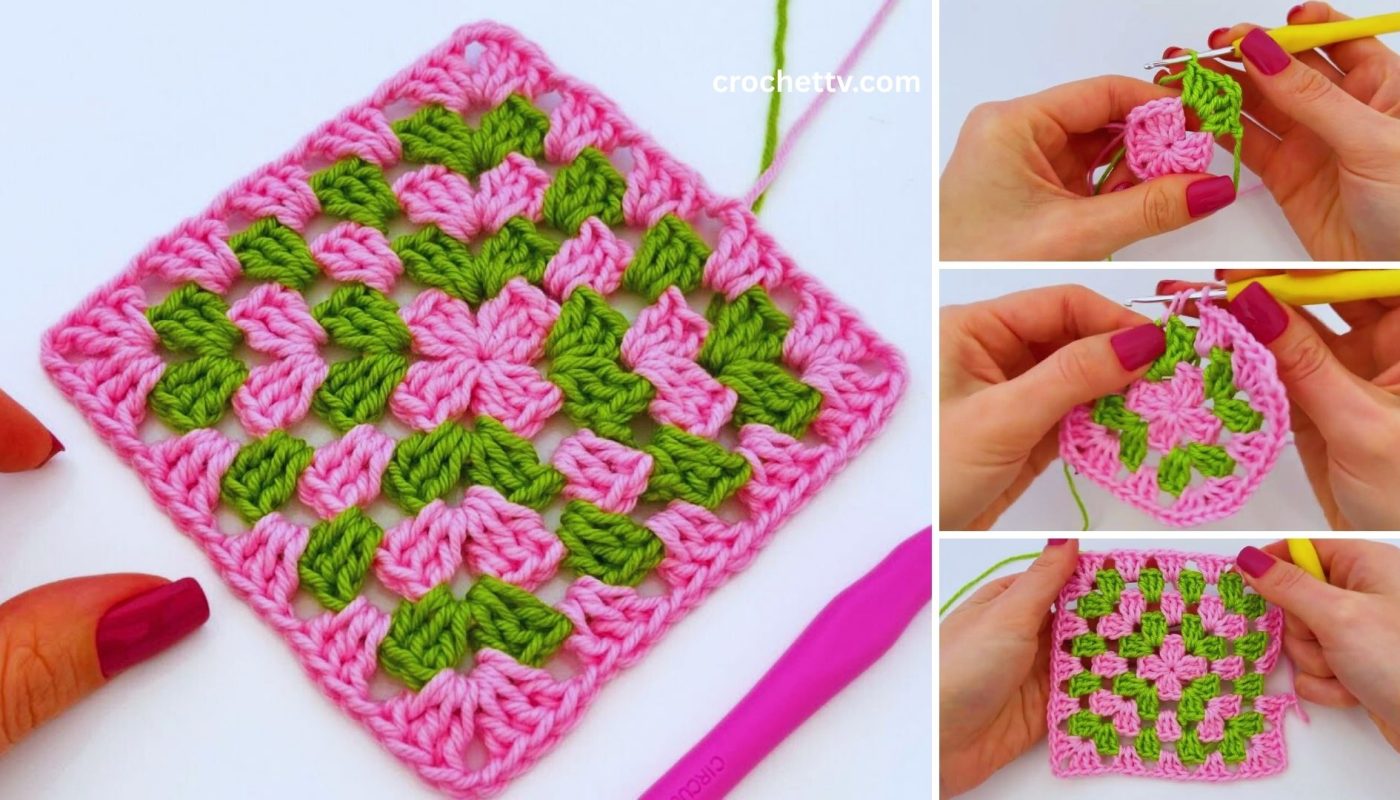
The hollow square, often called a “windowpane” or “frame” square, is a wonderfully versatile crochet motif. Unlike a solid granny square, it features an open center, making it perfect for framing other crochet pieces, creating intricate afghans, or designing lightweight, modern projects. Adding stripes to this design elevates it from a simple motif to a dynamic building block for countless creative endeavors.
This comprehensive tutorial will guide you through every step of the process, from gathering your materials to weaving in the final end. We’ll cover the fundamental techniques, provide a specific pattern, and offer tips for customization and finishing. Whether you’re a confident beginner ready for a new challenge or an experienced crocheter looking for a relaxing and rewarding project, this guide is for you.

What You’ll Need
Before we begin, let’s gather our tools and materials.
Skills Required
This pattern is best for an advanced beginner. You should be comfortable with the following basic crochet stitches and techniques:
- Making a slip knot and a chain (
ch) - Slip stitch (
sl st) - Double crochet (
dc) - Working in the round
- Changing colors
Materials
- Yarn: Worsted weight (Category 4) yarn is ideal for this project as it works up quickly and shows great stitch definition. You will need at least three different colors to create a striped effect. Let’s call them Color A, Color B, and Color C. This is a fantastic project for using up scrap yarn!
- Crochet Hook: A size H-8 (5.00 mm) hook is a standard choice for worsted weight yarn. Adjust your hook size if needed to meet the gauge or to suit your personal tension.
- Scissors: For cutting yarn.
- Tapestry Needle (or Yarn Needle): This is essential for weaving in your ends neatly for a professional finish.
Abbreviations and Terminology (US Terms)
This pattern uses standard US crochet terminology.
ch: Chainst(s): Stitch(es)sl st: Slip Stitchdc: Double Crochetsp: Spacech-sp: Chain Space (e.g.,ch-2 sprefers to the space created by 2 chain stitches in the previous round)[...]: Brackets indicate a set of instructions to be repeated.(...): Parentheses indicate a group of stitches to be worked into the same stitch or space.
The Anatomy of a Hollow Square
A hollow square is constructed from the inside out, just like a traditional granny square. The key difference is the foundation. Instead of starting with a small ring and building outward, we begin with a very large chain loop that forms the perimeter of the central “hole.” Each subsequent round is then built upon this foundation, creating the “frame.”
The corners are crucial for creating the square shape. In this pattern, we will use a (2 dc, ch 2, 2 dc) combination in each corner. This cluster of stitches provides the necessary increase at each corner to ensure the square lays flat and maintains its sharp 90-degree angles as it grows.
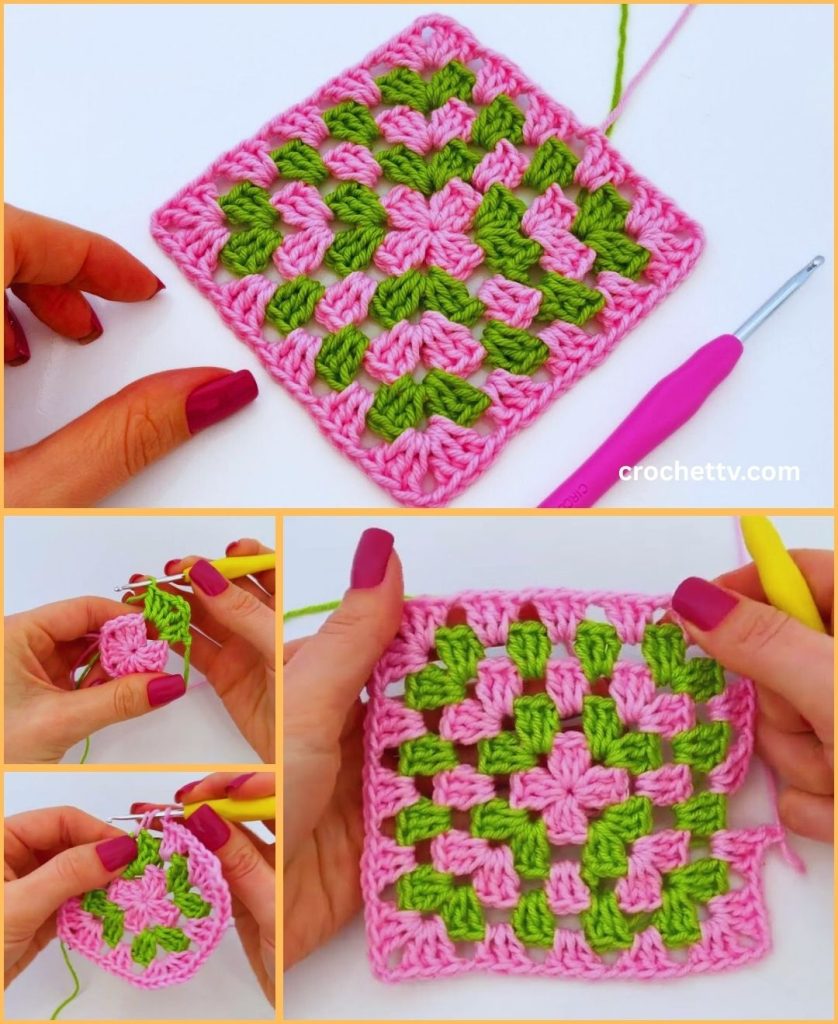
Step-by-Step Tutorial: Let’s Begin!
We will create a sample square using three colors. The first two rounds will be in Color A, the next two in Color B, and the final two in Color C.
Step 1: Creating the Foundation Chain (Color A)
The length of your starting chain determines the size of the hollow center. For this pattern, we will create a foundation chain that is a multiple of 4.
Instruction: With Color A, chain 80.
Pro-Tip: Be careful not to twist your chain. Lay it flat on a surface before joining to ensure it’s straight.
Join the chain to form a ring: Insert your hook into the very first chain you made. Yarn over and pull through both the first chain and the loop on your hook to complete a slip stitch. You now have a large, continuous loop of 80 chains.
Step 2: Round 1 – Establishing the Square Shape (Color A)
This is the most important round, as it transforms your chain circle into a square. We will evenly distribute our stitches and create four distinct corners.
Instructions for Round 1:
ch 3(this counts as your firstdcstitch).- Work 1
dcin each of the next 19 chain stitches. You should now have a total of 20dcstitches (including the initialch 3). - Create the first corner: In the next chain stitch, work
(2 dc, ch 2, 2 dc). - Work 1
dcin each of the next 19 chain stitches. - Create the second corner: In the next chain stitch, work
(2 dc, ch 2, 2 dc). - Work 1
dcin each of the next 19 chain stitches. - Create the third corner: In the next chain stitch, work
(2 dc, ch 2, 2 dc). - Work 1
dcin each of the next 19 chain stitches. - Create the fourth corner: In the next chain stitch, work
(2 dc, ch 2, 2 dc). - To finish the round, join with a
sl stto the top of the initialch 3.
At the end of Round 1, you should have:
- Four sides, each with 24
dcstitches (the initial 20dcs are split into 19 + the firstch-3, and each corner adds 2dcs to each adjacent side). Let’s re-examine the count for clarity. Each side consists of 19dcplus 2dcfrom the corner on one end and 2dcfrom the corner on the other end. For this first round, it’s simpler: you have four straight sides of 20 stitches each, separated by fourch-2corner spaces. - Simplified Count: 80
dcstitches in total (20 per side) and 4ch-2corner spaces.
Step 3: Round 2 – Building the Frame (Color A)
Now that the corners are established, the following rounds are much simpler. You will be working double crochets into the stitches of the previous round and continuing to expand the corners.
Instructions for Round 2:
ch 3(counts as the firstdc).- Work 1
dcin eachdcstitch along the side until you reach the first cornerch-2 sp. (You will work 21dcs). - In the corner
ch-2 sp, work(2 dc, ch 2, 2 dc). - Repeat the pattern
[Work 1 dc in each dc along the next side, then work (2 dc, ch 2, 2 dc) in the corner ch-2 sp]three more times. - Join with a
sl stto the top of the initialch 3.
Stitch Count for Round 2: Each side now has 28 dc stitches (the previous 24 plus 2 from each corner). Total of 112 dc stitches and 4 ch-2 corner spaces.
Step 4: Changing Colors for the Stripes (Introducing Color B)
The key to a clean color change is to introduce the new color on the final yarn over of the last stitch of the round.
How to Change Color:
- Complete the final slip stitch of Round 2, but do not yarn over with Color A to pull through.
- Instead, cut Color A, leaving a 6-inch tail.
- Loop your Color B yarn over your hook and pull it through the loop on your hook to complete the slip stitch.
- Pull the tails of both Color A and Color B to tighten the join. You are now ready to work with Color B.
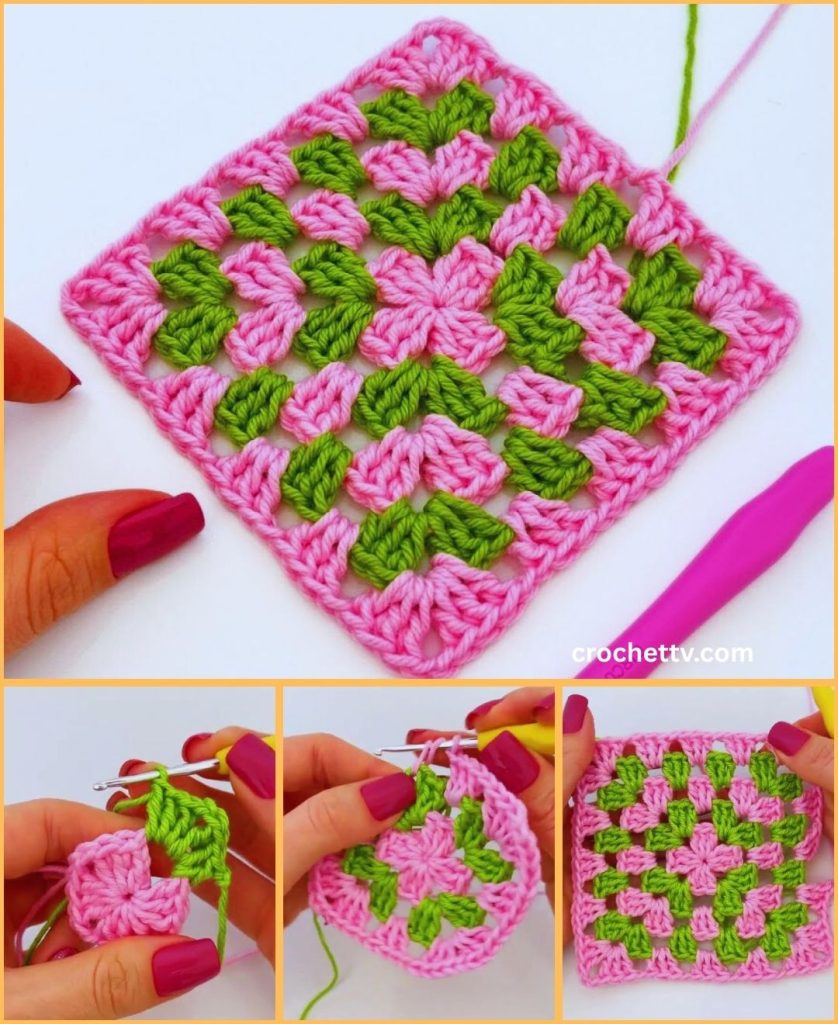
Step 5: Round 3 & 4 (Color B)
These rounds follow the same logic as Round 2, just with your new color.
Instructions for Round 3 (Color B):
ch 3(counts as the firstdc).- Work 1
dcin eachdcstitch along the side until you reach the cornerch-2 sp. - In the corner
ch-2 sp, work(2 dc, ch 2, 2 dc). - Repeat this pattern for the remaining three sides.
- Join with a
sl stto the top of the initialch 3.
Stitch Count for Round 3: Each side now has 32 dc stitches. Total of 128 dc and 4 ch-2 spaces.
Instructions for Round 4 (Color B):
- Repeat the instructions for Round 3.
- At the end of the round, prepare to change to Color C using the same color-changing technique described in Step 4.
Stitch Count for Round 4: Each side now has 36 dc stitches. Total of 144 dc and 4 ch-2 spaces.
Step 6: Round 5 & 6 (Color C)
You’re in the home stretch! Continue the established pattern with your final color.
Instructions for Round 5 (Color C):
ch 3(counts as the firstdc).- Work 1
dcin eachdcstitch along the side until you reach the cornerch-2 sp. - In the corner
ch-2 sp, work(2 dc, ch 2, 2 dc). - Repeat for the remaining three sides.
- Join with a
sl stto the top of the initialch 3.
Stitch Count for Round 5: Each side now has 40 dc stitches. Total of 160 dc and 4 ch-2 spaces.
Instructions for Round 6 (Color C):
- Repeat the instructions for Round 5.
- After joining the final round with a
sl st, cut your yarn, leaving a 6-inch tail. - Yarn over and pull the tail completely through the loop on your hook to fasten off.
Stitch Count for Round 6: Each side now has 44 dc stitches. Total of 176 dc and 4 ch-2 spaces.
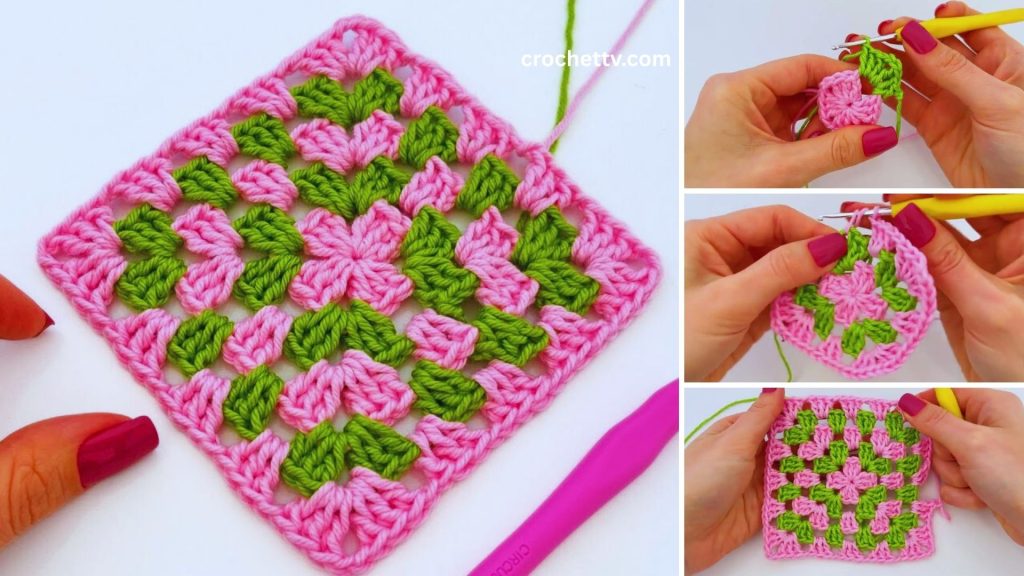
Step 7: Finishing Touches – Weaving in Ends and Blocking
Your square is now structurally complete, but these final steps will give it a polished, professional look.
Weaving in Ends: Using your tapestry needle, meticulously weave in all the yarn tails on the wrong side of your work. Pay special attention to the places where you changed colors. To secure them, weave the tail in one direction for about an inch, then change direction and weave back through a different set of loops. Do this for all starting and ending tails.
Blocking: Blocking is the process of wetting or steaming your crochet to shape it. It helps even out your stitches, define the corners, and ensure your square is perfectly flat.
- Wet Blocking (Recommended): Submerge your square in cool water for about 15-20 minutes. Gently squeeze out the excess water (do not wring!).
- Lay the damp square on a foam blocking mat or a thick towel.
- Gently stretch the square into its final shape, using rust-proof pins to pin down the corners and straighten the sides.
- Let it air dry completely. Once dry, your square will hold its perfect shape.
Customization and Project Ideas
Now that you’ve mastered the technique, the possibilities are endless!
Customizing Size
- To change the size of the center hole: Increase or decrease the number of stitches in your foundation chain. Just remember to keep it a multiple of 4. A foundation of
ch 40will give you a small hole, whilech 120will give you a very large one. - To make the frame wider: Simply add more rounds, continuing the established pattern of adding
(2 dc, ch 2, 2 dc)in each corner.
Playing with Color
- Scrapbuster: Use a different color for every single round to create a vibrant, scrappy look.
- Ombré/Gradient: Use several shades of the same color, transitioning from light to dark (or vice-versa) for a subtle and sophisticated effect.
- Two-Color: Alternate just two colors every round for a classic, bold stripe.
Project Ideas
- Windowpane Afghan: Join dozens of these squares together to create a stunning, lightweight blanket.
- Pillow Cover: Make two large squares and stitch them together to create a modern and stylish throw pillow.
- Tote Bag: Crochet two squares, then crochet a solid base and side panels to connect them into a beautiful market bag.
- Framed Art: Use a hollow square to frame a smaller, solid granny square, an appliqué (like a flower or animal), or a piece of cross-stitch fabric.
Congratulations! You have successfully crocheted a beautiful, striped hollow square. This versatile motif is a testament to how simple stitches can be combined to create something truly special. Enjoy experimenting with different colors and sizes to make this pattern your own. Happy crocheting!

