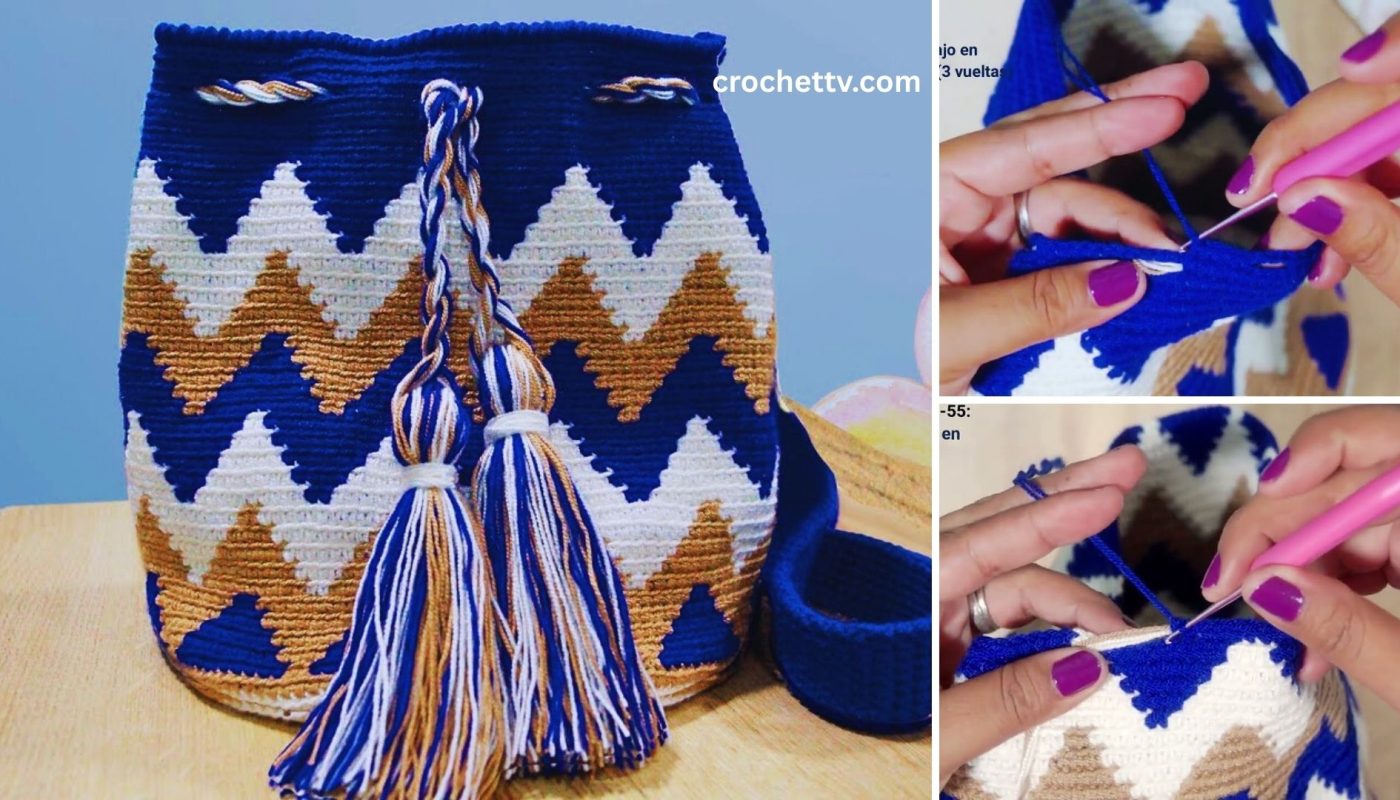
Creating a striped crochet backpack is a fantastic project that allows you to play with color and create a truly unique and stylish accessory. This detailed, step-by-step article will guide you through the process, from choosing your materials and creating the foundation to adding the finishing touches and weaving in those pesky ends.
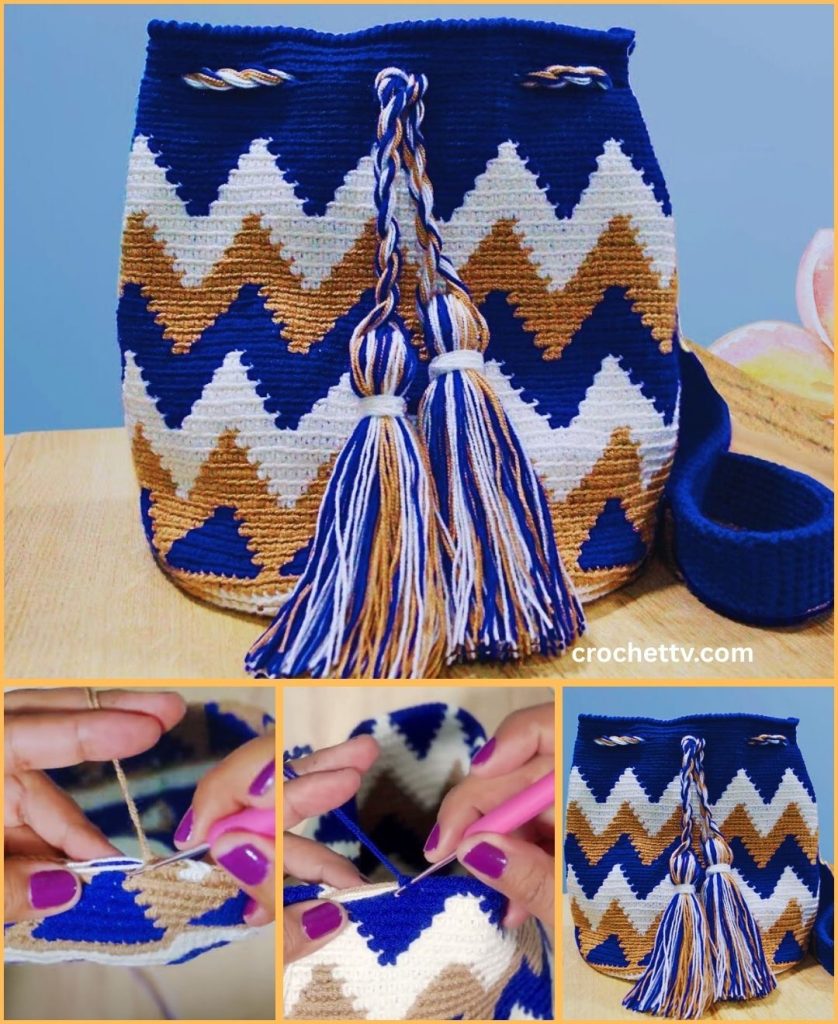
Materials You’ll Need
- Yarn: Worsted weight (aran/10-ply) or bulky/chunky (12-ply) yarn is recommended for a sturdy backpack. Cotton or acrylic blends are great choices.
- Main Color (MC): A solid color that will appear throughout the stripes.
- Accent Colors (AC): Two or more colors for your stripes. This is where you can get creative!
- Crochet Hook: A hook size appropriate for your yarn. For worsted weight, a 5.0mm (H/8) hook is a good starting point. For bulky yarn, a 6.0mm (J/10) or larger may be needed. Check the yarn label for the recommended size.
- Scissors
- Yarn Needle (Tapestry Needle): Essential for weaving in ends and seaming.
- Stitch Markers: Very useful for keeping track of the beginning of your rounds.
- Optional:
- Fabric for Lining: To prevent items from stretching the crochet and to keep small objects from falling out.
- Drawstring or Bag Closures: Leather cord, a crocheted chain, or magnetic clasps.
- D-rings or Bag Hardware: For adjustable straps.
Key Crochet Stitches and Techniques
- Magic Ring (or Chain 2 and work in the second chain from the hook): The starting point for the base of the backpack.
- Chain (ch): The most basic crochet stitch.
- Slip Stitch (sl st): Used to join rounds.
- Single Crochet (sc): A very sturdy stitch, great for bags.
- Half Double Crochet (hdc): A slightly taller stitch that works up quickly.
- Double Crochet (dc): A tall, classic stitch.
- Color Change: A simple yet crucial technique for creating your stripes.
Part 1: Crocheting the Base of the Backpack
A sturdy, flat base is essential for a backpack. We will create a flat circle using single or half double crochet stitches.
- Foundation: With your Main Color (MC), create a magic ring.
- Round 1: Ch 2 (does not count as a stitch). Work 10 hdc into the magic ring. Sl st to the top of the first hdc to join. (10 stitches).
- Increasing Rounds:
- Round 2: Ch 2. Work 2 hdc into each stitch around. Sl st to the top of the first hdc to join. (20 stitches).
- Round 3: Ch 2. *1 hdc in the next stitch, 2 hdc in the next stitch.* Repeat from * to * around. Sl st to join. (30 stitches).
- Round 4: Ch 2. *1 hdc in the next 2 stitches, 2 hdc in the next stitch.* Repeat from * to * around. Sl st to join. (40 stitches).
- Continuing to Increase: Continue increasing by 10 stitches in each round until the base is the desired diameter for your backpack. A good size for a medium backpack is around 8-10 inches in diameter.
Part 2: Creating the Striped Body of the Backpack
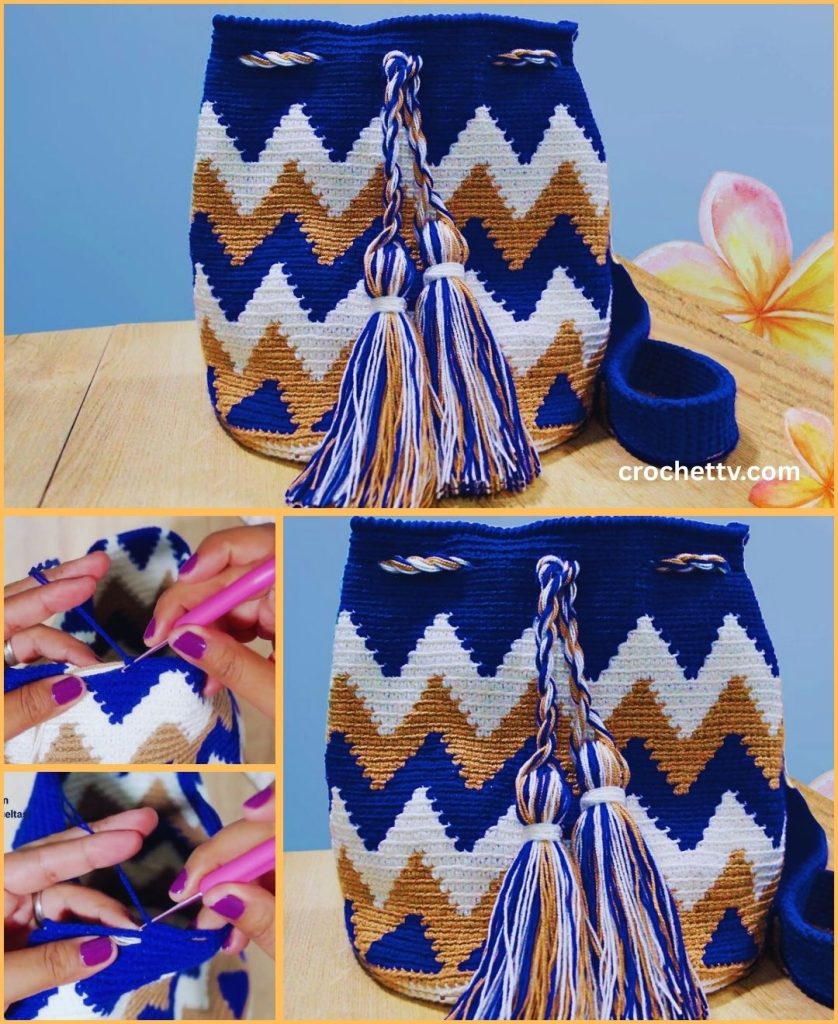
This is where the fun with color begins! We will work in continuous, non-increasing rounds to build the height of the backpack. This is also where you will be changing colors.
Tips for Changing Colors: To make a clean color change, work the last stitch of the round with your current color, but do not complete the last yarn-over. Instead, yarn over with the new color and pull through all loops on your hook. This will make the next round start with the new color seamlessly. It’s often best to carry the unused yarn color up the inside of the bag rather than cutting it each time, which saves a lot of weaving in ends!
- First Stripe (AC1):
- Round 1 (no increase): Change to your first Accent Color (AC1). Ch 2. Work 1 hdc in each stitch around. Do not join with a slip stitch. Place a stitch marker in the first stitch of the round and continue working in a spiral.
- Rounds 2-4: Continue working 1 hdc in each stitch around, moving your stitch marker up as you go. Work for 3-5 rounds, or for the width of stripe you desire.
- Second Stripe (AC2):
- Round 5: Change to your second Accent Color (AC2). Continue working in a spiral with 1 hdc in each stitch for 3-5 rounds.
- Continue the Pattern:
- Repeat this process, alternating between your chosen accent colors and your main color.
- For a traditional striped look, you can work 3-5 rounds of AC1, then 3-5 rounds of AC2, and so on. For a more subtle look, you can work 1-2 rounds of each color.
- Continue working in this manner until the body of the backpack reaches your desired height.
Part 3: The Top Opening and Drawstring Channel
Once the body is complete, you will create a sturdy rim and the channel for your drawstring closure.
- Solid Rim:
- Round 1: Change to your Main Color (MC). Sc in each stitch around.
- Round 2: Sc in each stitch around. Join with a sl st to the first sc to close the round.
- Drawstring Channel:
- Round 3: Ch 2. Dc in the first stitch. *Ch 1, skip 1 stitch, dc in the next stitch.* Repeat from * to * around. Sl st to the 2nd chain of your starting ch-2 to join.
- Round 4: Sc in each dc and ch-1 space around. Sl st to join.
- Round 5: Sl st in each stitch around. Fasten off and weave in your ends.
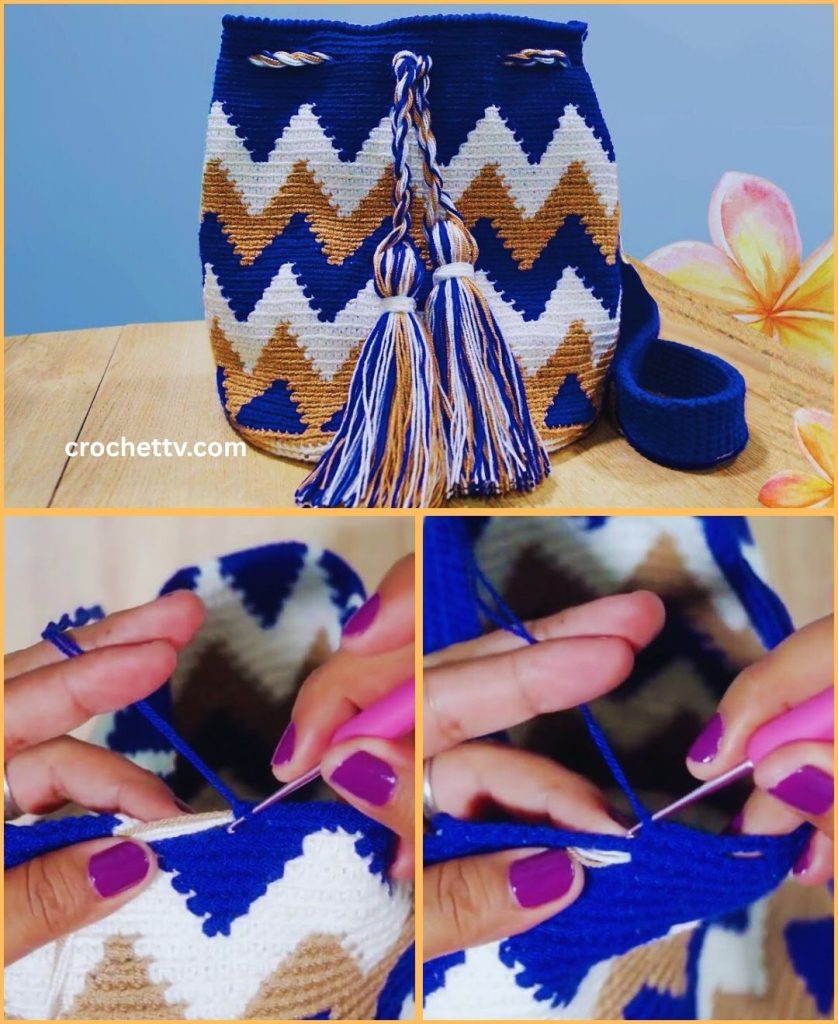
Part 4: The Straps and Assembly
The straps are the final structural component of the backpack. For durability, it’s best to use a sturdy stitch like single crochet and to make them double-thick.
- Making the Straps (Make 2):
- With your Main Color (MC), ch 6.
- Row 1: Sc in the second ch from the hook and in each ch across. (5 sc). Ch 1, turn.
- Row 2 and beyond: Sc in each stitch across. Ch 1, turn.
- Continue crocheting in rows until your strap is the desired length. For a comfortable fit, this is typically 24-36 inches. Fasten off, leaving a long tail for sewing.
- Attaching the Straps:
- Top: Find the center points on the back of the bag (opposite the side where your color-change seam is most visible). Using your yarn needle and the long tail, sew the top of each strap securely to the top of the bag, about 2-3 inches apart.
- Bottom: Find the bottom corners of the bag and sew the other end of each strap to the base, reinforcing with extra stitches.
Part 5: The Finishing Touches
- The Drawstring:
- Simple Chain: Ch a long length (150-180 chains) in one of your accent colors. Weave the chain in and out of the drawstring channel you created.
- I-Cord: For a more professional look, crochet an i-cord. Weave it in and out of the channel.
- Weaving in Ends: This is the most important step for a professional finish. Take your time to weave in all loose ends on the inside of the bag with your yarn needle.
- Optional Lining: If you want to add a fabric lining, cut a piece of fabric to fit the inside of the bag, sew it into a bag shape, and hand-sew it to the top rim.
Congratulations! You have now created a unique and stylish striped crochet backpack. This project is not only fun to make but also a testament to how simple stitches and color changes can be combined to create a beautiful and functional accessory.

